1. Introduction
This manual provides detailed instructions for assembling your JEKCA Cat 10S-M03 Orange and White Plastic Building Blocks model. The JEKCA system utilizes a unique brick-through interlocking mechanism to create sturdy and detailed sculptures. Please read all instructions carefully before beginning assembly.
What's in the Box:
- Instruction Manual
- Bricks (over 1600 pieces)
- Pins
- Pin Driver
- Quick Guide
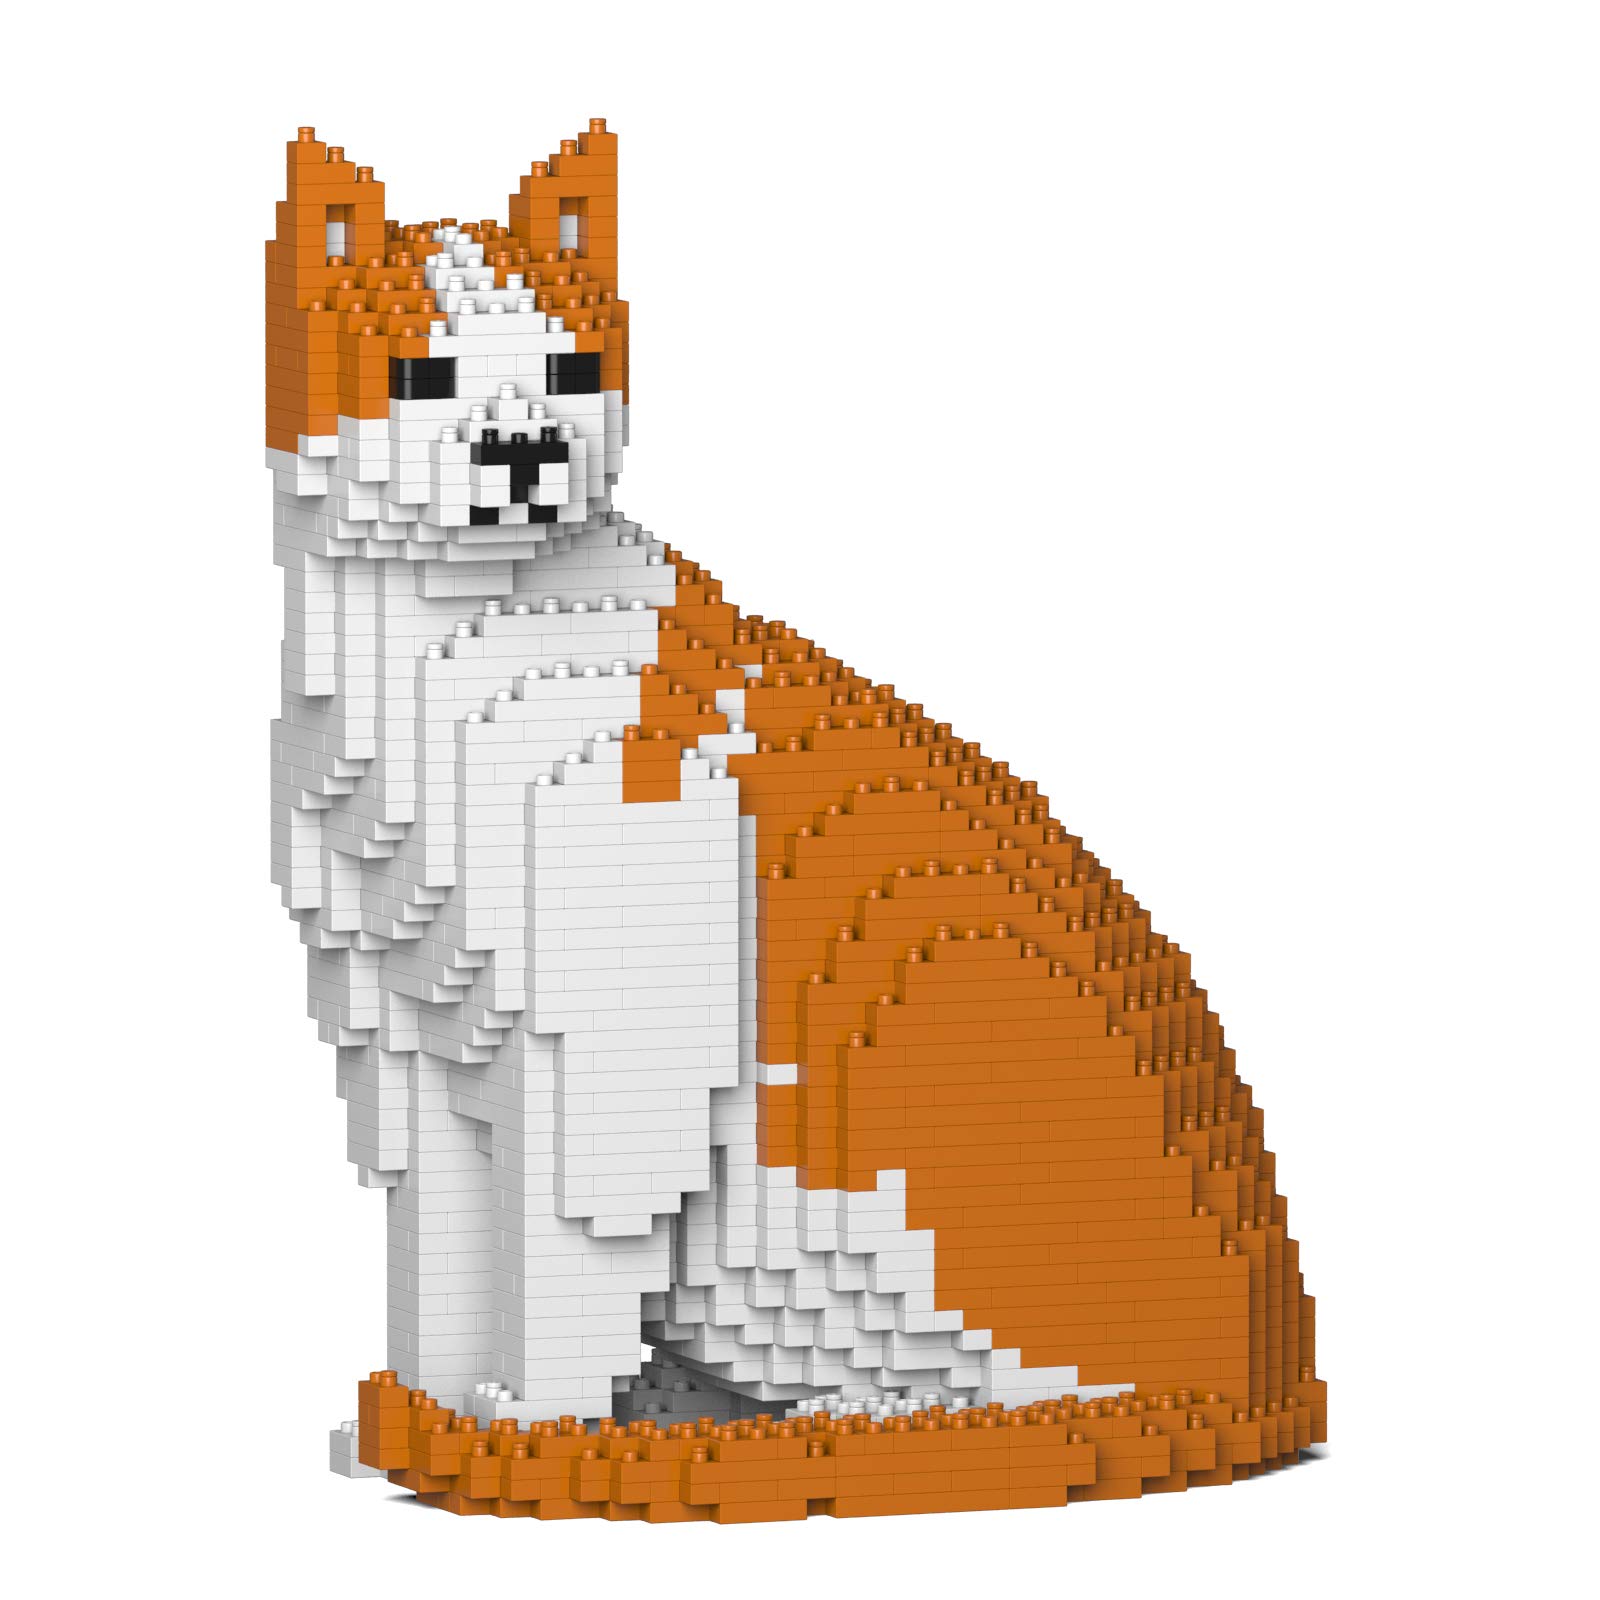
Image 1.1: Fully assembled JEKCA Cat 10S-M03 model, showcasing its orange and white coloring and intricate brick design.
2. Safety Information
WARNING: Small Parts inside. Not suitable for children under 14 years of age due to choking hazards. Recommended for individuals 14 years and above.
Always keep small parts away from young children and pets. Ensure a clean and organized workspace to prevent loss of small components.
3. Assembly Instructions
The JEKCA building system uses an interlocking brick-through mechanism for enhanced stability. Follow the included Quick Guide and the steps below for successful assembly.
3.1 Understanding the Interlocking System
Each brick is secured using a pin and a pin driver. This system ensures that your completed model is sturdy and less prone to falling apart.

Image 3.1: A three-step diagram illustrating the JEKCA brick assembly process: 1) Aligning bricks, 2) Inserting pins, and 3) Locking pins with a 90-degree turn.
3.2 Step-by-Step Assembly Process
- Identify Components: Sort your bricks by color and shape as indicated in the Quick Guide. Locate the pins and the pin driver.
- Layered Construction: Follow the Quick Guide to build your model layer by layer. Each step will show which bricks to place.
- Insert Pins: After placing a brick, insert the appropriate pin(s) through the designated holes, connecting it to the brick below.
- Lock Pins: Use the provided pin driver to turn each pin 90 degrees clockwise. This locks the bricks securely in place. Ensure each pin is fully turned to prevent loose connections.
- Continue Building: Repeat steps 2-4 until your model is complete. Pay close attention to the orientation of each brick and pin as shown in the instructions.

Image 3.2: A visual guide demonstrating the insertion of a pin into a JEKCA building block, followed by a 90-degree turn to lock it.

Image 3.3: An exploded view showing how the JEKCA brick-through interlocking system works, with pins securing multiple layers of bricks.
3.3 Assembly Demonstration Video
For a visual guide on the JEKCA brick-through interlocking system and general assembly techniques, please watch the official video below:
Video 3.1: Official JEKCA video demonstrating the brick-through interlocking system and showcasing various assembled models. This video provides a clear visual explanation of the assembly process.
4. Operating Tips
Once fully assembled and all pins are securely locked, your JEKCA Cat model is designed to be sturdy. It can be displayed on any flat, stable surface. While the model is robust, avoid applying excessive force or dropping it to prevent potential damage or disassembly.
5. Maintenance
To keep your JEKCA Cat model clean, gently wipe it with a dry, soft cloth. Avoid using abrasive cleaners or excessive moisture, as these may damage the plastic bricks or affect the model's integrity.
6. Troubleshooting
6.1 Loose Bricks
If you notice any bricks feeling loose, ensure that the corresponding pins are fully inserted and turned 90 degrees to their locked position. Re-tighten any loose pins using the pin driver.
6.2 Missing Parts
In the rare event of missing parts, please contact JEKCA customer support with your product model number and details of the missing components. Refer to the contact information provided on the JEKCA official website.
7. Specifications
| Feature | Detail |
|---|---|
| Product Model Number | 10S-M03 |
| Product Dimensions (L x W x H) | 8.62 x 5.16 x 10.83 inches (approx. 21.9 x 13.1 x 27.5 cm) |
| Item Weight | 2.51 pounds |
| Manufacturer Recommended Age | 14 years and up |
| Number of Pieces | Over 1600 |
| Manufacturer | JEKCA Limited |
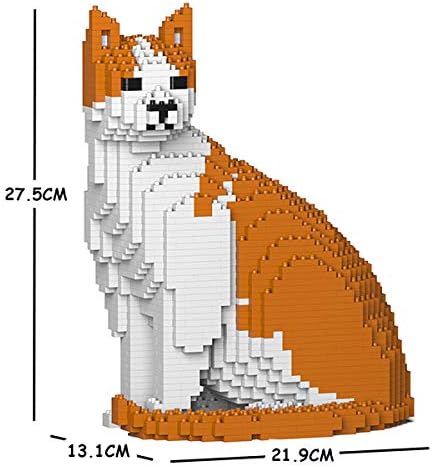
Image 7.1: Dimensional view of the JEKCA Cat 10S-M03 model, indicating its height, width, and depth.
8. Warranty and Support
For information regarding product warranty, returns, or additional support, please refer to the official JEKCA website or contact their customer service directly. Contact details can typically be found on the product packaging or the manufacturer's website.


