
1. Introduction
This manual provides detailed instructions for the setup, operation, and maintenance of your INQMEGA IL-HIP291G-2M-AI FHD 1080P WiFi Pan/Tilt Security Camera. Please read this manual thoroughly before using the product to ensure correct usage and optimal performance. This camera is designed for indoor use to monitor your home, pets, or family members.
2. Product Overview
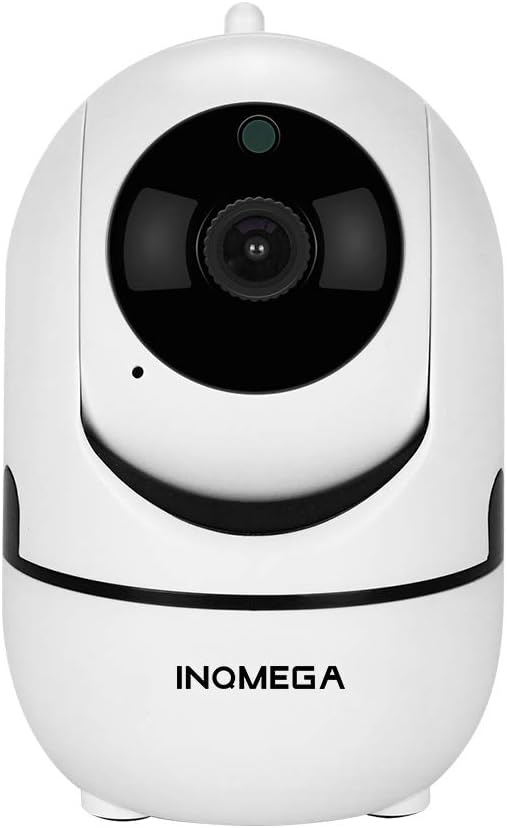
Figure 0: The INQMEGA IL-HIP291G-2M-AI FHD 1080P WiFi Pan/Tilt Security Camera.
2.1 Package Contents
Verify that all items are present in your package:
- 1 x INQMEGA 2.4G WIFI Camera
- 1 x Power adapter
- 1 x USB cable
- 1 x Mounting bracket and screws
- 1 x User Manual (this document)
2.2 Camera Components
Familiarize yourself with the various parts of your INQMEGA security camera.

Figure 1: Front and rear view of the INQMEGA camera with labeled components including IR Sensor, Lens, Microphone, Antenna, Speaker, Reset button, and DC 5V power input.
- IR Sensor: Detects ambient light for automatic night vision activation.
- Lens: Captures video footage.
- Microphone: For two-way audio communication.
- Antenna: For Wi-Fi connectivity.
- Speaker: For two-way audio communication.
- Reset Button: Used to reset the camera to factory settings.
- DC 5V Input: Power connection port.
2.3 Key Features
- Full HD 1080P Video: Captures clear video at 1920x1080 resolution.
- 2.4GHz Wi-Fi Connectivity: Connects to your home network (5GHz Wi-Fi is not supported).
- Pan & Tilt Functionality: Horizontal 360° pan and vertical 110° tilt for wide area coverage.
- Smart Motion Tracking: Automatically detects and tracks moving objects, bodies, or pets.
- Night Vision: Automatic switching to infrared night vision, with a range of up to 30 feet (9 meters).
- Two-Way Audio: Built-in microphone and speaker for remote communication.
- Cloud Storage & SD Card Support: Options for video recording storage (up to 128GB MicroSD card).
- Mobile App Control: Remote viewing, control, and settings customization via a smartphone app.
3. Setup Guide
3.1 Powering On the Camera
- Connect the provided USB cable to the camera's DC 5V input port.
- Plug the power adapter into a standard electrical outlet.
- The camera will power on, and an indicator light will illuminate. Wait for the camera to complete its self-test (usually involves a brief rotation).
3.2 App Installation and Account Registration
- Download the official INQMEGA app from your smartphone's app store (iOS App Store or Google Play Store).
- Open the app and follow the on-screen instructions to register a new account or log in if you already have one.
3.3 Connecting to Wi-Fi
Important: The camera only supports 2.4GHz Wi-Fi networks. Ensure your smartphone is connected to a 2.4GHz Wi-Fi network during setup.
- In the app, tap the "Add Device" or "+" icon.
- Select your camera model or choose the "Smart Camera" option.
- Follow the app's instructions to connect the camera to your Wi-Fi network. This typically involves scanning a QR code displayed on your phone with the camera lens or entering Wi-Fi credentials.
- Once connected, the camera's indicator light will change, and the app will confirm successful pairing.
3.4 Mounting the Camera (Optional)
The camera can be placed on a flat surface or mounted to a wall or ceiling using the included bracket and screws.
- Choose a suitable location for optimal viewing.
- Attach the mounting bracket to the desired surface using the screws.
- Securely attach the camera to the mounting bracket.
4. Operating Instructions
4.1 Live View
After successful setup, open the app and select your camera from the device list to access the live video feed.
4.2 Pan and Tilt Control
In the live view interface, use the directional controls within the app to remotely adjust the camera's viewing angle (horizontal 360°, vertical 110°).
4.3 Two-Way Audio
To use two-way audio:
- Tap the microphone icon in the app's live view.
- Speak into your phone's microphone. Your voice will be transmitted through the camera's speaker.
- Release the microphone icon to listen through the camera's microphone.
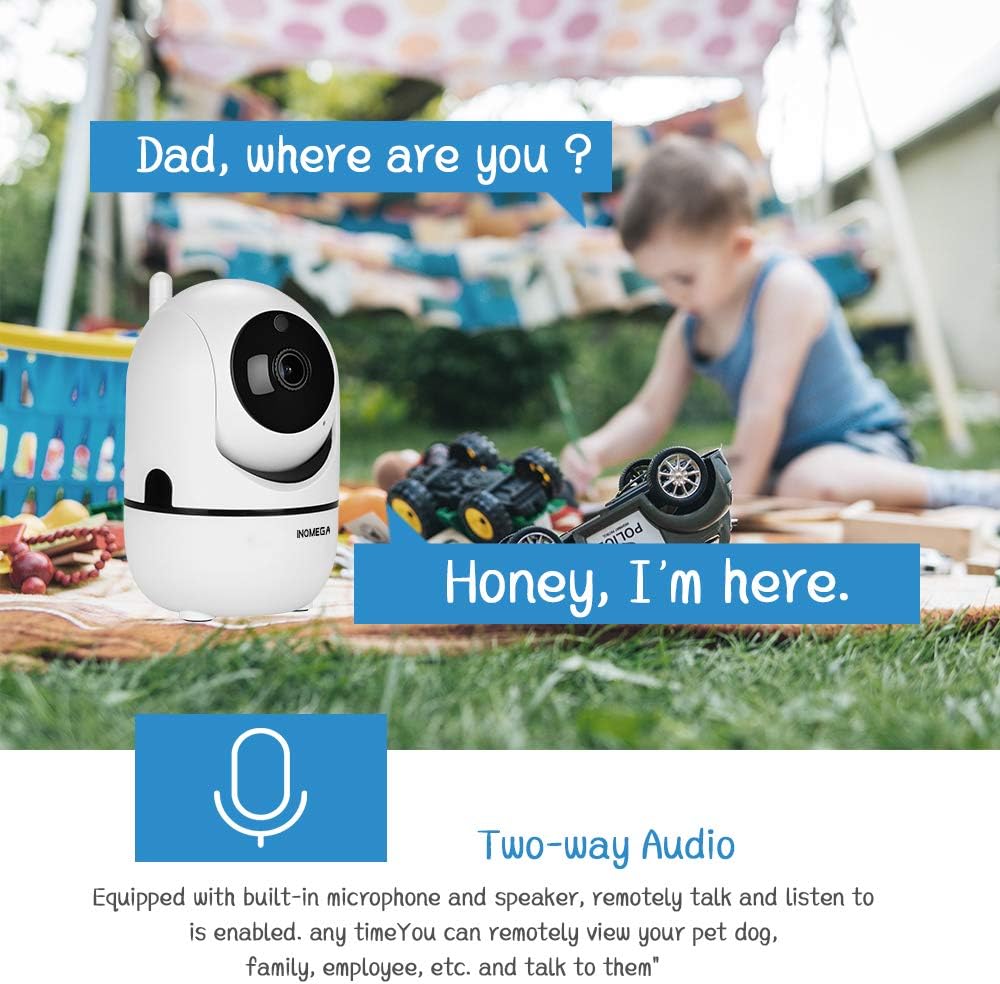
Figure 2: Illustration of the two-way audio feature, allowing remote communication through the camera.
4.4 Motion Detection and Auto Tracking
The camera can detect motion and automatically track moving subjects.
- Enable Motion Detection: Go to the camera settings in the app and enable motion detection. You can adjust sensitivity levels.
- Auto Tracking: Activate the "Smart Track" function in the app. The camera will automatically pan and tilt to follow detected movement.
- Alerts: When motion is detected, the app will send instant push notifications to your smartphone.

Figure 3: Visual representation of the motion auto-tracking feature, where the camera follows movement within its field of view.
4.5 Night Vision
The camera automatically switches to infrared night vision mode in low-light conditions, providing clear black and white video up to 30 feet.

Figure 4: The camera's smart night vision feature, automatically activating in low light to monitor sleeping subjects.
4.6 Video Recording and Storage
The camera supports two storage options:
- MicroSD Card: Insert a MicroSD card (up to 128GB, not included) into the designated slot on the camera. The camera will automatically begin recording based on your settings (e.g., continuous, motion-triggered).
- Cloud Storage: The camera offers cloud storage services. Refer to the app for subscription details and to activate cloud recording.

Figure 5: Cloud storage option for secure and accessible video recordings.
4.7 Camera Sharing
You can share access to your camera's live feed with other users through the app. Navigate to the camera settings and select the sharing option to invite family members or trusted individuals.
5. Maintenance
- Cleaning: Use a soft, dry cloth to clean the camera lens and body. Avoid abrasive cleaners or solvents.
- Firmware Updates: Periodically check the app for available firmware updates. Keeping your camera's firmware updated ensures optimal performance and security.
- SD Card Management: If using an SD card, regularly back up important footage and consider formatting the card periodically through the app to maintain performance.
- Power Cycle: If the camera experiences issues, try unplugging it from the power source for 10 seconds and then plugging it back in.
6. Troubleshooting
| Problem | Possible Solution |
|---|---|
| Camera fails to connect to Wi-Fi. |
|
| Poor video quality or lag. |
|
| Motion detection not working or too sensitive. |
|
| Two-way audio not functioning. |
|
| SD card not recording. |
|
7. Specifications
| Feature | Detail |
|---|---|
| Model Number | IL-HIP291G-2M-AI |
| Video Capture Resolution | 1080p (Full HD) |
| Effective Video Resolution | 1080 Pixels |
| Frame Rate | 25 frames per second |
| Connectivity Technology | Wireless (Wi-Fi) |
| Wireless Communication | 2.4GHz Wi-Fi (5GHz not supported) |
| Viewing Angle | Horizontal 360 Degrees, Vertical 110 Degrees |
| Night Vision Range | 30 Feet (approx. 9 meters) |
| Special Features | Night Vision, Motion Detection, Auto Tracking, Two-Way Audio |
| Indoor/Outdoor Use | Indoor |
| Storage Options | Cloud Storage, MicroSD Card (up to 128 GB) |
| Power Source | AC/DC (5V, 5W) |
| Mounting Type | Wall Mount |
| Material | Plastic |
| Dimensions (L x W x H) | 8.13 x 8.13 x 10.92 cm (3.2 x 3.2 x 4.3 inches) |
| Weight | 250 g |
| Manufacturer | Shenzhen SECTEC CO., LIMITED |
8. Warranty and Support
For warranty information, please refer to the documentation provided at the time of purchase or contact your retailer. For technical support or further assistance, please contact the manufacturer, Shenzhen SECTEC CO., LIMITED, or refer to the support section within the INQMEGA mobile application.


