1. Introduction
This manual provides essential instructions for the safe and efficient operation, maintenance, and troubleshooting of your Masterbuilt Butterball XL Electric Fryer. Please read all instructions thoroughly before initial use to ensure proper functionality and safety.
2. Important Safety Information
WARNING: When using electrical appliances, basic safety precautions should always be followed to reduce the risk of fire, electric shock, and injury to persons.
- Always operate the fryer on a stable, level, non-combustible surface.
- Do not use the appliance for anything other than its intended use.
- Ensure the power cord is not damaged and is properly connected to a grounded outlet.
- Never leave the fryer unattended during operation.
- Keep children and pets away from the fryer at all times.
- Allow oil to cool completely before cleaning or storing the appliance.
- Do not immerse the control panel or heating element in water.
3. Product Overview
The Masterbuilt Butterball XL Electric Fryer is designed for versatile cooking, including deep frying, steaming, and boiling. Its large capacity accommodates turkeys up to 20 pounds.

Figure 3.1: Packaging of the Masterbuilt Butterball XL Electric Fryer, highlighting its multi-functionality for frying, steaming, and boiling.

Figure 3.2: The Masterbuilt Butterball XL Electric Fryer with its lid open, revealing the cooking basket and the control panel on the side. This image illustrates the deep interior designed for large items like turkeys.
Key Components:
- Main Unit: Stainless steel exterior with a durable inner pot.
- Control Panel: Features a digital timer, temperature dial, power indicator, and ready indicator.
- Cooking Basket: Perforated basket with a lifting hook for easy food removal.
- Heating Element: Removable for easy cleaning.
- Drain Valve: Located on the side for convenient oil drainage.
4. Setup
Follow these steps to prepare your fryer for first use:
- Unpacking: Carefully remove all components from the packaging. Ensure all packing materials, including any inside the fryer, are removed.
- Initial Cleaning: Wash the cooking basket, lid, and inner pot with warm, soapy water. Rinse thoroughly and dry completely. The heating element and control panel should only be wiped with a damp cloth.
- Assembly: Place the inner pot securely into the main unit. Insert the heating element into its designated slot on the side of the fryer. Ensure it is properly seated.
- Placement: Position the fryer on a stable, heat-resistant surface away from walls and other appliances. Ensure adequate ventilation.

Figure 4.1: The fryer components as they appear when first unboxed, including the main unit, basket, and instruction manual. Note the protective packaging.
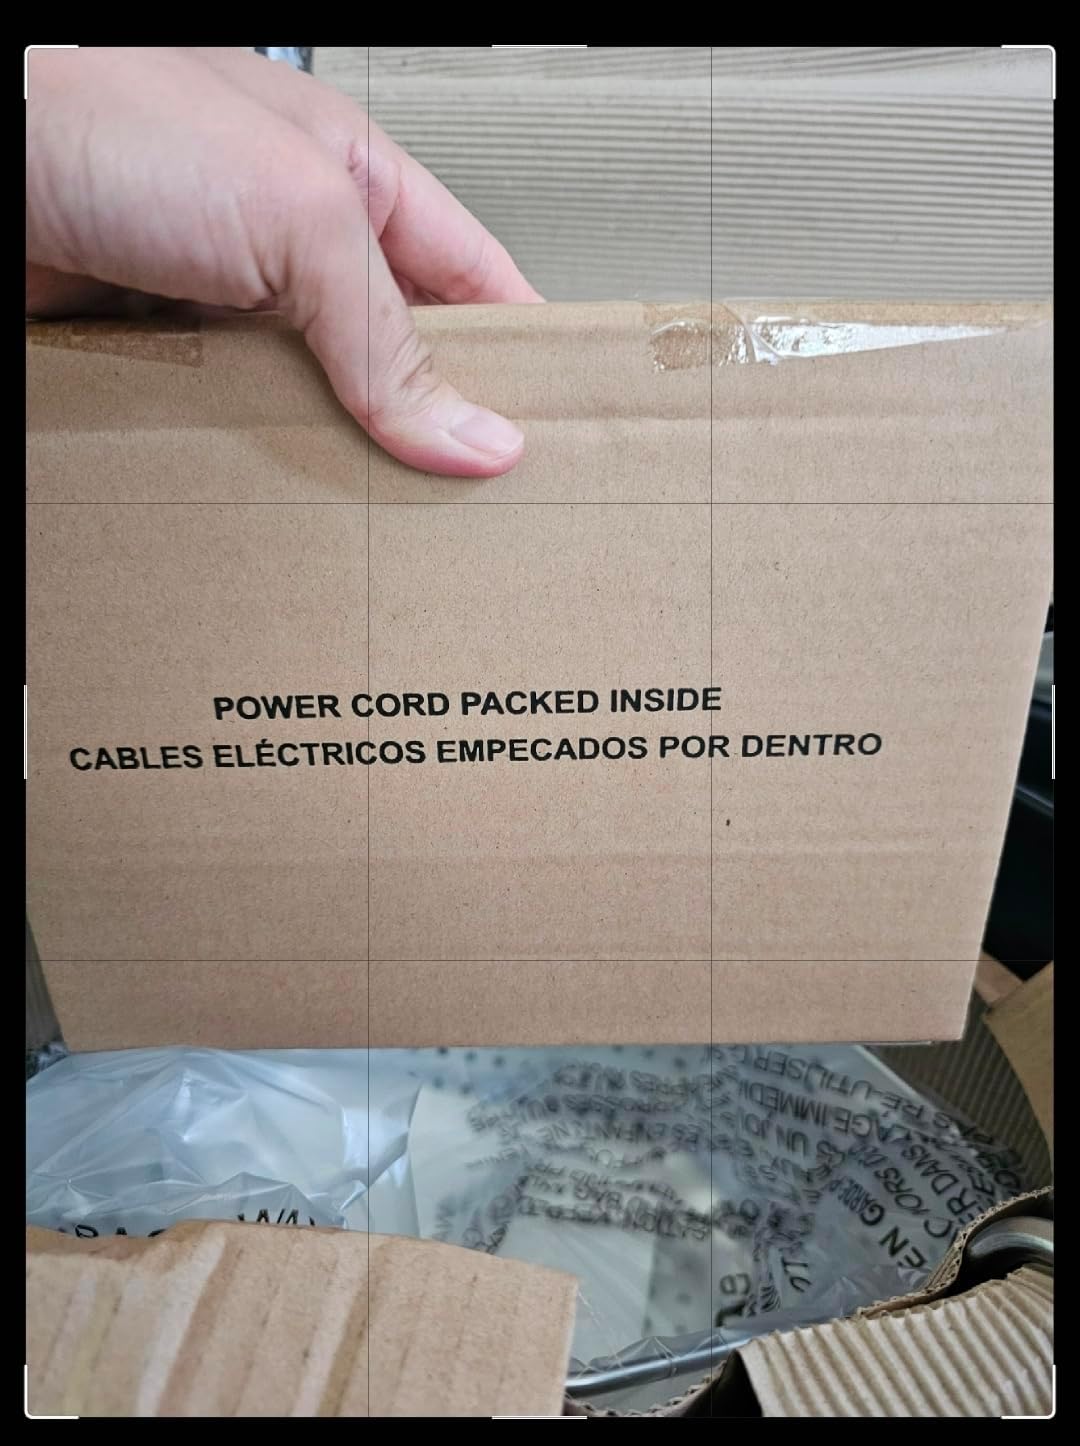
Figure 4.2: A warning label on the product packaging indicating that the power cord is packed inside the unit. This ensures users locate all necessary parts during setup.
5. Operating Instructions
5.1 Deep Frying
- Add Oil: Pour cooking oil (peanut oil is recommended for turkeys) into the inner pot, ensuring it is between the MIN and MAX fill lines. The fryer typically requires about 2.5 gallons of oil.
- Preheat: Plug in the fryer. Turn the temperature dial to your desired setting (e.g., 375°F for turkey). The red 'Power' light will illuminate. The green 'Ready' light will turn on when the oil reaches the set temperature.
- Prepare Food: Ensure food is completely thawed and patted dry to prevent oil splatter. Place the food into the cooking basket. For turkeys, ensure it is no more than 20 pounds.
- Lower Food: Slowly and carefully lower the basket with the food into the hot oil. Use the lifting hook to avoid direct contact with hot oil.
- Cook: Close the lid. Refer to a reliable cooking chart for recommended cooking times based on food type and weight. For turkey, a general guideline is 3.5-4 minutes per pound. Always use a meat thermometer to ensure internal temperature reaches safe levels (e.g., 165°F for poultry).
- Remove Food: Once cooked, carefully lift the basket using the lifting hook and allow excess oil to drain back into the pot.
5.2 Steaming and Boiling
The fryer can also be used for steaming and boiling. Fill the inner pot with water to the appropriate level for steaming or boiling. Place the food in the basket and lower it into the water. Use the temperature dial to bring the water to a boil or steam temperature. Always monitor water levels and cooking progress.
6. Maintenance and Cleaning
Regular cleaning ensures the longevity and safe operation of your fryer.
- Cool Down: ALWAYS allow the oil to cool completely before attempting to clean the fryer. This may take several hours.
- Drain Oil: Once cooled, open the drain valve on the side of the fryer and allow the oil to flow into a suitable container for disposal or reuse.
- Disassemble: Remove the heating element and control panel. Remove the inner pot and cooking basket.
- Clean Components: The inner pot, cooking basket, and lid can be washed with warm, soapy water. Rinse thoroughly and dry completely. The heating element and control panel should be wiped clean with a damp cloth only; do NOT immerse them in water.
- Exterior Cleaning: Wipe the exterior of the fryer with a damp cloth.
- Storage: Reassemble the dry components. Store the fryer in a clean, dry place.
7. Troubleshooting
| Problem | Possible Cause | Solution |
|---|---|---|
| Fryer does not turn on. | Not plugged in; power cord damaged; heating element not properly seated. | Check power connection; inspect cord; ensure heating element is fully inserted. |
| Oil not heating. | Temperature dial not set; heating element issue. | Set desired temperature; ensure 'Power' light is on. If problem persists, contact customer support. |
| Food not cooking evenly. | Overcrowding; incorrect temperature. | Do not overcrowd the basket; verify oil temperature with a separate thermometer. |
| Excessive smoke. | Oil too old or dirty; food not dry enough. | Replace old oil; ensure food is thoroughly patted dry before frying. |
8. Specifications
- Model Name: Butterball XL
- Brand: Masterbuilt
- Material: Metal
- Color: Black
- Product Dimensions: 18"D x 18"W x 21"H
- Wattage: 1500 watts
- UPC: 094428274334
- Item Weight: 26.3 pounds
- ASIN: B07JNTH65H
9. Warranty and Support
Masterbuilt products are designed and manufactured to the highest quality standards. For warranty information, product registration, or customer support, please refer to the warranty card included with your product or visit the official Masterbuilt website. Keep your purchase receipt as proof of purchase for warranty claims.


