
1. Introduction
This manual provides essential instructions for the safe and efficient operation, installation, maintenance, and troubleshooting of your SNOOKER Commercial Ice Maker 350lb. Please read this manual thoroughly before operating the appliance and retain it for future reference. Proper use and maintenance will ensure optimal performance and longevity of your ice machine.
2. Important Safety Instructions
- Read all instructions before using the appliance.
- Ensure the power supply matches the specifications (115 Volts).
- Do not operate the appliance with a damaged cord or plug.
- Keep ventilation openings clear of obstructions.
- Only use potable water for ice production.
- Unplug the unit before cleaning or performing any maintenance.
- This appliance is intended for commercial use only.
- Do not store explosive substances such as aerosol cans with a flammable propellant in this appliance.
- The refrigerant used is R134a. Handle with care and dispose of according to local regulations.
3. Product Overview
The SNOOKER Commercial Ice Maker 350lb is a modular ice machine designed for high-volume ice production in commercial settings. It features an air cooling system and a self-cleaning function for ease of maintenance. This unit produces half-dice shaped ice cubes.
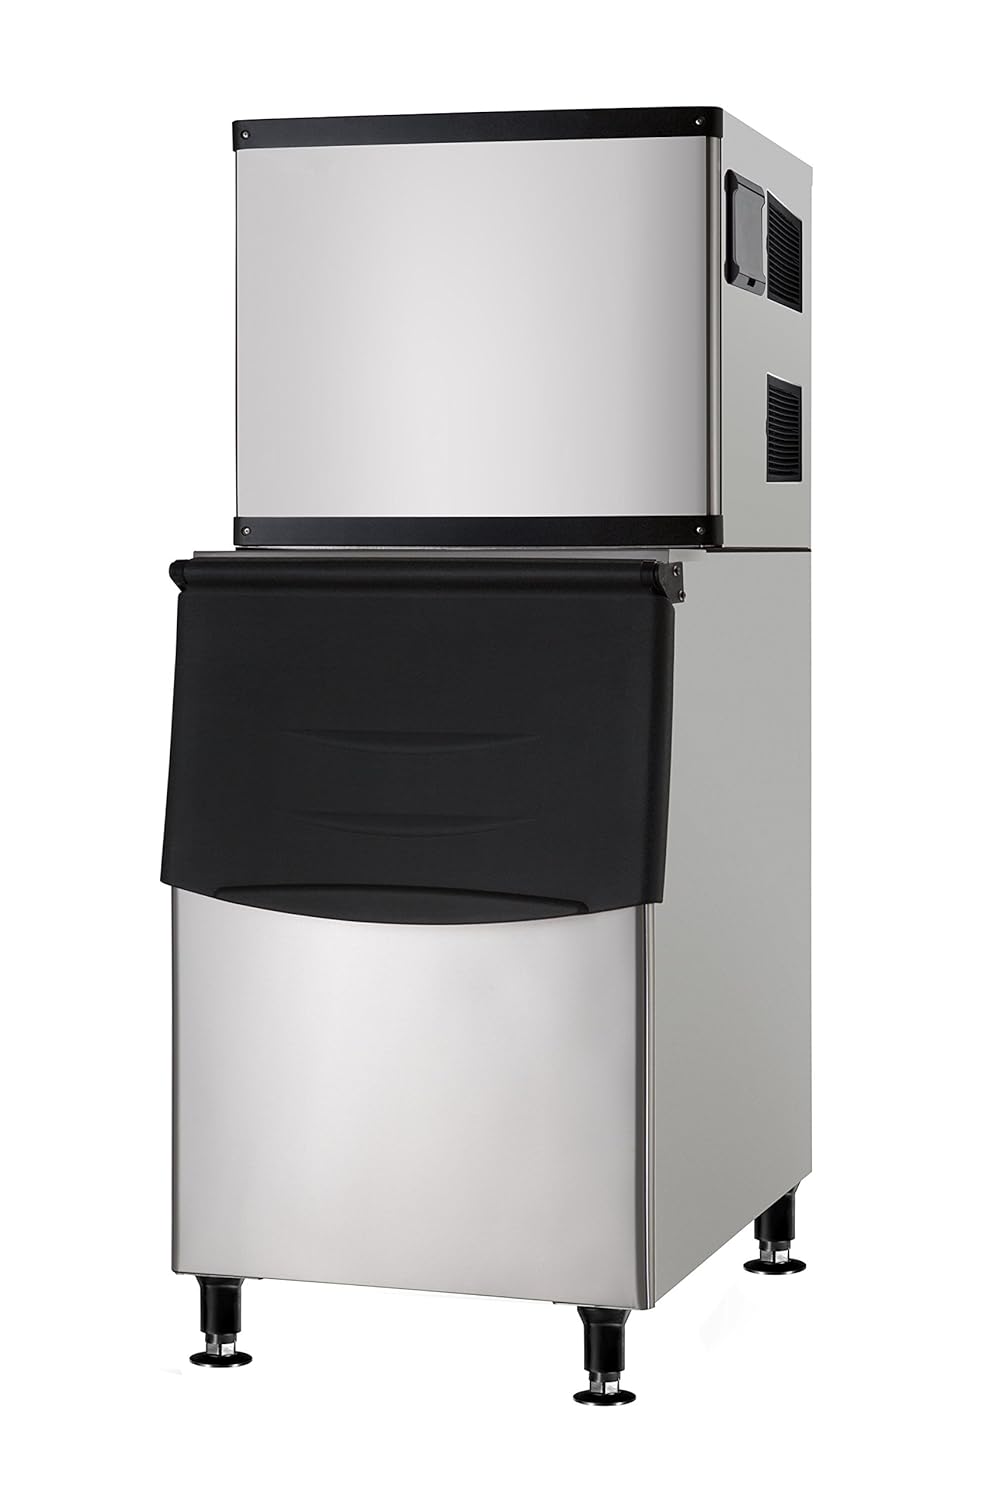
Figure 1: SNOOKER Commercial Ice Maker 350lb. This image displays the complete ice machine unit, consisting of the ice-making head unit positioned atop a compatible ice storage bin. The unit is made of stainless steel with black accents, and it stands on adjustable feet.
Key Components:
- Ice Making Head Unit: The upper section responsible for ice production.
- Air Vents: Located on the sides of the head unit for the air cooling system.
- Control Panel: (Assumed, common for ice makers) For operating and monitoring the machine.
- Ice Storage Bin: The lower section, designed to store produced ice. (Note: This unit is modular and requires a compatible storage bin, which is shown in the image).
- Adjustable Feet: For leveling the unit.
4. Setup and Installation
4.1 Unpacking
- Carefully remove all packaging materials.
- Inspect the unit for any shipping damage. Report any damage to the carrier immediately.
- Ensure all accessories are present.
4.2 Location Requirements
- Place the unit on a flat, level, and sturdy surface capable of supporting its weight when full of ice.
- Ensure adequate clearance around the unit for proper air circulation, especially around the air vents. Avoid enclosed spaces.
- Keep away from direct sunlight or heat sources.
- Maintain an ambient temperature between 50°F (10°C) and 90°F (32°C).
- The unit requires a water supply and a drain.
4.3 Water Connection
- Connect the ice maker to a potable cold water supply using the provided water inlet hose.
- Install a water filter (recommended) to improve ice quality and reduce mineral buildup.
- Ensure all connections are secure and leak-free.
4.4 Drain Connection
- Connect the drain hose from the ice maker and the ice storage bin to an open drain.
- Ensure the drain hose has a continuous downward slope to prevent water from pooling.
4.5 Electrical Connection
- Plug the unit into a dedicated 115-volt, 60 Hz grounded electrical outlet.
- Do not use extension cords or adapter plugs.
5. Operating Instructions
5.1 Initial Startup
- After connecting water and power, turn on the main power switch (if applicable).
- The machine will typically perform an initial self-check.
- Press the "ON/OFF" button to start ice production.
- Allow several hours for the first batch of ice to be produced and for the storage bin to fill.
5.2 Ice Production
- The machine will automatically produce ice until the storage bin is full, then pause.
- When ice is removed, the machine will resume production automatically.
- The air cooling system ensures efficient operation and helps maintain ice quality.
5.3 Control Panel Functions (General)
- ON/OFF Button: Starts or stops ice production.
- CLEAN Button: Initiates the self-cleaning cycle.
- Indicators: Lights for power, ice full, water shortage, or error codes.
6. Maintenance
Regular maintenance is crucial for the performance and longevity of your ice maker. Always unplug the unit before cleaning.
6.1 Daily Maintenance
- Wipe down the exterior with a soft, damp cloth.
- Ensure the ice scoop is clean and stored hygienically.
6.2 Weekly Maintenance
- Clean the interior of the ice storage bin with a mild, food-safe sanitizer. Rinse thoroughly.
- Check and clean the air filter (if accessible) to ensure proper airflow for the air cooling system.
6.3 Monthly Maintenance (Self-Cleaning Cycle)
- Empty the ice storage bin.
- Add an appropriate amount of commercial ice machine cleaner (food-grade descaler) to the water reservoir as per the cleaner's instructions.
- Press the "CLEAN" button on the control panel to initiate the automatic cleaning cycle.
- The machine will automatically drain and rinse after the cleaning cycle.
- After the cycle, discard the first few batches of ice produced to ensure no cleaning solution residue remains.
6.4 Annual Maintenance
- Have a qualified technician inspect the refrigerant lines and compressor.
- Replace the water filter cartridge.
7. Troubleshooting
Before contacting service, review the following common issues and solutions:
| Problem | Possible Cause | Solution |
|---|---|---|
| Machine not producing ice. | No power; Water supply off; Bin full sensor activated; High ambient temperature. | Check power connection; Ensure water supply is on; Empty ice bin; Relocate unit to cooler area. |
| Ice production is slow. | Dirty air filter; High ambient temperature; Low water pressure; Scale buildup. | Clean air filter; Ensure proper ventilation; Check water supply pressure; Perform self-cleaning cycle. |
| Ice cubes are small or soft. | Water temperature too high; Low water flow; Scale buildup. | Ensure cold water supply; Check water inlet valve; Perform self-cleaning cycle. |
| Water leaks. | Loose connections; Clogged drain. | Tighten water and drain connections; Clear drain hose. |
| Unusual noise. | Loose components; Fan obstruction; Compressor issue. | Inspect for loose parts; Clear fan area; Contact qualified service technician. |
If the problem persists after attempting these solutions, please contact customer support.
8. Specifications
| Feature | Detail |
|---|---|
| Brand | SNOOKER |
| Model | Commercial Ice Maker 350lb |
| Ice Production Capacity | 350 Pounds per day |
| Wattage | 350 watts |
| Voltage | 115 Volts |
| Refrigerant | R134a |
| Cooling System | Air Cooling |
| Ice Type | Half Dice |
9. Warranty and Support
For information regarding warranty coverage, please refer to the warranty card included with your product or contact SNOOKER customer support directly. Keep your purchase receipt as proof of purchase.
Customer Support:
For technical assistance, parts, or service inquiries, please contact SNOOKER customer support. Contact details can typically be found on the manufacturer's website or on the product packaging.
Note: This product may be eligible for extended protection plans. Please check with your retailer for available options.


