
ANSIO ANSIO 1530
ANSIO Electric Portable Mini Dehumidifier User Manual
Model: ANSIO 1530 | Brand: ANSIO
Introduction
The ANSIO Electric Portable Mini Dehumidifier is designed to efficiently remove excess moisture from small enclosed spaces, helping to prevent dampness, mould, mildew, and unpleasant odours. Its compact size and quiet operation make it ideal for use in wardrobes, closets, small rooms, and other areas prone to high humidity. This manual provides essential information for the safe and effective operation and maintenance of your dehumidifier.

Image: The ANSIO Electric Portable Mini Dehumidifier, a compact white and black unit.

Image: Visual representation of the benefits, including prevention of allergens, rotting wood, mould & mildew, bad smells, and condensation.
Safety Instructions
- Read all instructions before using the appliance.
- Do not immerse the appliance, power cord, or plug in water or other liquids.
- Ensure the power adapter is compatible with your local power supply (9V 2.5A).
- Keep the dehumidifier away from heat sources, direct sunlight, and flammable materials.
- Do not block the air inlet or outlet. Ensure adequate space around the unit for proper airflow.
- Always unplug the dehumidifier before cleaning or performing any maintenance.
- Do not operate the appliance if the power cord or plug is damaged.
- This appliance is for indoor use only.
- Keep out of reach of children and pets.
- If the unit is tilted or moved, allow it to stand upright for at least 30 minutes before plugging it in.
Product Overview
Familiarize yourself with the components of your ANSIO Mini Dehumidifier:

Image: Labeled diagram showing the Air outlet, Power ON indicator, Tank Full indicator, Power button, Air inlet, and Water Tank.
- 1. Air Outlet: Where dry air is expelled.
- 2. Power ON Indicator: Illuminates when the unit is operating.
- 3. Tank Full Indicator: Illuminates when the water tank is full, and the unit automatically shuts off.
- 4. Power Button: To turn the unit ON/OFF.
- 5. Air Inlet: Where humid air is drawn into the unit.
- 6. Water Tank: Collects condensed moisture. Capacity: 250ml.
Setup
- Unpack: Carefully remove the dehumidifier and all packaging materials from the box.
- Placement: Place the dehumidifier on a flat, stable surface in the desired location. Ensure there is at least 10 cm (4 inches) of space around the air inlet and outlet for optimal airflow. Avoid placing it directly against walls or furniture.
- Power Connection: Insert the small end of the power adapter into the DC input port on the back of the dehumidifier. Plug the other end of the power adapter into a suitable electrical outlet.

Image: The compact dehumidifier placed inside a closet, demonstrating its suitability for small spaces.
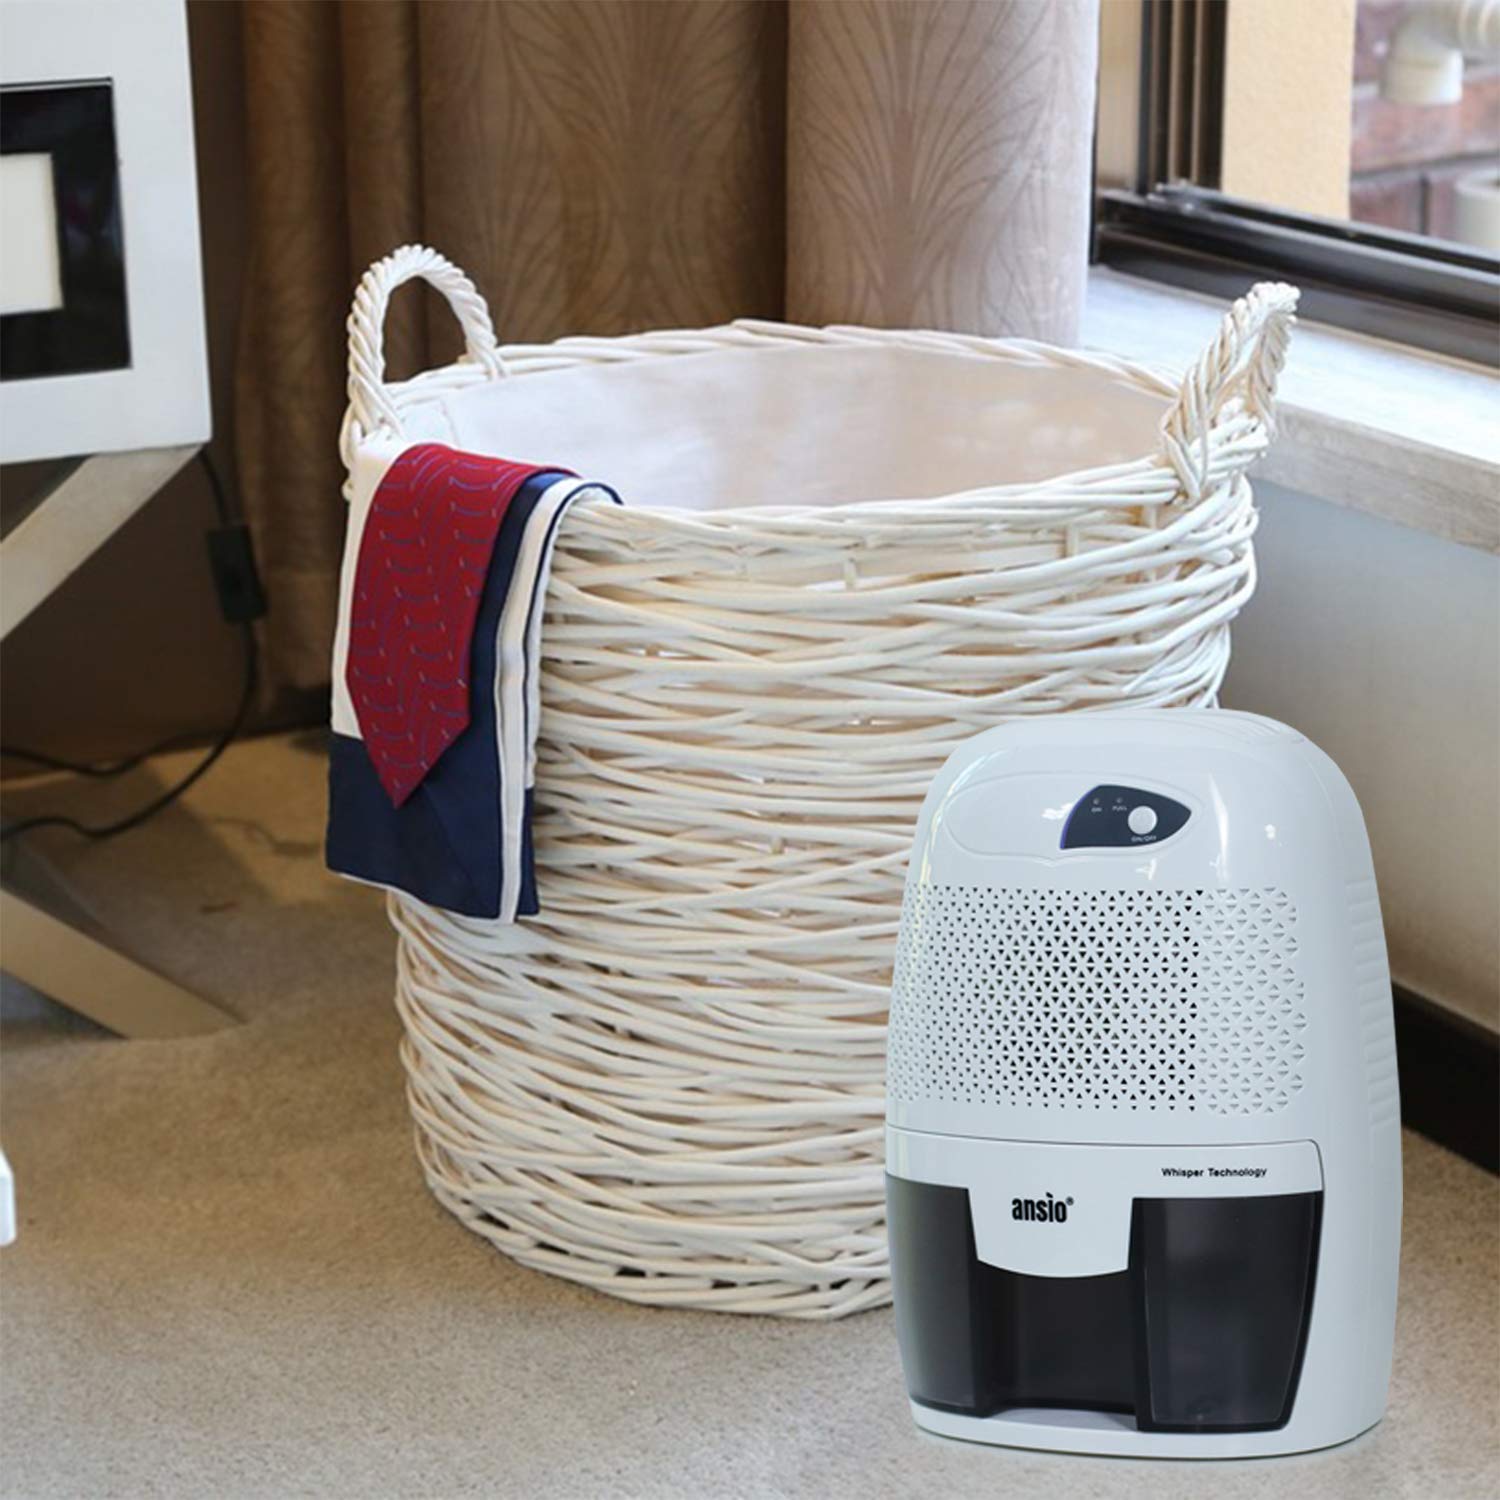
Image: The dehumidifier positioned on the floor next to a laundry basket, indicating its use in living areas.

Image: The dehumidifier placed on a desk next to a laptop, showing its suitability for office or study environments.
Operating Instructions
- Power On: Press the Power button once. The Power ON indicator light will illuminate, and the dehumidifier will begin operating.
- Automatic Shutoff: The dehumidifier is equipped with an automatic shutoff feature. When the water tank is full, the Tank Full indicator light will illuminate, and the unit will automatically turn off to prevent overflow.
- Emptying the Water Tank: When the Tank Full indicator illuminates, carefully pull out the water tank from the front of the unit. Dispose of the collected water.
- Replace Tank: Slide the empty water tank back into the dehumidifier until it clicks into place. The unit will resume operation automatically if the power button is still on.
- Power Off: To turn off the dehumidifier, press the Power button again. The Power ON indicator light will turn off.
Maintenance
Regular maintenance ensures optimal performance and longevity of your dehumidifier.
Emptying and Cleaning the Water Tank
- Unplug: Always unplug the dehumidifier from the power outlet before cleaning.
- Remove Tank: Gently pull out the water tank from the front of the unit.
- Empty Water: Pour out any collected water.
- Clean Tank: Rinse the water tank with clean water. For thorough cleaning, use a mild detergent and a soft cloth. Do not use abrasive cleaners or scrubbers.
- Dry Tank: Ensure the water tank is completely dry before reinserting it into the dehumidifier.
- Replace Tank: Slide the clean, dry water tank back into the unit until it is securely in place.

Image: Illustration of the water tank being removed from the dehumidifier and emptied into a bowl.
Cleaning the Exterior
- Wipe the exterior of the dehumidifier with a soft, damp cloth.
- Do not use harsh chemicals, abrasive cleaners, or solvents.
- Ensure the unit is completely dry before plugging it back in.
Troubleshooting
| Problem | Possible Cause | Solution |
|---|---|---|
| Dehumidifier does not turn on. |
|
|
| Dehumidifier is running but not collecting water. |
|
|
| Unit does not automatically restart after power outage. |
|
|
Specifications
| Brand | ANSIO |
| Model Number | ANSIO 1530 |
| Colour | White with Black |
| Dehumidification Capacity | 0.25 Liters per Day (250ml/Day) |
| Water Tank Volume | 250 Millilitres (0.25 litres) |
| Wattage | 21.00 W |
| Material | Plastic |
| Item Weight | 1.16 Kilograms (1 kg 160 g) |
| Item Dimensions (LxWxH) | 15.6 x 13 x 22 Centimeters |
| Special Features | Automatic Shutoff, Compact Design, Manual Operation |
| Included Components | Power Adapter |

Image: Visual comparison of the dehumidifier's dimensions (22 cm height, 15.6 cm width, 13 cm depth) against a 30cm ruler and a 750ml Coke bottle.
Warranty and Support
Your ANSIO Electric Portable Mini Dehumidifier comes with a 2-Year Warranty from the date of purchase. This warranty covers manufacturing defects under normal use.
For warranty claims, technical support, or any product-related inquiries, please contact ANSIO customer support:
- Email: support@ansio.in
Please retain your proof of purchase for warranty validation.
Ask a question about this manual
Ask about setup, troubleshooting, compatibility, parts, safety, or missing instructions. Manuals+ will review the question and use this page’s manual context to help answer it.