
uxcell a18083100ux0540
uxcell Dial Thickness Gauge User Manual
Model: a18083100ux0540 | Brand: uxcell
Introduction
This manual provides detailed instructions for the proper use, maintenance, and care of your uxcell Dial Thickness Gauge. Please read this manual thoroughly before operating the device to ensure accurate measurements and prolong its lifespan. This gauge is designed for precise measurement of thin materials.
Product Overview
The uxcell Dial Thickness Gauge is a precision instrument used to measure the thickness of various thin materials. It features a clear dial for easy reading and a flat anvil contact point for stable measurements.
Components
- Dial Indicator: Displays the measurement reading.
- Grip Handle: Ergonomically designed for comfortable holding.
- Thumb Trigger: Used to open and close the measuring jaws.
- Spring-loaded Spindle: Moves to contact the material and transfer measurement to the dial.
- Flat Anvil: The stationary lower contact point where the material rests.

Figure 1: Front view of the uxcell Dial Thickness Gauge. This image displays the primary view of the uxcell Dial Thickness Gauge, highlighting its circular dial with measurement markings, the ergonomic grip handle, and the flat anvil at the bottom for material placement.

Figure 2: Dimensions of the uxcell Dial Thickness Gauge. This diagram illustrates the physical dimensions of the uxcell Dial Thickness Gauge, indicating its length and width for reference.
Specifications
| Feature | Detail |
|---|---|
| Measuring Range | 0 - 10mm / 0 - 0.4" |
| Graduation / Accuracy | 0.1mm / 0.004" |
| Total Size (L x W) | 81 x 41mm / 3.2" x 1.6" |
| Contact Point | Flat Anvil |
| Model Number | a18083100ux0540 |
| Brand | uxcell |
Setup
Unpacking
Carefully remove the Dial Thickness Gauge from its packaging. Inspect the gauge for any visible damage that may have occurred during transit. Ensure all components are present, including the gauge and its storage case.
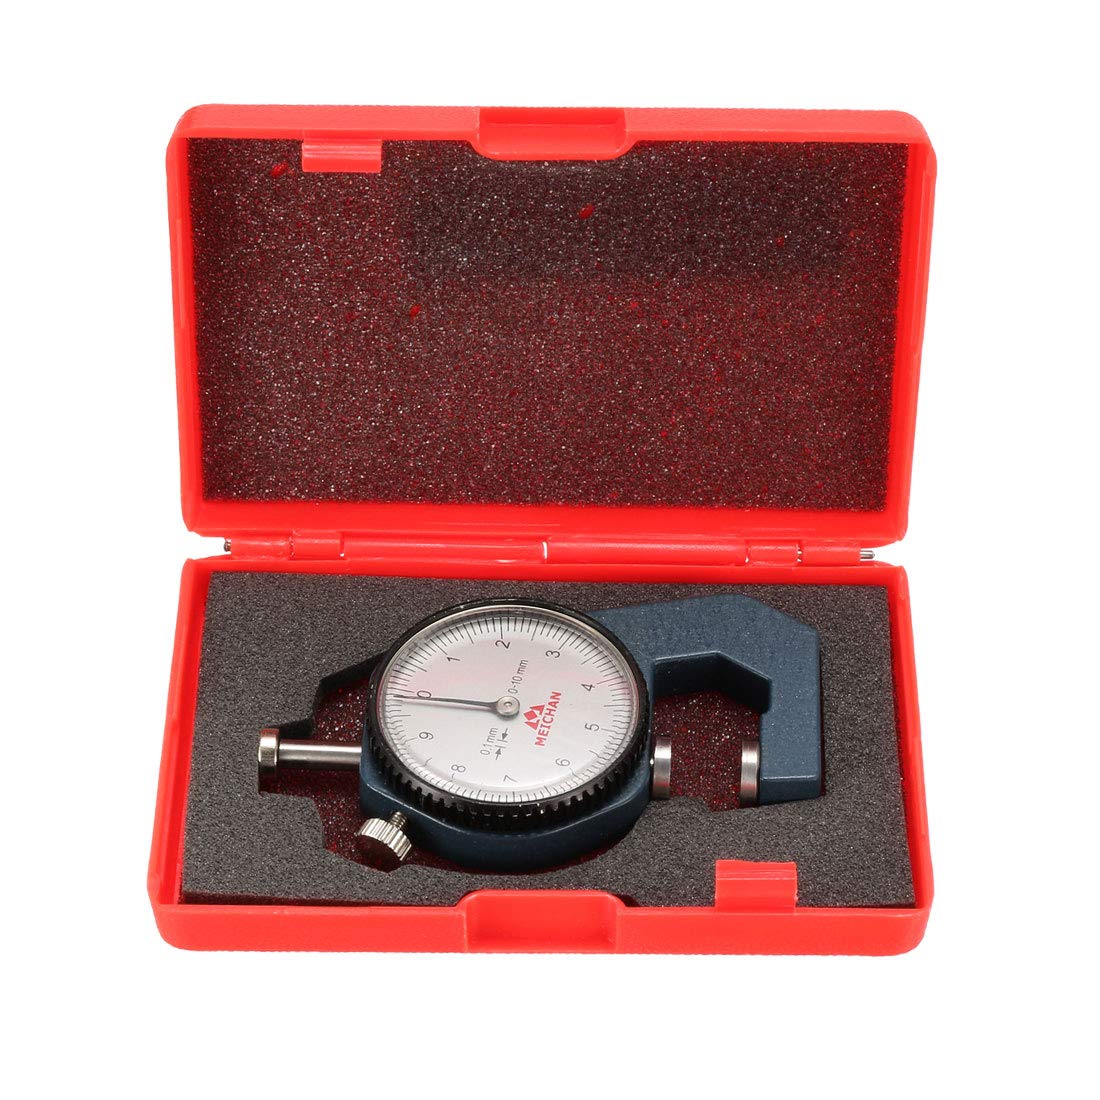
Figure 3: Gauge in its storage case. The image shows the uxcell Dial Thickness Gauge securely placed within its red protective storage case, indicating proper storage.
Initial Preparation
- Before first use, gently wipe the flat anvil and the spindle tip with a clean, soft cloth to remove any dust or debris.
- Ensure the pointer on the dial is reset to zero when the jaws are closed and no material is present. If it is not, gently clean the contact points again.
Operating Instructions
Basic Measurement Procedure
- Hold the gauge firmly by the grip handle.
- Press the thumb trigger to open the measuring jaws, lifting the spindle from the flat anvil.
- Carefully insert the material to be measured between the flat anvil and the spindle tip. Ensure the material lies flat and is not creased or bent.
- Gently release the thumb trigger, allowing the spindle to slowly descend and make contact with the material. Avoid dropping the spindle onto the material abruptly.
- Read the measurement directly from the dial indicator. The large numbers indicate millimeters, and the smaller markings represent tenths of a millimeter.
- Remove the material by pressing the thumb trigger again.
Measurement Tips
- Always ensure the flat anvil and spindle tip are clean before each measurement to prevent inaccurate readings.
- Verify that the pointer resets to zero when the jaws are closed and empty.
- Apply consistent, gentle pressure when releasing the thumb trigger to ensure proper contact without deforming the material.
- This gauge is suitable for measuring thin materials such as paper, film, leather, steel plate, and other similar items.
Maintenance
- Cleaning: After each use, wipe the gauge, especially the measuring surfaces, with a clean, dry, soft cloth. Do not use abrasive cleaners or solvents.
- Storage: Store the gauge in its provided storage case when not in use. This protects it from dust, moisture, and physical damage.
- Environment: Avoid exposing the gauge to extreme temperatures, high humidity, or direct sunlight.
- Handling: Handle the gauge with care. Avoid dropping it or subjecting it to strong impacts, as this can affect its accuracy.
Troubleshooting
| Issue | Possible Cause & Solution |
|---|---|
| Inaccurate Readings | Cause: Dirt or debris on contact points; gauge not zeroed; material not flat. Solution: Clean the flat anvil and spindle tip thoroughly. Ensure the pointer resets to zero when jaws are closed. Verify the material is inserted flat and correctly. |
| Pointer Not Resetting to Zero | Cause: Debris obstructing movement; minor misalignment. Solution: Gently clean the spindle and anvil area. Ensure no foreign objects are preventing full closure. If the issue persists after cleaning, the gauge may require professional inspection. |
| Stiff or Sticky Movement | Cause: Accumulation of dust or lack of lubrication. Solution: Clean the moving parts carefully. Do not attempt to lubricate unless specified by the manufacturer, as this can attract more dust. |
Warranty and Support
For information regarding warranty coverage and terms, please refer to the product packaging or contact uxcell customer support directly. If you encounter any issues not covered in this manual or require further assistance, please reach out to uxcell customer service for expert guidance.
Ask a question about this manual
Ask about setup, troubleshooting, compatibility, parts, safety, or missing instructions. Manuals+ will review the question and use this page’s manual context to help answer it.