1. Introduction
This manual provides essential instructions for the safe and effective use of your Zoom H1n Handy Recorder. Please read this manual thoroughly before using the device to ensure proper operation and to prevent damage.
2. Product Overview
2.1 Package Contents
- Zoom H1n Handy Recorder (Blue Edition)
- 2 AA Batteries
Note: A microSD card and USB cable are not included and must be purchased separately.
2.2 Component Identification
Familiarize yourself with the various parts of your H1n recorder.

Figure 1: Front View of Zoom H1n Handy Recorder. This image displays the front of the blue Zoom H1n recorder, highlighting the built-in stereo microphones at the top, the LCD screen, the large red record button, and playback controls.

Figure 2: Angled View of Zoom H1n Handy Recorder. This image shows the Zoom H1n from an angled perspective, revealing the side controls such as the volume buttons, power switch, and various input/output ports.
- Built-in Stereo Microphones: X/Y configuration for wide stereo imaging.
- Input Level Dial: Adjusts recording input sensitivity.
- LCD Display: Shows recording status, file information, and menu options.
- REC Button: Initiates and stops recording.
- OPTION Button: Accesses menu settings.
- Playback Controls: Play/Pause, Stop, Fast Forward, Rewind.
- LINE IN Jack: 3.5mm stereo input for external microphones or line-level devices.
- LINE OUT/HEADPHONE Jack: 3.5mm stereo output for monitoring or connecting to other devices.
- VOLUME Buttons: Adjusts playback volume.
- USB Port: Micro-USB port for data transfer and use as a USB microphone.
- MicroSD Card Slot: For recording media.
- Battery Compartment: Holds two AA batteries.
3. Setup
3.1 Installing Batteries
- Open the battery compartment cover on the back of the unit.
- Insert two AA batteries, ensuring correct polarity (+/-).
- Close the battery compartment cover securely.
3.2 Inserting a MicroSD Card
The H1n requires a microSD or microSDHC card (up to 32 GB) for recording. Ensure the card is formatted correctly (FAT32).
- Locate the microSD card slot on the side of the unit.
- Insert the microSD card with the contacts facing down until it clicks into place.
- To remove, push the card in gently until it clicks, then release to eject.
3.3 Powering On/Off
- To Power On: Slide the POWER switch (located on the side) downwards and hold until the display lights up.
- To Power Off: Slide the POWER switch downwards and hold until the display turns off.
4. Operating Instructions
4.1 Basic Recording
- Power on the H1n.
- Adjust the input level using the dial at the top. Monitor the level meter on the LCD to avoid clipping (distortion).
- Press the large red REC button once to enter record standby mode.
- Press the REC button again to start recording. The REC indicator will light up.
- To stop recording, press the REC button. The file will be saved automatically.
4.2 Playback
- Use the Fast Forward (>>) or Rewind (<<) buttons to select a file.
- Press the Play/Pause (>/II) button to start playback.
- Adjust the playback volume using the VOLUME buttons on the side.
- Press the Stop (■) button to stop playback.
4.3 Menu Settings
Press the OPTION button to access the menu and adjust various settings. Use the playback control buttons to navigate and select options.
- AUDIO: Select recording format (WAV/MP3), sample rate, and bit depth.
- LO CUT: Activates a low-cut filter to reduce unwanted low-frequency noise.
- LIMITER: Prevents input overload and distortion by compressing loud signals.
- AUTOLEVEL: Automatically adjusts the recording level.
- TONE GENERATOR: Produces a test tone for calibrating audio levels with cameras or other devices.
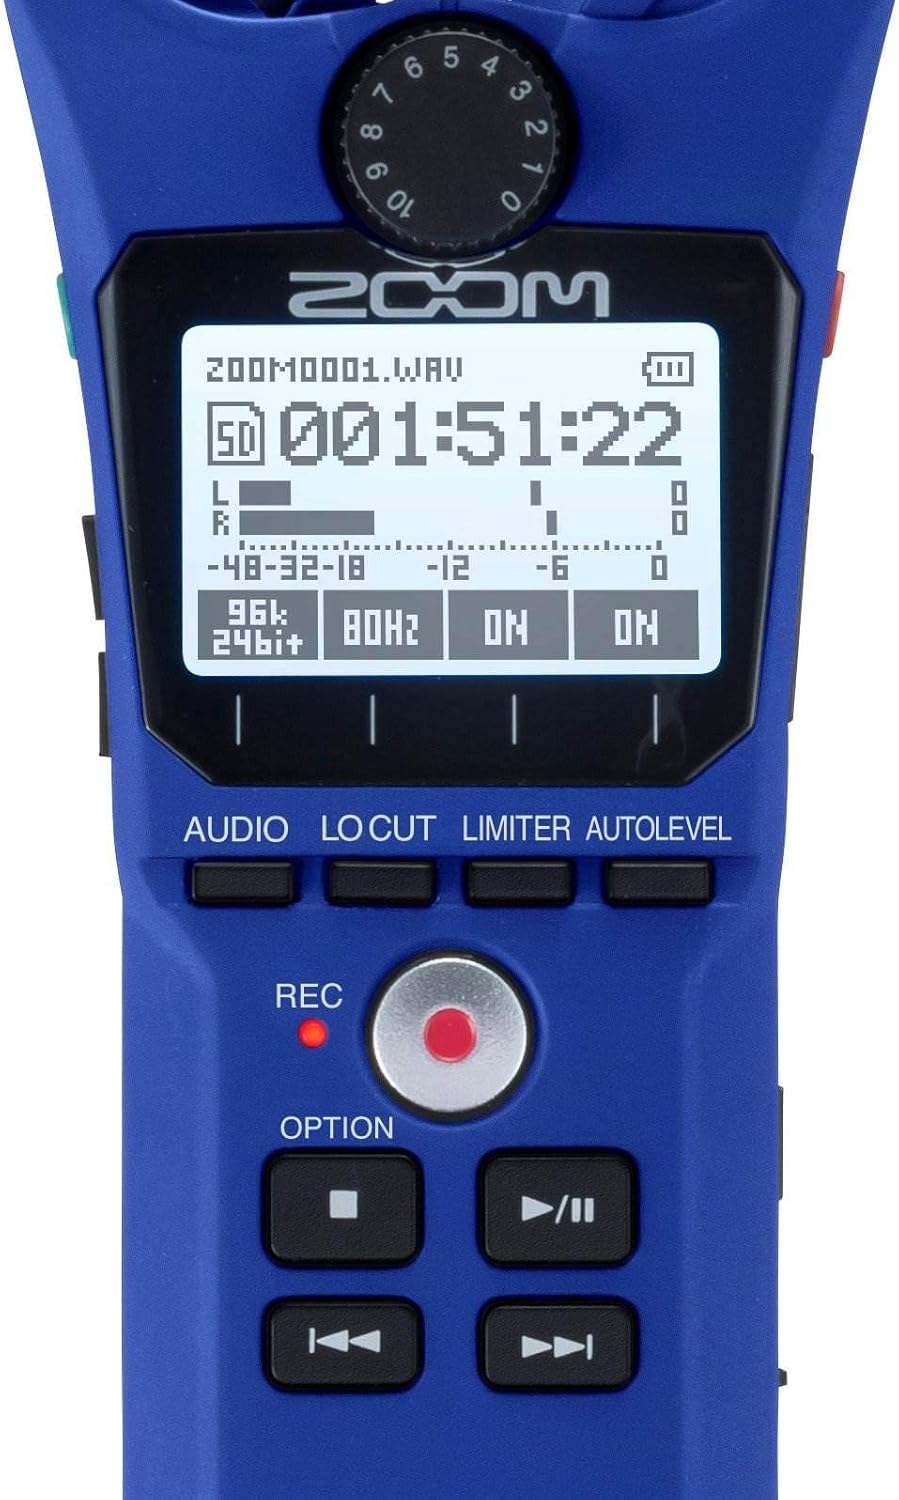
Figure 3: Close-up of H1n Display and Controls. This image provides a detailed view of the H1n's LCD screen, showing recording parameters, and the main control buttons including REC, OPTION, and playback controls.
4.4 USB Functionality
Connect the H1n to a computer using a micro-USB cable (sold separately).
- USB Microphone: The H1n can function as a USB microphone for your computer.
- SD Card Reader: Access files on the microSD card directly from your computer.
5. Maintenance
- Cleaning: Use a soft, dry cloth to clean the unit. Do not use liquid cleaners or solvents.
- Storage: Store the H1n in a cool, dry place away from direct sunlight and extreme temperatures. Remove batteries if storing for extended periods.
- Handling: The H1n is a precision instrument. Avoid dropping it or subjecting it to strong impacts.
6. Troubleshooting
- Device does not power on: Check battery installation and ensure batteries are charged.
- Recording issues (no sound, distorted sound): Verify input level settings. Ensure microphones are not obstructed. Check if an external microphone is properly connected to the LINE IN jack.
- SD card errors: Ensure the microSD card is properly inserted and formatted. Try a different microSD card if issues persist.
- Rattling sound from volume rocker: This is a known characteristic of the design. To minimize noise during recording, avoid shaking the device or secure the rocker with a finger if recording while moving.
- Computer does not recognize H1n via USB: Ensure the USB cable is securely connected. Try a different USB port or cable. Select the correct USB mode on the H1n (Audio Interface or SD Card Reader).
7. Specifications
| Feature | Specification |
|---|---|
| Recording Media | microSD/microSDHC card (up to 32 GB) |
| Recording Formats | WAV (16/24-bit, 44.1/48/96 kHz), MP3 (48-320 kbps) |
| Microphone | 90° X/Y stereo condenser microphones |
| Inputs | 3.5mm stereo mini jack (LINE IN) |
| Outputs | 3.5mm stereo mini jack (LINE OUT/HEADPHONE) |
| USB Port | Micro-USB (USB 2.0 High Speed) |
| Power | 2 x AAA batteries (Alkaline or NiMH) or AC adapter (AD-17, sold separately) |
| Battery Life | Approximately 10 hours (Alkaline batteries, WAV 44.1 kHz/16-bit) |
| Dimensions | 1.5"D x 5.5"W x 1"H (approximate) |
| Weight | 0.5 Pounds (approximate, without batteries) |
8. Warranty and Support
For warranty information and technical support, please refer to the official Zoom website or contact your local Zoom distributor. Keep your purchase receipt as proof of purchase for warranty claims.


