
Introduction
This manual provides essential instructions for the safe and effective use of your PEAK Portable Jump Starter. Please read this manual thoroughly before operating the device and retain it for future reference. This device is designed to provide a portable power source for jump-starting vehicles and charging electronic devices.
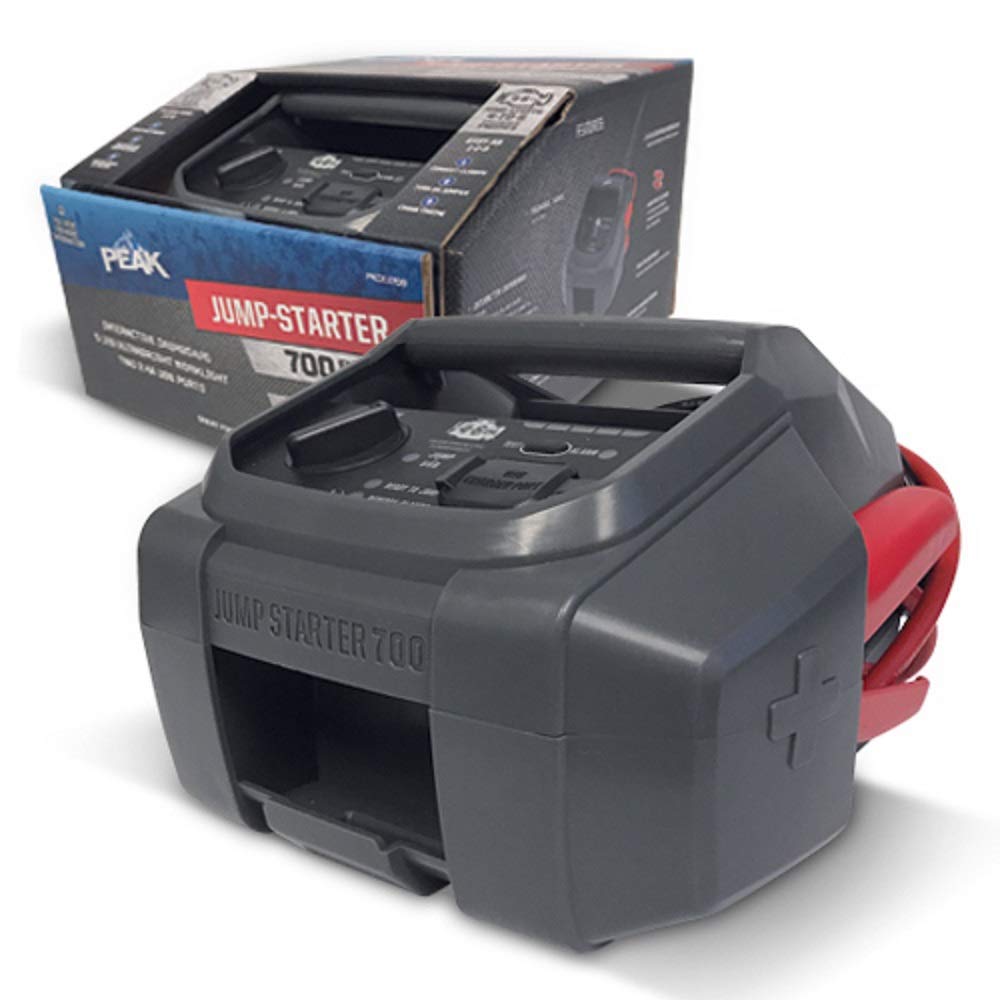
Image 1: The PEAK Portable Jump Starter unit, showing its compact design and included cables for vehicle connection.
Setup
1. Initial Charging
Before first use, fully charge the PEAK Portable Jump Starter. Connect the provided charging cable to the jump starter's charging port and plug the other end into a suitable power source (e.g., wall adapter, car charger). The charging indicator lights will illuminate to show the charging status. A full charge typically takes several hours.
2. Checking Battery Level
Periodically check the jump starter's battery level. Most units feature indicator lights or a digital display to show the remaining charge. Ensure the unit is sufficiently charged before attempting to jump-start a vehicle.
Operating Instructions
1. Jump-Starting a Vehicle
- Ensure the vehicle's ignition is off and all accessories (lights, radio) are turned off.
- Connect the red positive (+) clamp of the jump starter to the positive (+) terminal of the vehicle's battery.
- Connect the black negative (-) clamp of the jump starter to a clean, unpainted metal part of the vehicle's engine block or chassis, away from the battery. Do not connect directly to the negative battery terminal.
- Turn on the PEAK Portable Jump Starter.
- Attempt to start the vehicle. If it does not start immediately, wait at least 30 seconds before trying again. Do not crank the engine for more than 5 seconds per attempt.
- Once the vehicle starts, immediately disconnect the black negative (-) clamp from the vehicle chassis, then disconnect the red positive (+) clamp from the battery.
- Turn off the jump starter.
Image 2: Illustrative diagram of connecting the red clamp to the positive battery terminal and the black clamp to the vehicle's chassis.
2. Charging Electronic Devices
The PEAK Portable Jump Starter may include USB output ports for charging smartphones, tablets, and other USB-powered devices. Connect your device's charging cable to the appropriate USB port on the jump starter. The charging process will typically begin automatically.
Maintenance
1. Storage
Store the jump starter in a cool, dry place, away from direct sunlight and extreme temperatures. Ensure it is fully charged before storing for extended periods. Recharge every 3-6 months to maintain battery health.
2. Cleaning
Clean the exterior of the jump starter with a soft, damp cloth. Do not use harsh chemicals or abrasive cleaners. Keep the clamps clean and free of corrosion.
Troubleshooting
| Problem | Possible Cause | Solution |
|---|---|---|
| Jump starter not turning on | Low battery charge | Recharge the jump starter fully. |
| Vehicle not starting after jump attempt | Incorrect clamp connection; Severely discharged vehicle battery; Vehicle issue | Verify clamp connections are secure and correct. Wait 30 seconds and try again. If still no start, vehicle may require professional service. |
| Jump starter not charging | Faulty charging cable or adapter; Charging port issue | Try a different charging cable and adapter. Contact support if issue persists. |
Specifications
- Brand: PEAK
- Model: B07J2P5KTR
- Battery Type: 1 Lithium Ion battery (included)
- Special Feature: Portable
- Color: Black
- Date First Available: September 26, 2018
Warranty Information
This PEAK Portable Jump Starter is covered by a limited warranty against defects in materials and workmanship. The specific terms and duration of the warranty may vary. Please refer to the warranty card included with your product or visit the official PEAK website for detailed information.
Customer Support
For technical assistance, troubleshooting, or warranty claims, please contact PEAK customer support. Contact information can typically be found on the product packaging, the official PEAK website, or by referring to the documentation included with your purchase.


