
1. Introduction
This manual provides essential information for the proper installation, operation, and maintenance of your Hifonics Zeus ZXX 2400.1D Monoblock Car Audio Amplifier. Please read this manual thoroughly before attempting installation or operation to ensure optimal performance and safety. Retain this manual for future reference.
Safety Precautions
- Always disconnect the vehicle's battery negative terminal before beginning any installation.
- Ensure all wiring is properly routed and secured to prevent damage or short circuits.
- Avoid installing the amplifier in locations exposed to direct sunlight, excessive heat, moisture, or dust.
- Use appropriate gauge wiring for power, ground, and speaker connections as specified in the installation section.
- Professional installation is recommended for optimal results and to prevent damage to the amplifier or vehicle.
2. Product Features
The Hifonics Zeus ZXX 2400.1D is a high-efficiency Class D monoblock amplifier designed to power subwoofers with precision and power. Key features include:
- Single channel amplifier optimized for driving subwoofers.
- High-efficiency Class D topology for powerful output in a compact design.
- Low noise pre-amplifier circuitry to minimize distortion.
- PWM MOSFET power supply for stable and consistent power delivery.
- Simpatico dual coil design power supply for voltage stability.
- Variable electronic crossovers for precise audio tuning.
- Nickel-plated inputs for enhanced signal transfer and corrosion resistance.
- High temperature, corrosion, and impact-resistant hex screw terminals for secure connections.
- Includes a remote bass control for convenient adjustment.
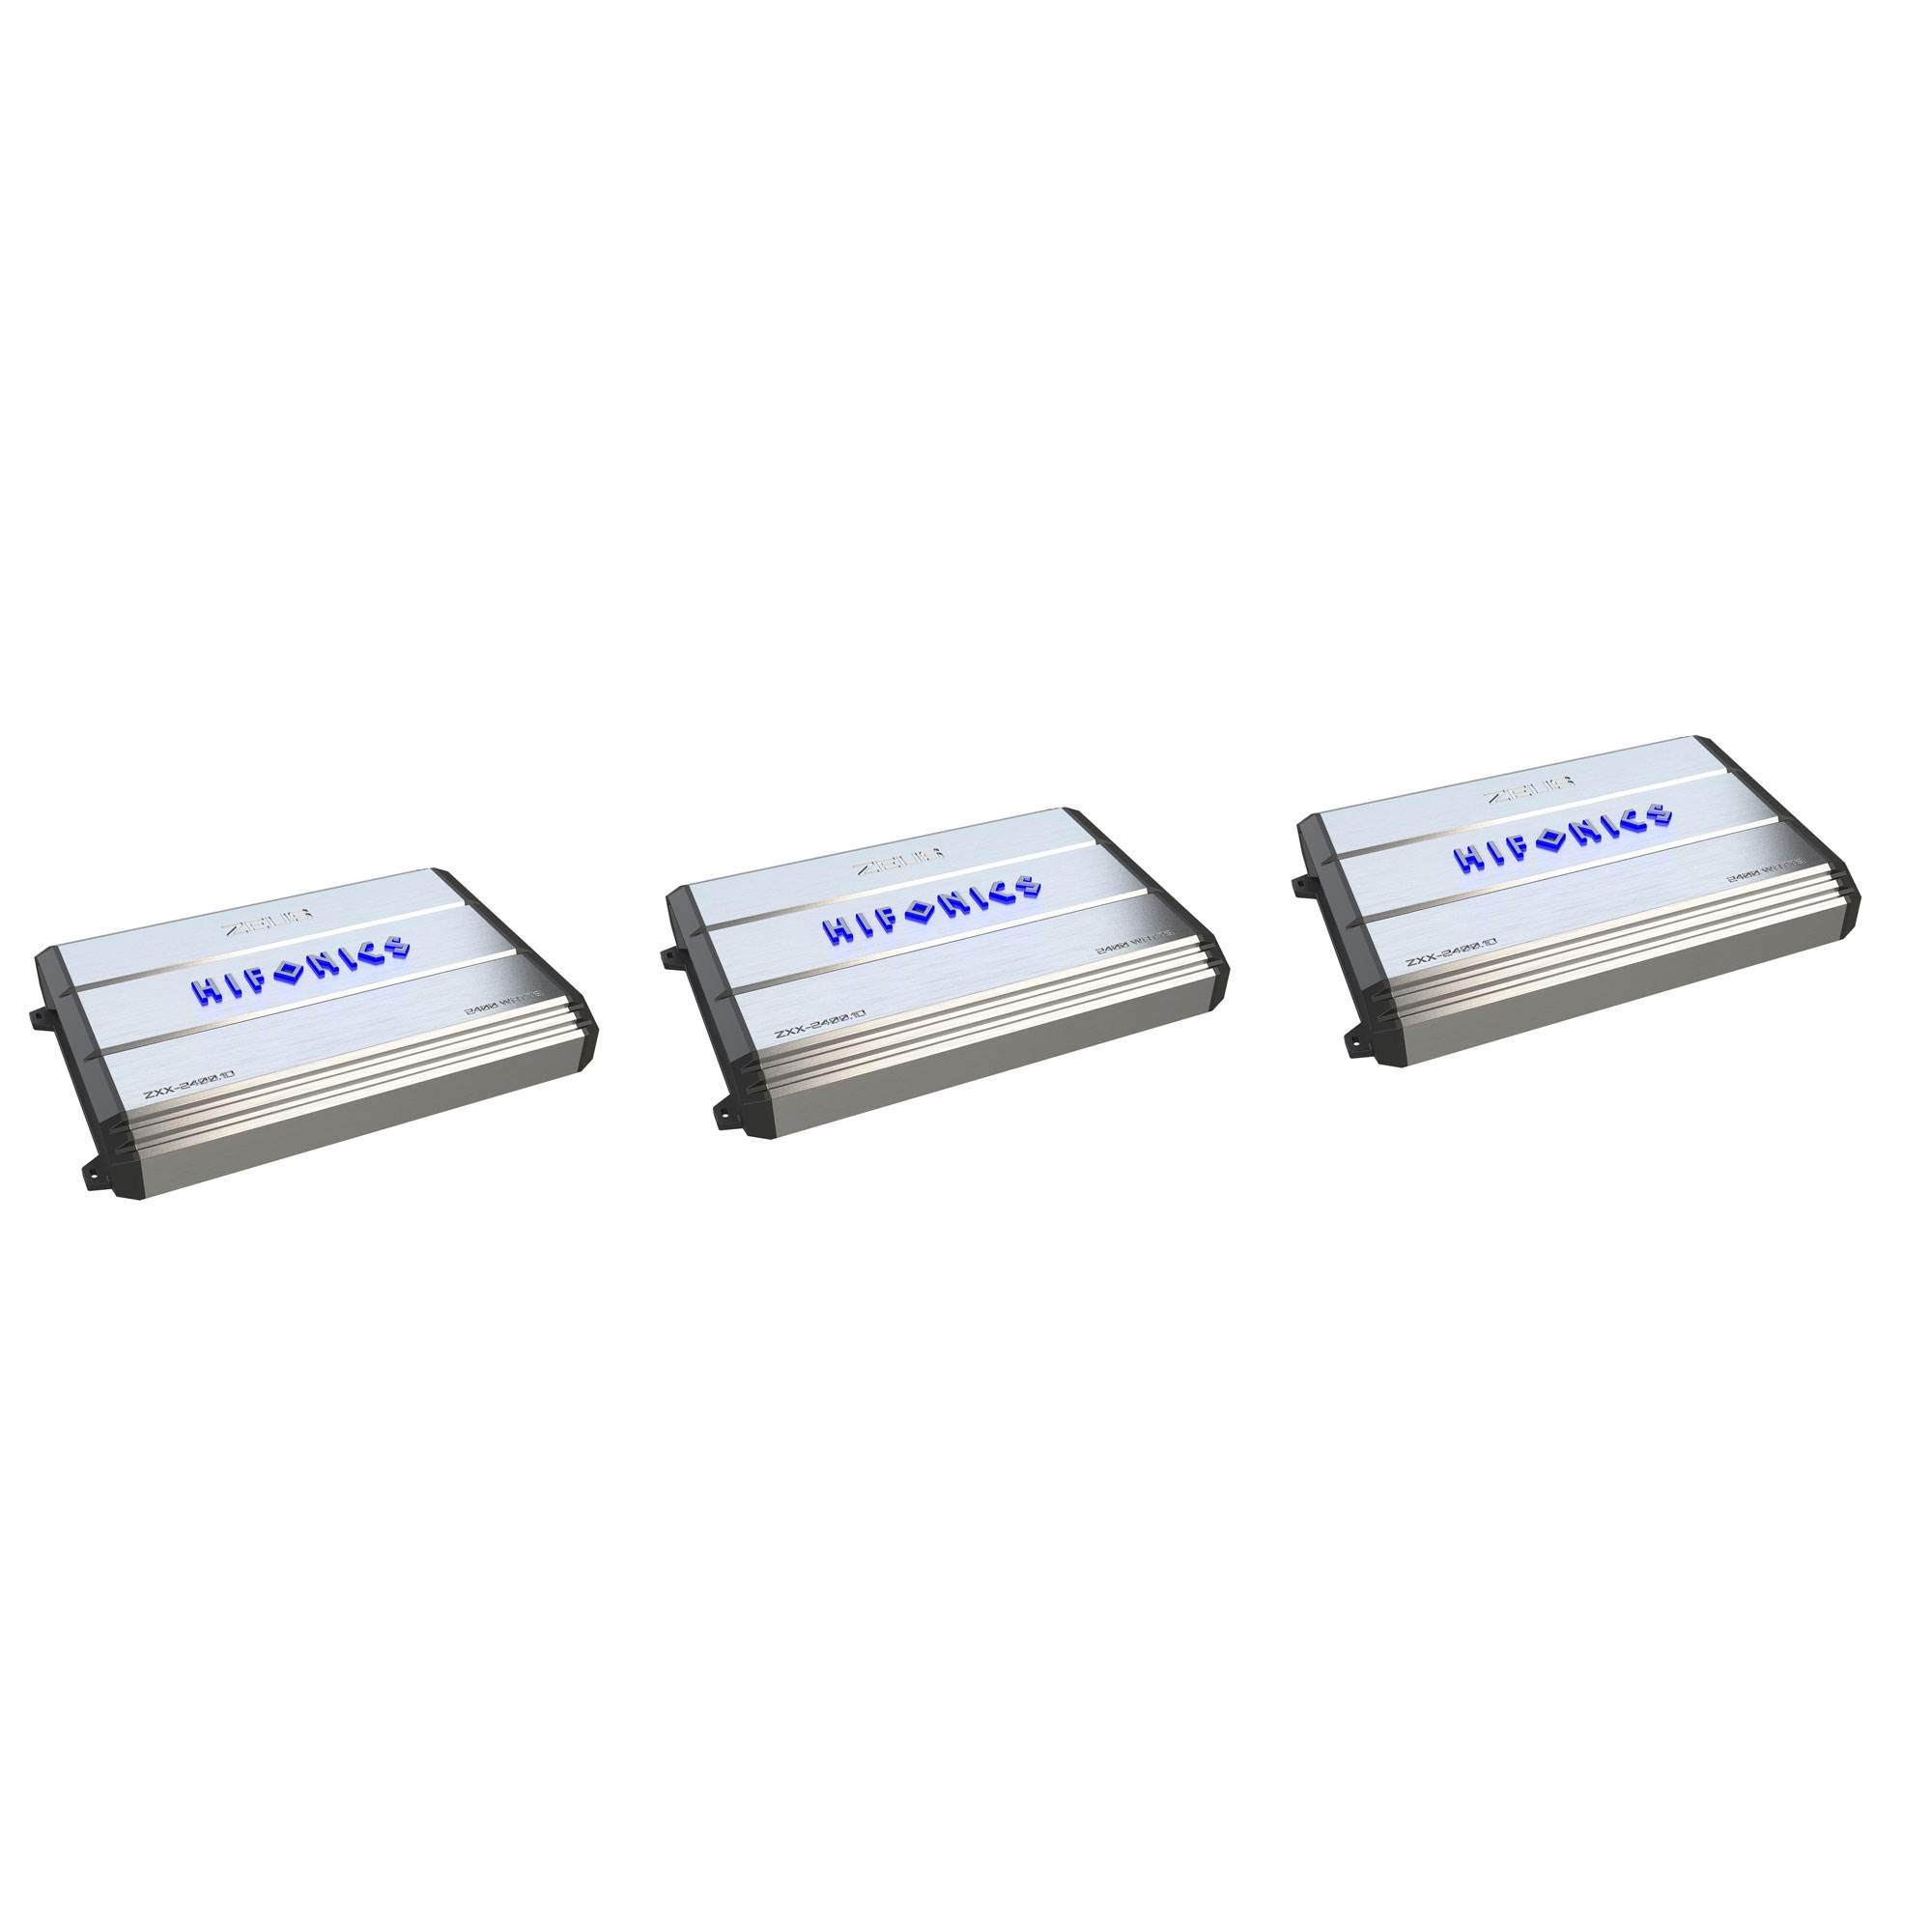
Figure 2.1: Top view of the Hifonics Zeus ZXX 2400.1D Monoblock Car Audio Amplifier, showcasing its sleek design and branding.

Figure 2.2: Detail view of the model number ZXX-2400.1D engraved on the amplifier chassis.
3. Setup and Installation
Proper installation is crucial for the performance and longevity of your amplifier. If you are unsure about any steps, consult a professional car audio installer.
3.1 Mounting Location
Choose a mounting location that is dry, well-ventilated, and protected from direct sunlight or excessive heat. Ensure there is sufficient space around the amplifier for air circulation. Avoid mounting on carpeted surfaces directly, as this can impede cooling. Secure the amplifier firmly to a solid surface using appropriate hardware.
3.2 Wiring Connections
All wiring should be of adequate gauge to handle the amplifier's power requirements. Refer to the diagram below for typical connections.

Figure 3.1: Overview of the amplifier's input and output terminals.
Power (B+) Connection
- Connect a heavy-gauge power cable (e.g., 4 AWG or larger, depending on total system power) directly from the positive (+) terminal of the vehicle's battery to the B+ terminal on the amplifier.
- Install an in-line fuse holder with a fuse (rated appropriately for the amplifier's current draw) within 18 inches (45 cm) of the battery.
Ground (GND) Connection
- Connect a heavy-gauge ground cable (same gauge as power cable) from the GND terminal on the amplifier to a clean, unpainted metal surface of the vehicle's chassis.
- Ensure the ground point is free of paint, rust, or dirt for a solid electrical connection. The ground cable should be as short as possible, ideally less than 3 feet (1 meter).
Remote (REM) Turn-On Connection
- Connect a smaller gauge wire (e.g., 18 AWG) from the REM terminal on the amplifier to the remote turn-on output of your head unit. This wire signals the amplifier to turn on and off with your vehicle's audio system.
RCA Input Connections
- Connect RCA cables from the subwoofer output of your head unit to the RCA input jacks on the amplifier.
Speaker Output Connections
- Connect your subwoofer(s) to the speaker output terminals on the amplifier. Ensure correct polarity (+ to + and - to -).
- Verify the impedance of your subwoofer(s) is compatible with the amplifier's specifications.
4. Operating and Adjustments
Once installed, the amplifier requires proper adjustment for optimal sound quality and to prevent damage to your speakers or amplifier.
4.1 Gain Control
The gain control (often labeled 'Level' or 'Input Level') matches the amplifier's input sensitivity to the output voltage of your head unit. To set the gain:
- Turn the amplifier's gain control to its minimum (fully counter-clockwise) setting.
- Set your head unit's volume to about 75-80% of its maximum.
- Play a familiar music track with strong bass content.
- Slowly increase the amplifier's gain control until you hear distortion, then back it off slightly until the sound is clear.
4.2 Crossover Settings
The ZXX 2400.1D features variable electronic crossovers. For a monoblock amplifier powering subwoofers, you will typically use a Low-Pass Filter (LPF).
- Low-Pass Filter (LPF): This filter allows only frequencies below a set point to pass through to the subwoofer. A common starting point for subwoofer LPF is between 80Hz and 120Hz. Adjust this setting to blend smoothly with your main speakers.
4.3 Bass Boost
The amplifier may include a bass boost feature. Use this sparingly, as excessive bass boost can lead to distortion and potential damage to your subwoofer. Adjust it to enhance bass response to your preference without introducing audible distortion.
4.4 Remote Bass Control
The included remote bass control allows for convenient adjustment of the subwoofer output level from the driver's seat. Connect it to the designated port on the amplifier.
5. Maintenance
Your Hifonics amplifier requires minimal maintenance to ensure long-term performance.
- Cleaning: Periodically wipe the amplifier's exterior with a soft, dry cloth to remove dust. Do not use harsh chemicals or abrasive cleaners.
- Ventilation: Ensure that the amplifier's cooling fins are not obstructed by debris or other objects. Proper airflow is essential to prevent overheating.
- Connections: Occasionally check all power, ground, remote, RCA, and speaker connections to ensure they are secure and free from corrosion. Loose connections can cause performance issues or damage.
6. Troubleshooting
If you experience issues with your amplifier, refer to the following troubleshooting guide before contacting support.
| Problem | Possible Cause | Solution |
|---|---|---|
| No Power / Amplifier Not Turning On | Blown fuse; Loose power/ground/remote wire; Faulty remote turn-on signal. | Check and replace fuse; Verify all power, ground, and remote connections are secure; Test remote wire for 12V when head unit is on. |
| No Sound Output | Loose RCA cables; Incorrect gain setting; Speaker wires disconnected; Amplifier in protection mode. | Check RCA connections; Adjust gain; Verify speaker wire connections; Check for overheating or shorted speaker wires. |
| Distorted Sound | Gain set too high; Incorrect crossover settings; Damaged speaker/subwoofer; Poor ground connection. | Reduce gain; Adjust LPF setting; Inspect speaker/subwoofer for damage; Ensure ground connection is solid. |
| Amplifier Overheating | Insufficient ventilation; Impedance mismatch; Gain set too high. | Ensure proper airflow around amplifier; Verify subwoofer impedance matches amplifier's rating; Reduce gain setting. |
7. Specifications
The following table outlines the technical specifications for the Hifonics Zeus ZXX 2400.1D Monoblock Car Audio Amplifier.
| Feature | Specification |
|---|---|
| Model | ZXX 2400.1D |
| Amplifier Type | Class D Monoblock |
| Max Power Output | 2400 Watts |
| Frequency Response | 10Hz - 300Hz |
| Crossover | Variable Electronic Low-Pass Filter (LPF) |
| Power Supply | PWM MOSFET, Simpatico Dual Coil Design |
| Inputs | Nickel Plated RCA |
| Terminals | High Temperature, Corrosion, and Impact Resistant Hex Screw Terminals |
| ASIN | B07J21L3QK |
| Manufacturer | Hifonics |
| Date First Available | November 3, 2025 |
8. Warranty and Support
For detailed warranty information, please refer to the documentation included with your product or visit the official Hifonics website. Warranty terms and conditions may vary by region and retailer.
Customer Support
If you require technical assistance or have questions not covered in this manual, please contact Hifonics customer support through their official website or the retailer from whom you purchased the product. Have your product model number and purchase date available when contacting support.