1. Introduction
The RIWALL PRO REPW 120 SET is a powerful electric pressure washer designed for efficient cleaning tasks around your home and garden. This manual provides essential information for safe operation, proper maintenance, and effective troubleshooting to ensure optimal performance and longevity of your device.
Always read and understand all safety warnings and instructions before operating the pressure washer. Keep this manual for future reference.
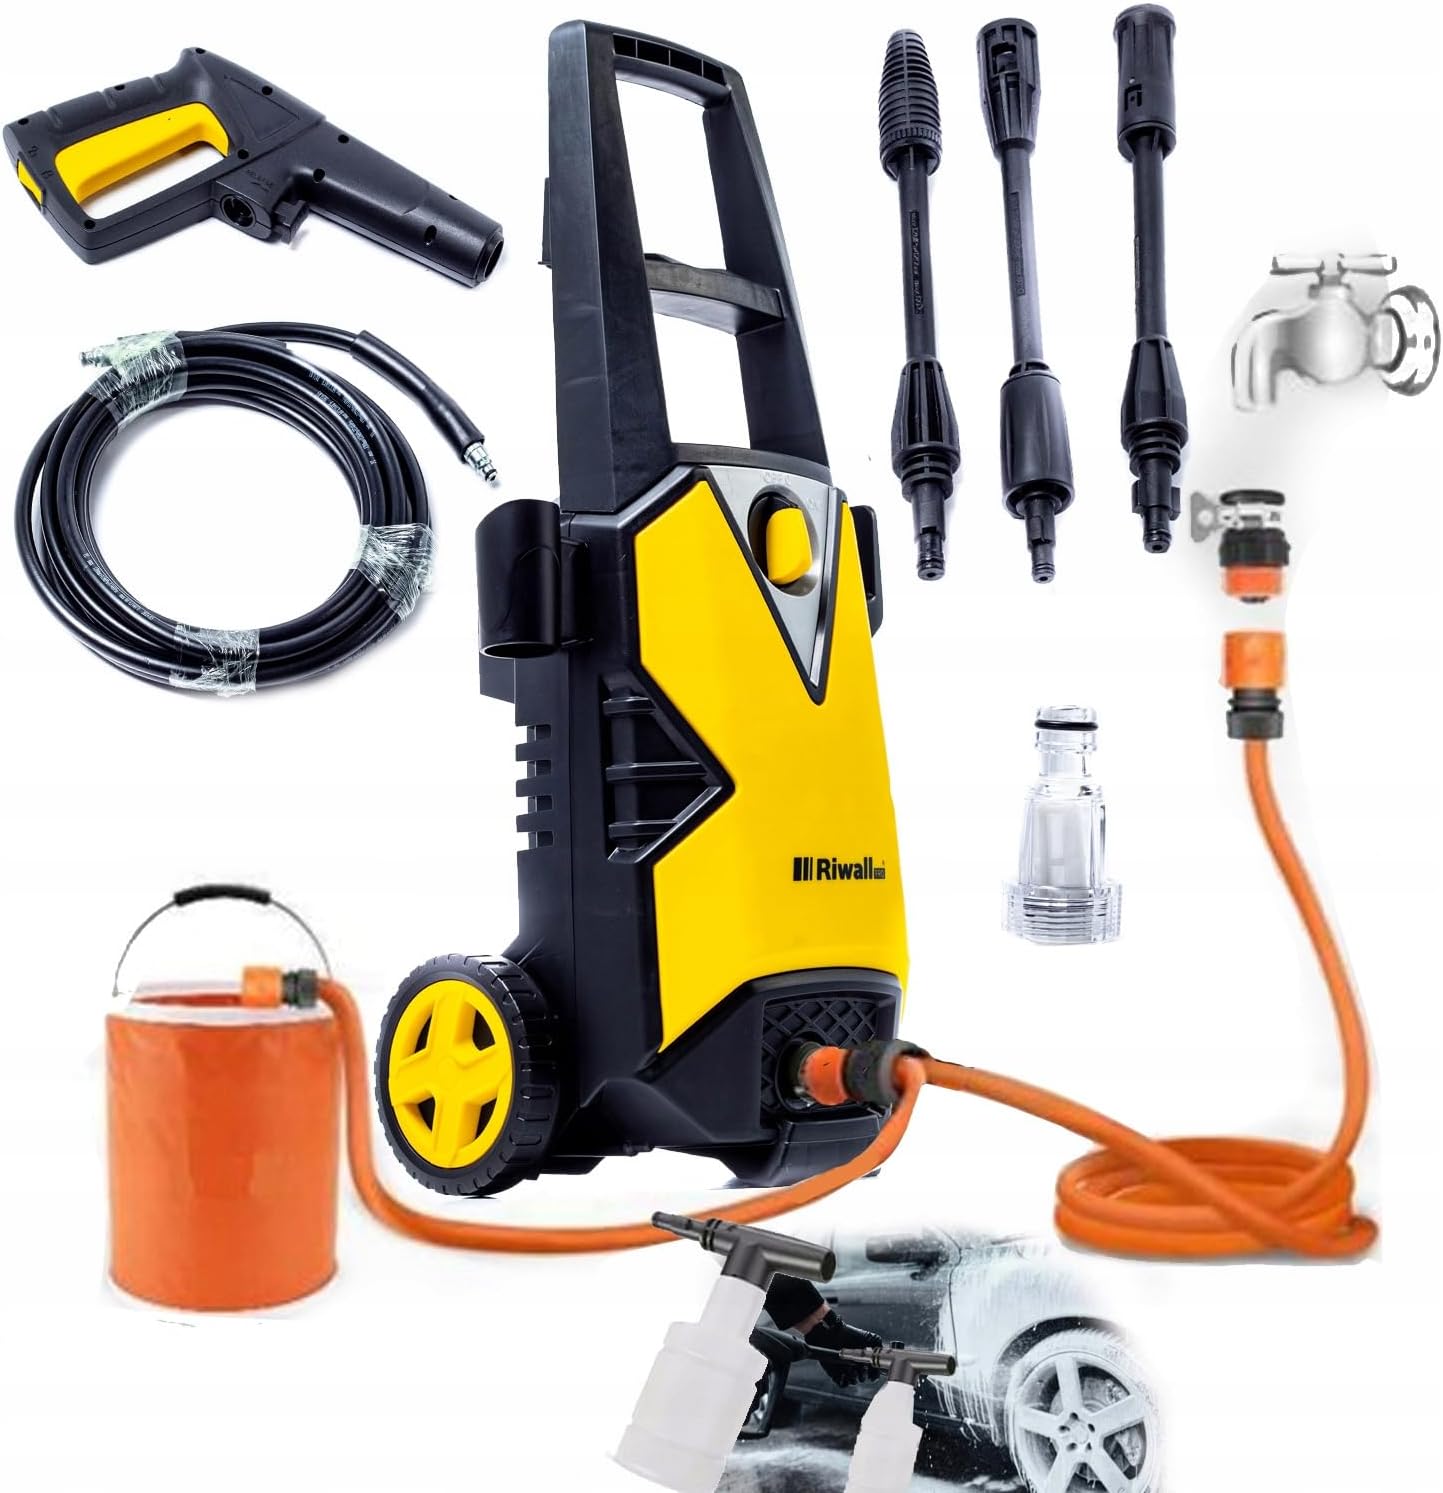
Figure 1.1: The RIWALL PRO REPW 120 SET pressure washer with its complete set of accessories, including the spray gun, high-pressure hose, various nozzles, and detergent bottle.
2. Setup and Assembly
Follow these steps to correctly set up your pressure washer before first use:
- Unpack Components: Carefully remove all items from the packaging. Verify that all parts listed in the product diagram are present.
- Assemble Handle and Wheels: If not pre-assembled, attach the handle and wheels to the main unit according to the illustrations in the quick start guide. Ensure they are securely fastened.
- Connect High-Pressure Hose: Connect one end of the high-pressure hose to the high-pressure outlet on the pressure washer and the other end to the spray gun. Ensure connections are tight to prevent leaks.
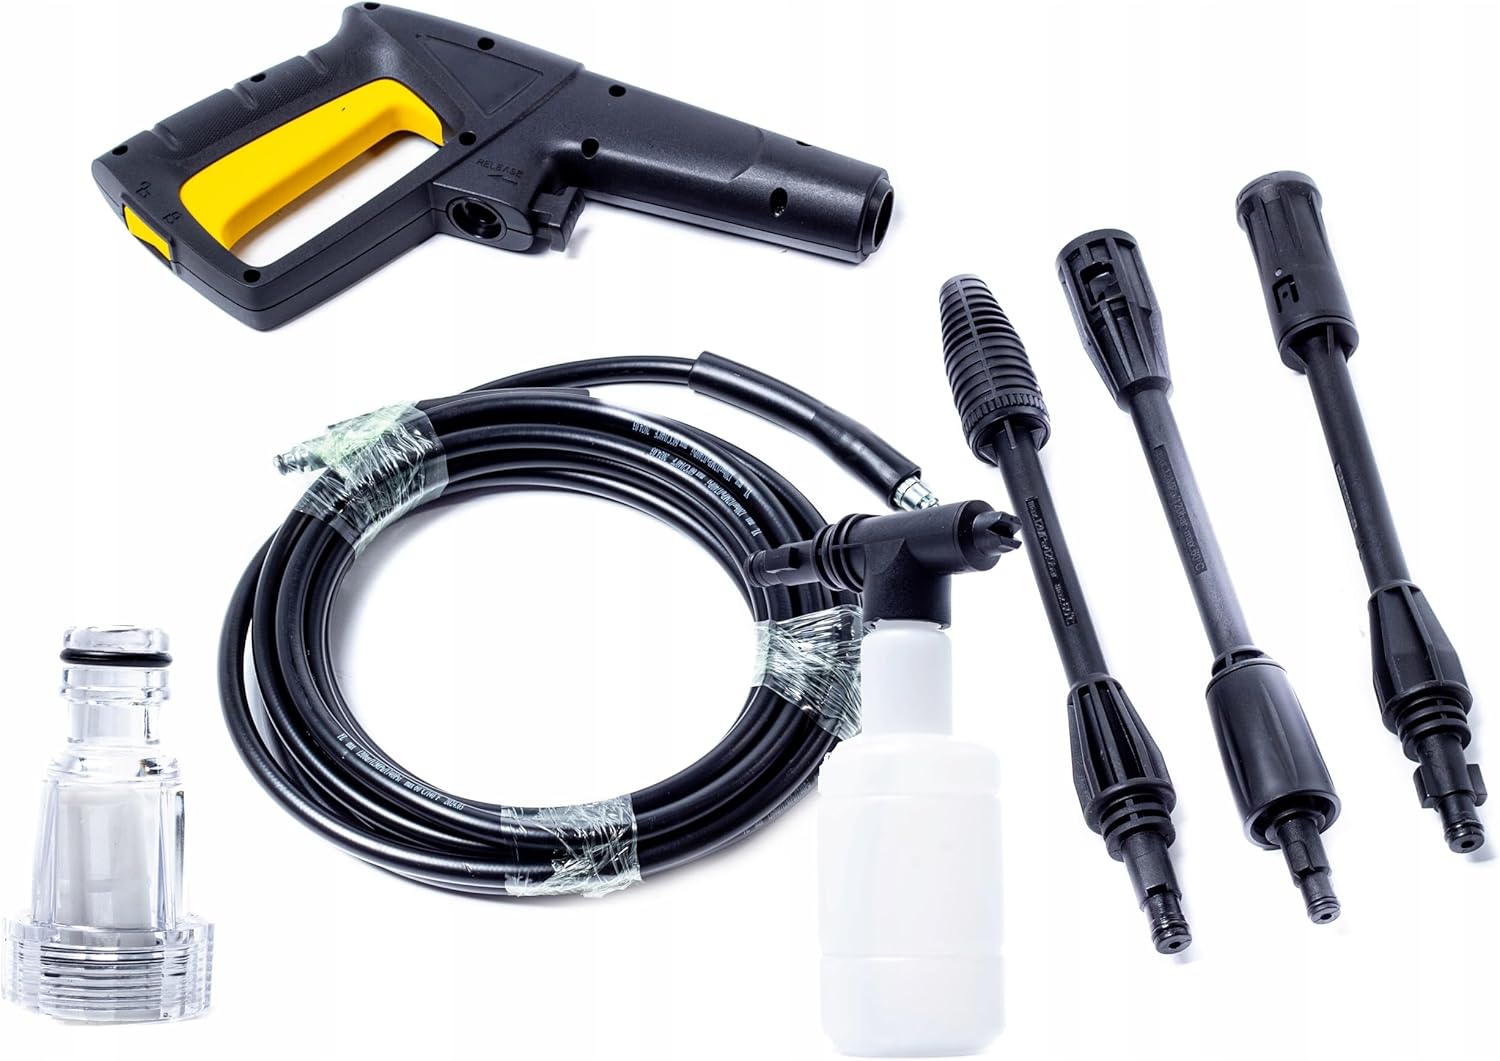
Figure 2.1: A detailed view of the accessories provided with the pressure washer, including the spray gun, high-pressure hose, and different types of nozzles for varied cleaning tasks.
- Connect Water Supply: Attach your garden hose (not included) to the water inlet connection on the pressure washer. Ensure the water supply is clean and free of debris. A water filter is recommended to protect the pump.
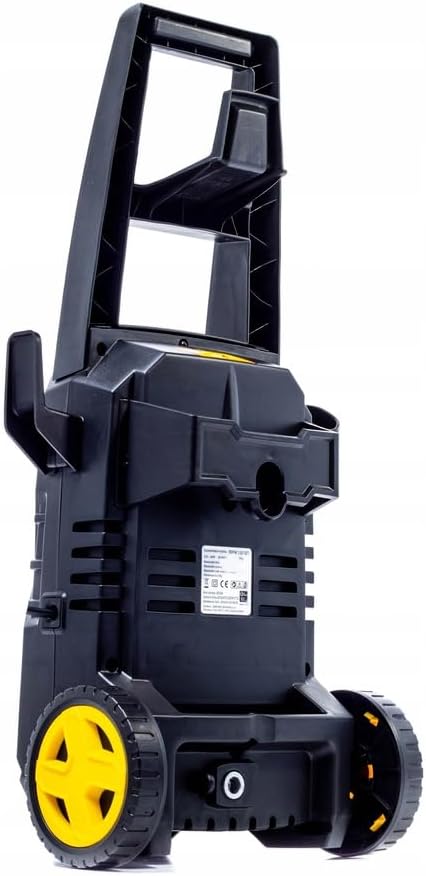
Figure 2.2: The rear view of the pressure washer, highlighting the water inlet connection point where the garden hose is attached.
- Connect Power: Plug the power cord into a grounded electrical outlet. Ensure the voltage matches the specifications of the unit.
3. Operating Instructions
Before starting, ensure all connections are secure and the water supply is turned on.
- Purge Air: Squeeze the trigger on the spray gun until a steady stream of water flows, indicating all air has been expelled from the system. This protects the pump.
- Start the Unit: Turn on the pressure washer using the power switch located on the unit.
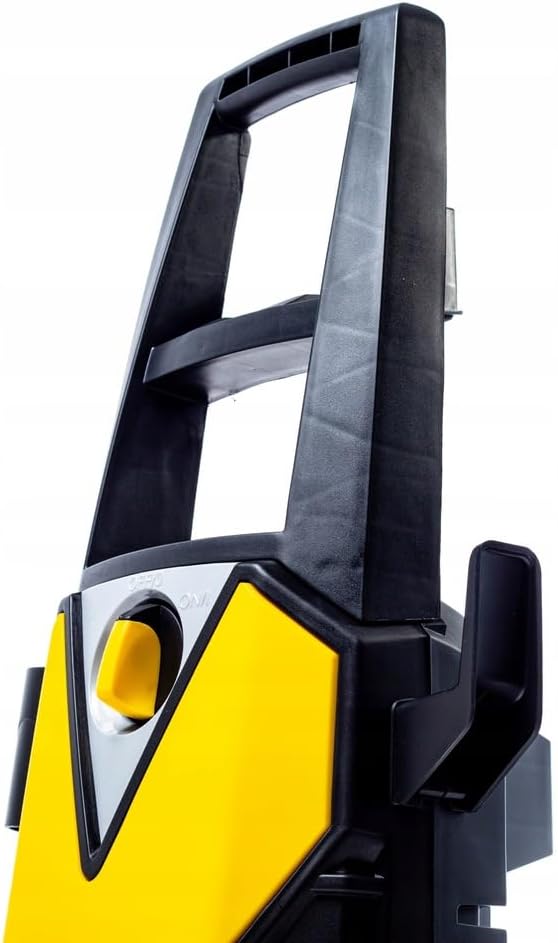
Figure 3.1: A close-up of the pressure washer's top handle and control panel, showing the power switch and other operational indicators.
- Select Nozzle: Choose the appropriate nozzle for your cleaning task. Different nozzles provide varying spray patterns and pressures. Always attach or remove nozzles only when the unit is off and pressure is released.
- Apply Detergent (Optional): If your model supports detergent application, fill the detergent tank with appropriate pressure washer detergent. Attach the detergent nozzle (if separate) or ensure the detergent function is activated. The pressure washer will draw detergent at low pressure.
- Begin Cleaning: Maintain a firm grip on the spray gun and stand on a stable surface. Keep a safe distance from the surface being cleaned to avoid damage.

Figure 3.2: Examples of the pressure washer in action, demonstrating its effectiveness on a dirty car wheel and a heavily soiled SUV before and after cleaning.
- Shut Down: To stop operation, release the trigger, turn off the power switch, and turn off the water supply. Squeeze the trigger again to release any remaining pressure in the system.
4. Maintenance
Regular maintenance ensures the longevity and optimal performance of your pressure washer.
- After Each Use: Disconnect the water and power supply. Squeeze the trigger to release any remaining pressure in the hose and pump.
- Cleaning the Unit: Wipe down the exterior of the unit with a damp cloth. Do not use harsh chemicals or abrasive cleaners.
- Hose and Cord Inspection: Regularly inspect the high-pressure hose and power cord for any signs of damage, kinks, or wear. Replace damaged components immediately.
- Water Inlet Filter: Clean the water inlet filter regularly to prevent debris from entering and damaging the pump. Remove the filter, rinse it under running water, and reinsert.
- Storage and Winterization: For long-term storage or during freezing temperatures, ensure all water is drained from the pump, hoses, and spray gun to prevent damage from freezing. Store the unit in a dry, protected area.
5. Troubleshooting
Refer to this section for common issues and their solutions.
| Problem | Possible Cause | Solution |
|---|---|---|
| No pressure or low pressure | Insufficient water supply, kinked hose, clogged water inlet filter, air in pump | Ensure water supply is fully open; straighten hose; clean water inlet filter; purge air from system by squeezing trigger with water on until steady flow. |
| Motor not starting | No power, tripped circuit breaker, faulty power switch | Check power connection; reset circuit breaker; ensure power switch is ON. |
| Pulsating pressure | Air in pump, clogged nozzle, insufficient water supply | Purge air from system; clean or replace nozzle; ensure adequate water supply. |
| Water leaks | Loose connections, worn O-rings, damaged hose | Tighten all connections; inspect and replace worn O-rings; replace damaged hose. |
If you encounter problems not listed here or if the suggested solutions do not resolve the issue, please contact customer support.
6. Specifications
- Brand: Riwall PRO
- Model: REPW 120 SET
- Power Type: Electric Cable
- ASIN: B07HXL5N2C
- Manufacturer: Riwall
- Date First Available on Amazon.com.be: 24 April 2022
7. Warranty and Support
This product comes with a standard manufacturer's warranty. Please refer to the warranty card included in your product packaging for specific terms and conditions regarding coverage, duration, and claim procedures.
For technical support, spare parts, or warranty claims, please contact Riwall PRO customer service. Contact details can typically be found on the manufacturer's official website or on the product packaging. When contacting support, please have your product model number (REPW 120 SET) and ASIN (B07HXL5N2C) ready.


