1. Introduction
Thank you for choosing the HOMCOM 5-Bike Rack. This manual provides essential information for the safe assembly, installation, and proper use of your new bike storage solution. Please read these instructions carefully before beginning assembly and retain them for future reference. Ensure all components are present and undamaged before proceeding.
2. Product Overview
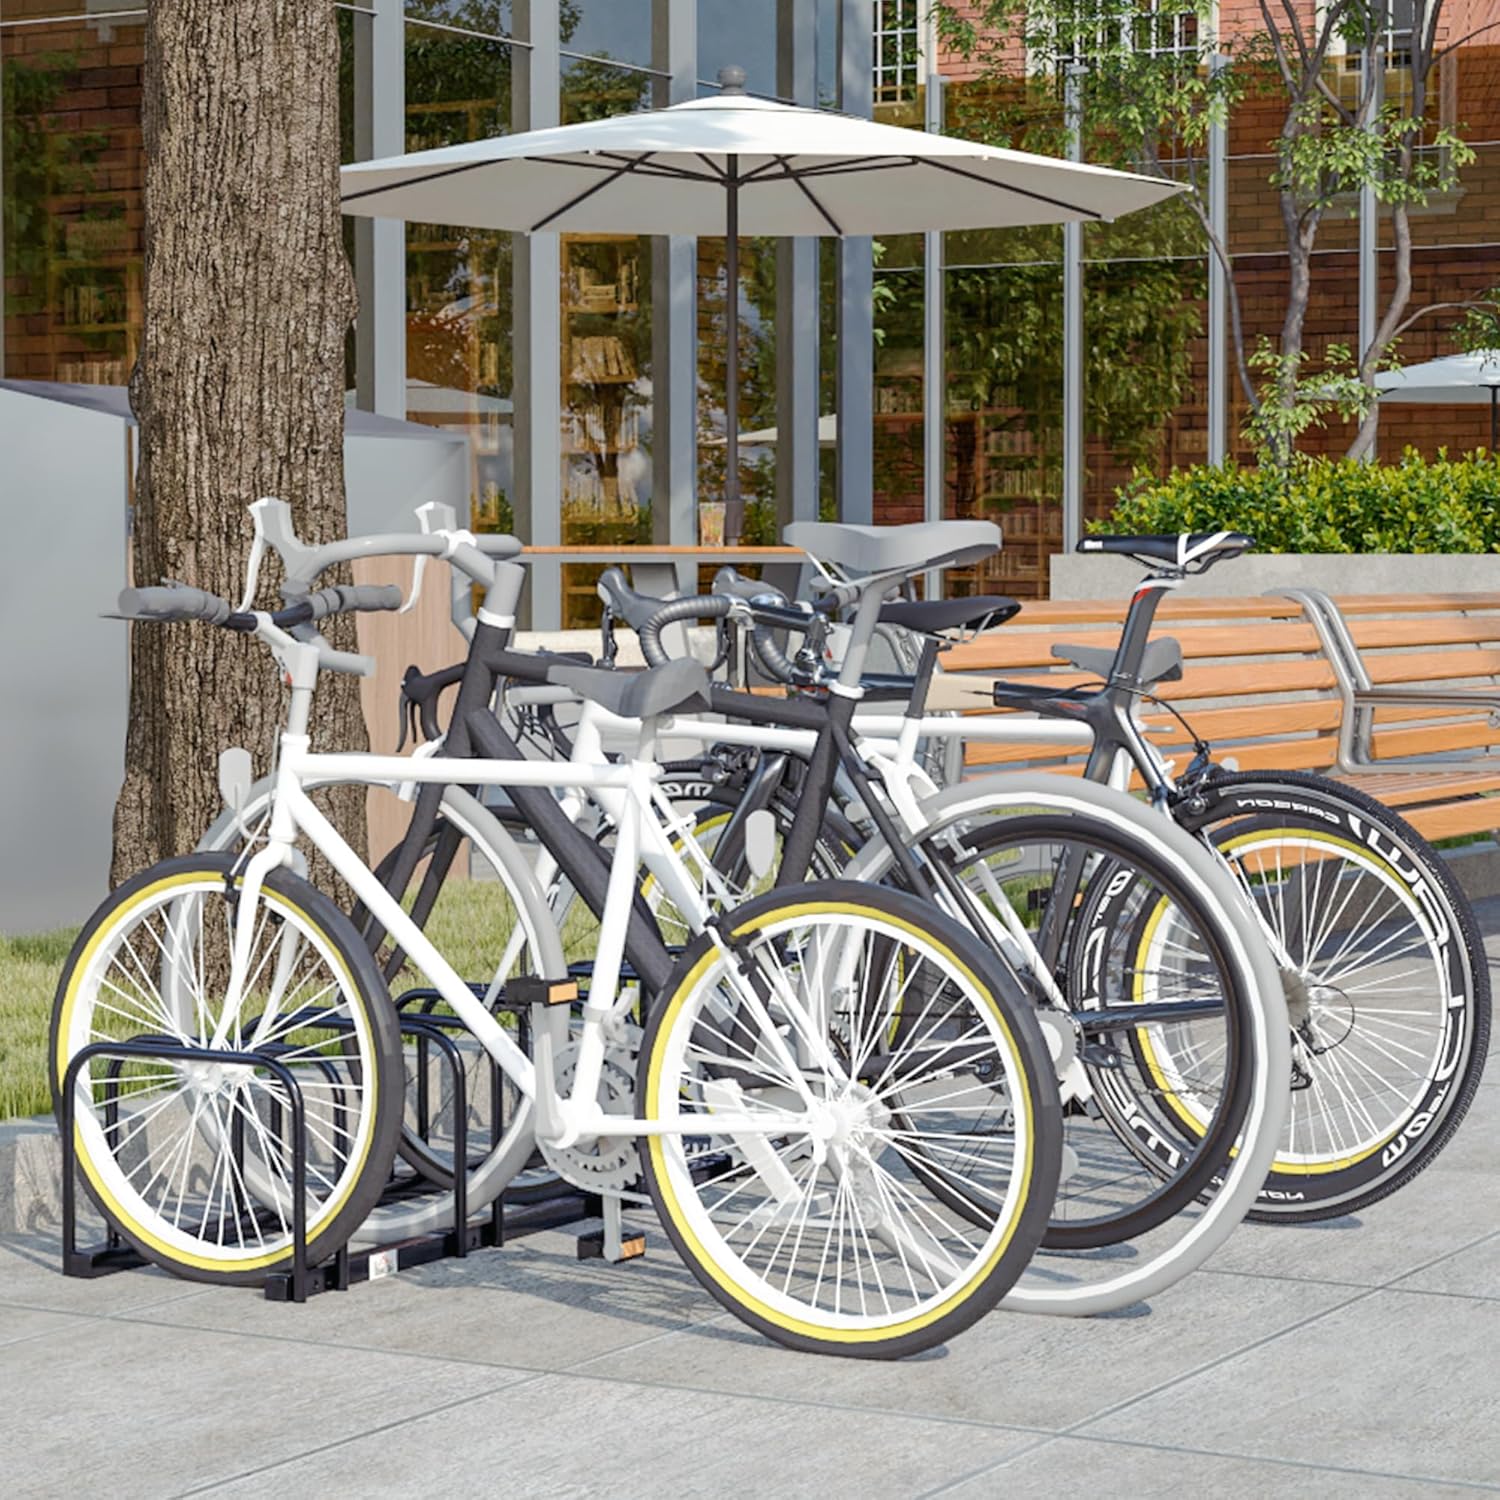
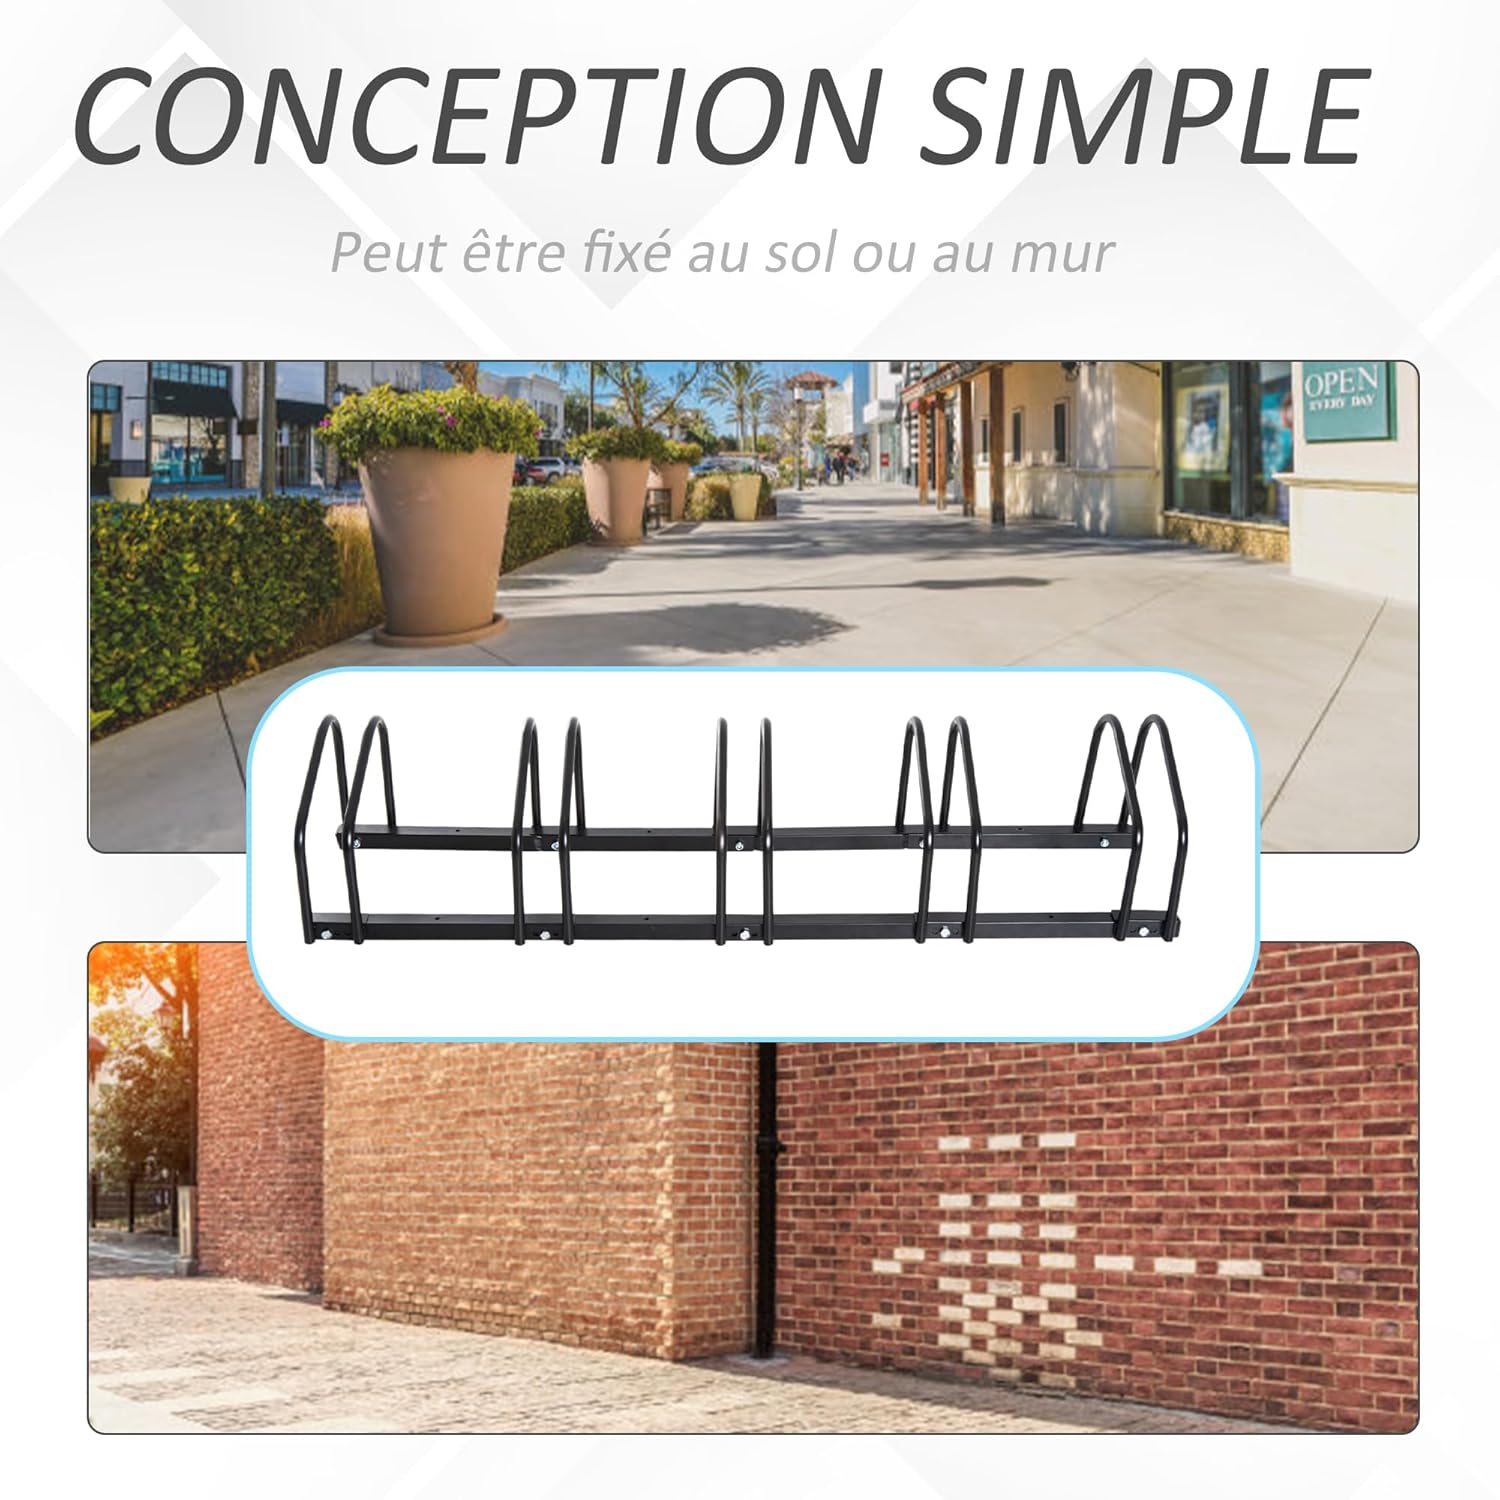
The HOMCOM 5-Bike Rack is designed to provide organized and secure storage for up to five bicycles. Constructed from robust alloy steel, it offers durability for both indoor and outdoor use. Its modular design allows for flexible configuration, and it can be installed either on the floor or mounted to a wall to suit various space requirements.

3. Package Contents
Please verify that all the following components are included in your package:
- Main rack sections (typically 5 individual wheel holders and connecting bars)
- Screws for assembly
- Tubes (connecting elements)
- Assembly manual (illustrated)
If any parts are missing or damaged, please contact customer support before proceeding with assembly.
4. Specifications
| Feature | Detail |
|---|---|
| Model Number | AA0-025BK0531 |
| Overall Dimensions (L x W x H) | 145 x 33 x 27 cm |
| Weight | 4.2 kg |
| Material | Alloy Steel |
| Color | Black |
| Capacity | 5 Bicycles |
| Max Tire Width | 6.5 cm |
| Installation Type | Floor Mount, Wall Mount |
| Spacing Between Slots | 25.5 cm |

5. Safety Instructions
- Read all instructions: Before assembly and use, read and understand all instructions in this manual.
- Proper Installation: Ensure the rack is securely installed according to the instructions, whether floor-mounted or wall-mounted. Loose installation can lead to instability and potential injury or damage.
- Weight Limits: Do not exceed the rack's intended capacity of 5 bicycles. Overloading can compromise stability.
- Tire Width: The rack is designed for tires up to 6.5 cm (approximately 2.5 inches) wide. Bikes with narrower tires, especially children's bikes, may not be held as securely and could lean. Consider additional support if using with very narrow tires.
- Children and Pets: Keep children and pets away from the assembly area. Do not allow them to play near the installed bike rack.
- Regular Inspection: Periodically check all screws and connections to ensure they remain tight.
- Surface Protection: When installing on a wall, ensure the wall material can support the weight of the rack and bikes. Use appropriate anchors for your wall type.
6. Setup and Assembly
The HOMCOM 5-Bike Rack features a straightforward assembly process. An illustrated assembly manual is included in your package for detailed step-by-step guidance.
- Unpack Components: Carefully remove all parts from the packaging and lay them out on a clean, flat surface. Verify against the package contents list.
- Assemble Individual Sections: Each wheel holder section typically consists of two curved bars and a base. Attach these using the provided screws.
- Connect Sections: Use the connecting tubes and screws to join the individual wheel holder sections together to form the desired length of the rack. The modular design allows you to connect them in a continuous line or detach them for separate use.


7. Installation
The HOMCOM 5-Bike Rack offers versatile installation options: floor-mounted or wall-mounted. Pre-drilled holes are provided for convenience.
7.1 Floor Mount Installation
For floor installation, the rack can be placed directly on a flat, stable surface. For added stability and security, especially in high-traffic areas or outdoors, it is recommended to anchor the rack to the ground using appropriate hardware (not always included, check package contents).
7.2 Wall Mount Installation
To mount the rack on a wall:
- Choose Location: Select a sturdy wall capable of supporting the weight of the rack and up to 5 bicycles. Ensure there is sufficient space for bikes to be parked.
- Mark Drilling Points: Hold the assembled rack against the wall at the desired height. Use a pencil to mark the positions of the pre-drilled mounting holes.
- Drill Holes: Using an appropriate drill bit for your wall type (e.g., masonry, wood), drill pilot holes at the marked positions.
- Insert Anchors (if necessary): If drilling into drywall or concrete, insert wall anchors into the pilot holes.
- Secure Rack: Align the rack with the drilled holes and secure it to the wall using suitable screws. Ensure all screws are tightened firmly.

8. Operating the Bike Rack
Using your HOMCOM 5-Bike Rack is simple and efficient:
- Parking Bicycles: Roll the bicycle's front or rear wheel into one of the rack's slots. Ensure the wheel is fully seated within the holder for maximum stability.
- Tire Compatibility: The rack accommodates tires up to 6.5 cm wide. For bicycles with very narrow tires (e.g., some road bikes or children's bikes), the wheel may not be held as firmly, and the bike might lean. Exercise caution and consider additional support if needed.
- Spacing: The 25.5 cm spacing between slots is designed to allow for efficient storage. Depending on handlebar width and bike type, you may need to alternate the direction bikes are parked (front wheel in, then rear wheel in) to optimize space.

9. Maintenance
To ensure the longevity and continued performance of your bike rack, follow these maintenance guidelines:
- Cleaning: Wipe down the rack periodically with a damp cloth to remove dirt, dust, and debris. For stubborn grime, a mild soap solution can be used, followed by rinsing and drying.
- Check Fasteners: Regularly inspect all screws and connections. Tighten any loose fasteners to maintain structural integrity.
- Protective Coating: The alloy steel construction features a protective coating designed to be maintenance-free, scratch-resistant, and rust-resistant. Avoid using abrasive cleaners or tools that could damage this coating.
- Environmental Exposure: While designed for outdoor use, prolonged exposure to extreme weather conditions may accelerate wear. Consider covering the rack during harsh weather if possible.
10. Troubleshooting
- Rack is unstable:
- Ensure all assembly screws are tightened securely.
- If floor-mounted, consider anchoring the rack to the ground for increased stability.
- If wall-mounted, verify that appropriate wall anchors were used and that the wall material is sufficient to support the load.
- Bikes are leaning excessively:
- Check the tire width of the bicycle. The rack is designed for tires up to 6.5 cm. Very narrow tires may not be held as firmly.
- Ensure the wheel is fully inserted into the rack slot.
- Difficulty assembling:
- Refer to the illustrated assembly manual provided in the package.
- Ensure you are using the correct screws and tubes for each step.
11. Warranty and Support
For warranty information or technical support, please refer to the documentation included with your purchase or contact the retailer/manufacturer directly. Keep your proof of purchase for any warranty claims.


