Introduction
This manual provides essential information for the safe and effective operation, maintenance, and troubleshooting of your Ingco BMS18007 Wood and Aluminum Miter Saw. Please read these instructions carefully before using the tool to ensure your safety and prolong the life of the product.
The Ingco BMS18007 miter saw is designed for comfortable and fatigue-free operation on wood and aluminum. It features a reduced sharpening requirement for easy cutting, offers a long cutting life, and provides clean, burr-free cuts. The cutting depth is adjustable, enhancing productivity, performance, and durability.
Product Overview
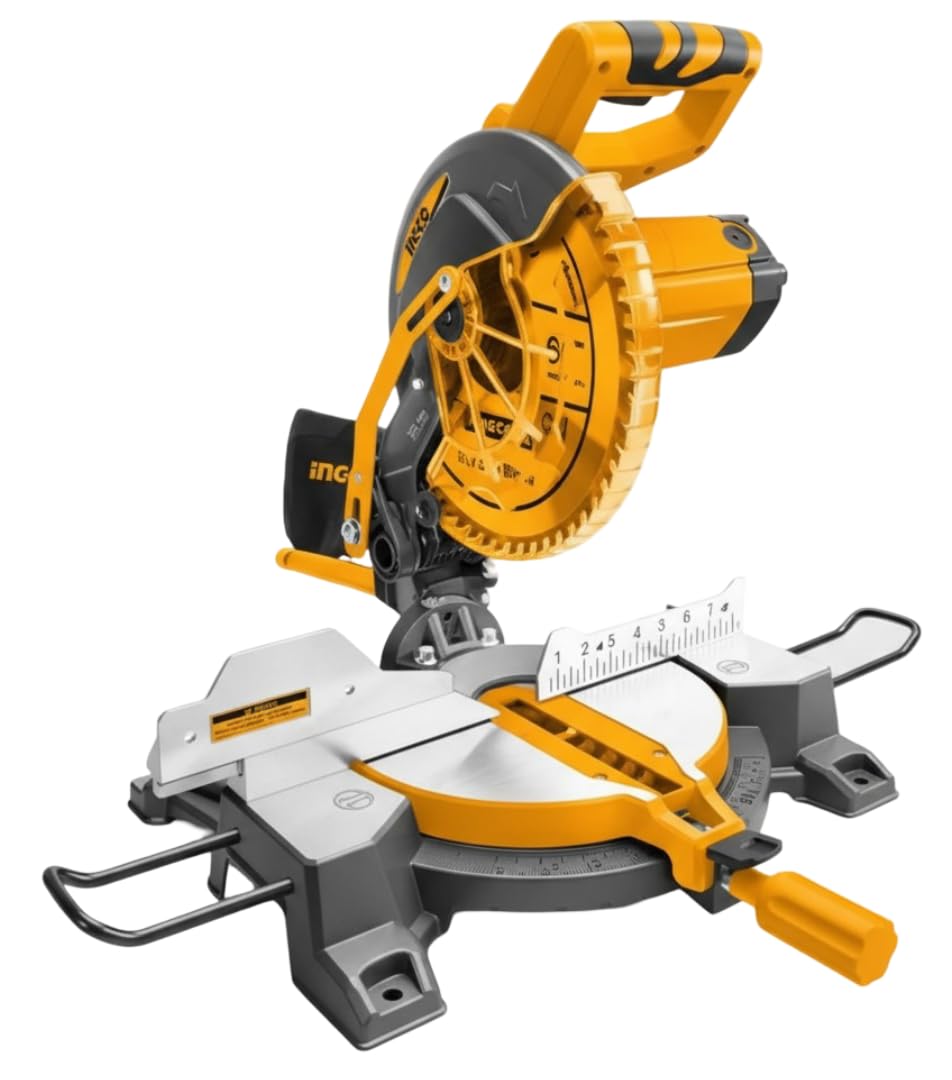
Image: The Ingco BMS18007 Miter Saw, featuring its yellow and black design, with a circular blade visible and a comfortable handle.
Key features of the Ingco BMS18007 include:
- Comfortable and fatigue-free operation
- Reduced sharpening for easy cutting
- Long cutting life for the saw blade
- Provides clean and burr-free cuts
- Adjustable cutting depth
Package Contents
Upon unpacking, please ensure all items are present and undamaged:
- 1 x Ingco BMS18007 1800W Miter Saw
- 1 x Saw Blade (High-Speed Steel)
- 1 x User Manual
- Necessary assembly tools (if applicable, not specified)
If any items are missing or damaged, please contact your retailer immediately.
Specifications
| Feature | Specification |
|---|---|
| Manufacturer | Ingco |
| Model Number | BMS18007 |
| Wattage | 1800 W |
| Speed | 5500 RPM |
| Voltage | 240 V |
| Item Weight | 1.84 Kilograms |
| Product Dimensions | 50 x 48 x 70 cm |
| Color | Yellow |
| Material | Acrylic (Body), High-Speed Steel (Blade) |
| Handle Material | Plastic |
| Power Source Type | AC/DC |
| Surface Recommendation | Wood |
| Special Features | Comfortable Handle |
| Batteries Required | No |
Safety Instructions
Always follow basic safety precautions to reduce the risk of fire, electric shock, and personal injury when using power tools. Keep this manual for future reference.
- Work Area Safety: Keep your work area clean and well-lit. Cluttered or dark areas invite accidents. Do not operate power tools in explosive atmospheres, such as in the presence of flammable liquids, gases, or dust.
- Electrical Safety: Power tool plugs must match the outlet. Never modify the plug in any way. Avoid body contact with earthed or grounded surfaces. Do not expose power tools to rain or wet conditions.
- Personal Safety: Always wear eye protection. Use hearing protection when operating noisy tools. Dress properly; avoid loose clothing or jewelry. Secure long hair. Always use a dust mask if operation creates dust.
- Tool Use and Care: Do not force the power tool. Use the correct power tool for your application. Disconnect the plug from the power source before making any adjustments, changing accessories, or storing power tools.
- Miter Saw Specific Safety: Ensure the blade guard is always in place and functioning correctly. Keep hands clear of the blade path. Support long workpieces properly. Never reach into the blade area while the saw is running.
Setup
Before initial use, perform the following setup steps:
- Unpacking: Carefully remove the miter saw and all accessories from the packaging. Inspect for any shipping damage.
- Mounting: Securely mount the miter saw to a stable workbench or stand using appropriate bolts and clamps. Ensure it is level and cannot tip over during operation.
- Blade Installation: Refer to the blade installation diagram (not provided, but typically in a physical manual). Ensure the blade is installed with the teeth pointing in the correct direction for cutting. Tighten the blade nut securely.
- Adjustments: Check and adjust the miter and bevel angles to 0 degrees for accurate initial cuts. Ensure all locking mechanisms are functional.
- Power Connection: Connect the saw to a suitable power outlet (240V AC/DC). Ensure the power switch is in the OFF position before plugging in.
Operating Instructions
Follow these steps for safe and effective operation:
- Prepare Workpiece: Mark your cut line clearly on the wood or aluminum workpiece.
- Position Workpiece: Place the workpiece firmly against the fence and table. Use clamps to secure it, especially for smaller pieces, to prevent movement during cutting.
- Adjust Angles: Set the desired miter and/or bevel angles for your cut. Lock all adjustments securely.
- Start Saw: Ensure the blade is clear of the workpiece. Press the power switch to start the motor. Allow the blade to reach full speed before beginning the cut.
- Make the Cut: Slowly and steadily lower the saw blade through the workpiece. Do not force the saw; let the blade do the work. Maintain a firm grip on the handle.
- Complete Cut: Once the cut is complete, release the power switch and allow the blade to stop completely before raising the saw head.
- Remove Workpiece: Carefully remove the cut workpiece and any off-cuts.
Maintenance
Regular maintenance ensures optimal performance and safety:
- Cleaning: After each use, disconnect the power and clean the saw. Remove sawdust and debris from the motor vents, blade guard, and table using a brush or compressed air.
- Blade Inspection: Regularly inspect the saw blade for sharpness, damage, or missing teeth. Replace dull or damaged blades immediately.
- Lubrication: Apply a light coat of machine oil to moving parts and pivot points as recommended in the full product manual (if applicable).
- Carbon Brushes: Check carbon brushes periodically. Replace them when they are worn down to prevent motor damage.
- Power Cord: Inspect the power cord for cuts, fraying, or damage. Replace damaged cords immediately.
Troubleshooting
Refer to this section for common issues and their solutions:
| Problem | Possible Cause | Solution |
|---|---|---|
| Saw does not start | No power supply, faulty switch, worn carbon brushes | Check power connection, test outlet, replace switch or brushes |
| Blade not cutting cleanly | Dull blade, incorrect blade for material, improper feed rate | Replace or sharpen blade, use appropriate blade, reduce feed rate |
| Excessive vibration | Loose blade, damaged blade, unstable mounting | Tighten blade nut, replace blade, secure saw to workbench |
| Motor overheating | Blocked ventilation, continuous heavy use | Clean vents, allow motor to cool, avoid prolonged heavy loads |
Warranty and Support
Ingco products are manufactured to high-quality standards. For warranty information, technical support, or service inquiries, please refer to the warranty card included with your purchase or visit the official Ingco website. Keep your proof of purchase for any warranty claims.


