
1. Introduction
The Intex 2500 GPH Swimming Pool Filter Pump is designed to maintain crystal clear and healthy water in your above-ground pool. This powerful and efficient system ensures proper circulation and filtration, removing debris and impurities to provide a hassle-free swimming experience. It features a robust design with safety features for reliable long-term use.

Figure 1: Intex 2500 GPH Swimming Pool Filter Pump and Type B filter.
2. Setup
Setting up your Intex filter pump is straightforward. Ensure all components are present before beginning installation.
2.1 Unboxing and Component Check
- Carefully remove all items from the packaging.
- Verify that the pump unit, hoses, connectors, and filter cartridge are included.
2.2 Connecting the Pump to Your Pool
- Position the pump on a stable, level surface near your pool, ensuring it is at least 10 feet away from the pool edge.
- Connect the two hoses from the pump to the inlet and outlet fittings on your pool. The pump is designed for Intex pools up to 15,200 gallons with 1.5-inch diameter hose fittings.
- Secure all connections tightly to prevent leaks. The system features easy-to-use connectors for a secure fit.

Figure 2: Proper connection of hoses to the filter pump.
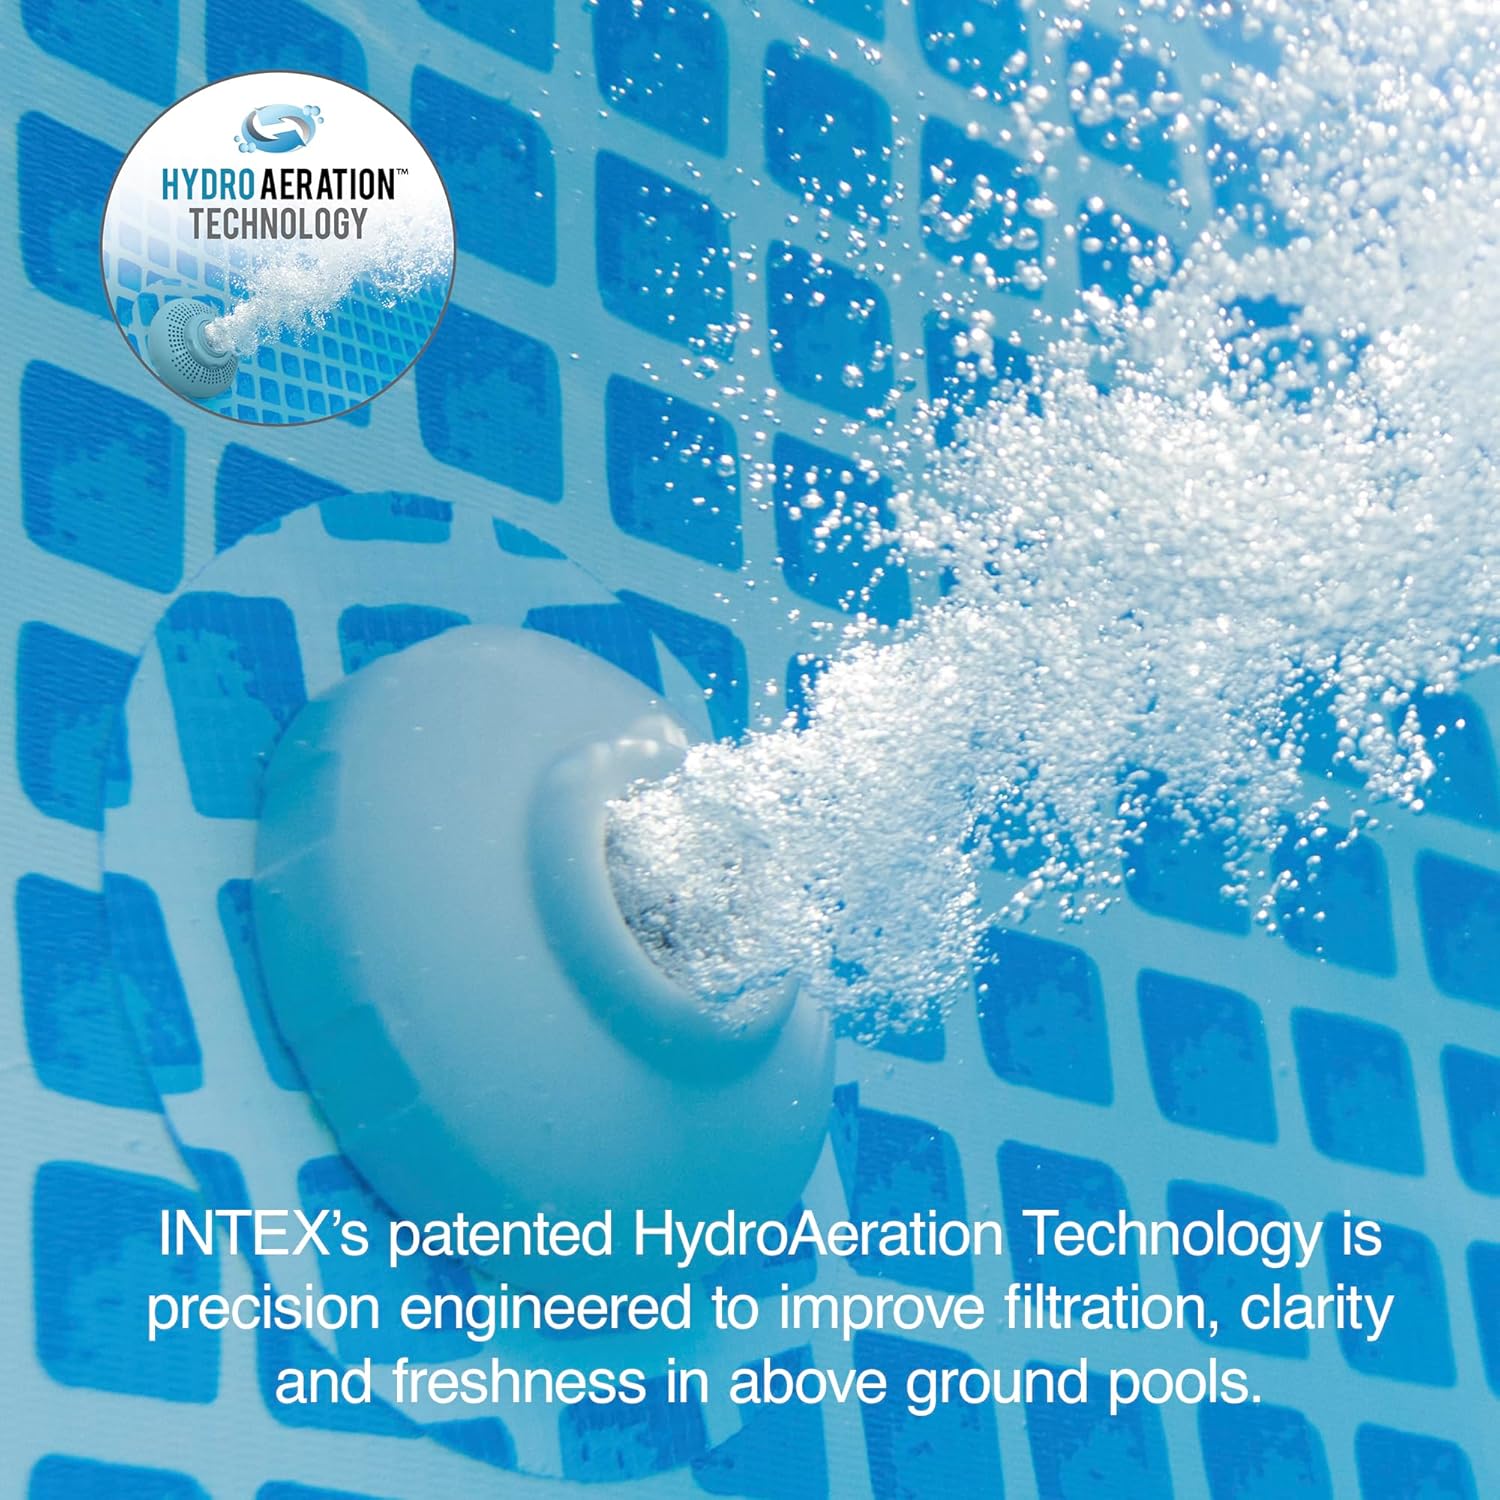
Figure 3: The filter pump connected and ready for operation beside an above-ground pool.
2.3 Initial Priming and Air Release
Before starting the pump, ensure the filter chamber is filled with water and all air is purged from the system. This pump includes an air release valve for this purpose.
- Open the air release valve on top of the filter chamber.
- Allow water to fill the chamber until a steady stream of water flows from the valve, indicating all air has been expelled.
- Close the air release valve tightly.

Figure 4: The air release valve for purging trapped air from the filter chamber.
3. Operating Instructions
The Intex 2500 GPH filter pump is designed for efficient and safe operation. It features a powerful 2500 gallons per hour flow rate and a system flow rate of 1900 gallons per hour, ensuring thorough water circulation and filtration.
3.1 Powering On and Off
- Plug the pump into a grounded electrical outlet. The pump is equipped with a Ground Fault Circuit Interrupter (GFCI) for enhanced safety, automatically shutting off power if an electrical current is exposed to water.
- Use the ON/OFF switch located on the pump to start or stop operation.
3.2 Using the Built-in Timer
The integrated timer allows you to automate the pump's operation cycle, ensuring consistent filtration without manual intervention.
- Rotate the timer dial to select the desired operating duration (e.g., 2, 4, 6, 8, or 12 hours).
- The pump will run for the set duration and then automatically shut off. It will restart at the same time the next day for the programmed cycle.

Figure 5: The timer dial for setting automatic operation cycles.
3.3 Hydro Aeration Technology
This pump incorporates Intex's patented Hydro Aeration Technology, which improves water circulation, clarity, and freshness by injecting air into the water. This process oxidizes minerals for ultimate water clarity and generates negative ions to improve overall air quality around the pool.

Figure 6: Visual representation of Hydro Aeration Technology enhancing water quality.
4. Maintenance
Regular maintenance of your filter pump is crucial for optimal performance and longevity. The filter uses Type B replacement cartridges.
4.1 Filter Cartridge Cleaning and Replacement
- Turn off and unplug the pump before performing any maintenance.
- Unscrew the filter housing cover and remove the filter cartridge.
- Rinse the cartridge thoroughly with a garden hose to remove debris. If the cartridge remains dirty or discolored after rinsing, it should be replaced.
- Replace the cartridge every two weeks or as needed, depending on pool usage and water condition.
- Reinsert the clean or new cartridge and secure the filter housing cover.
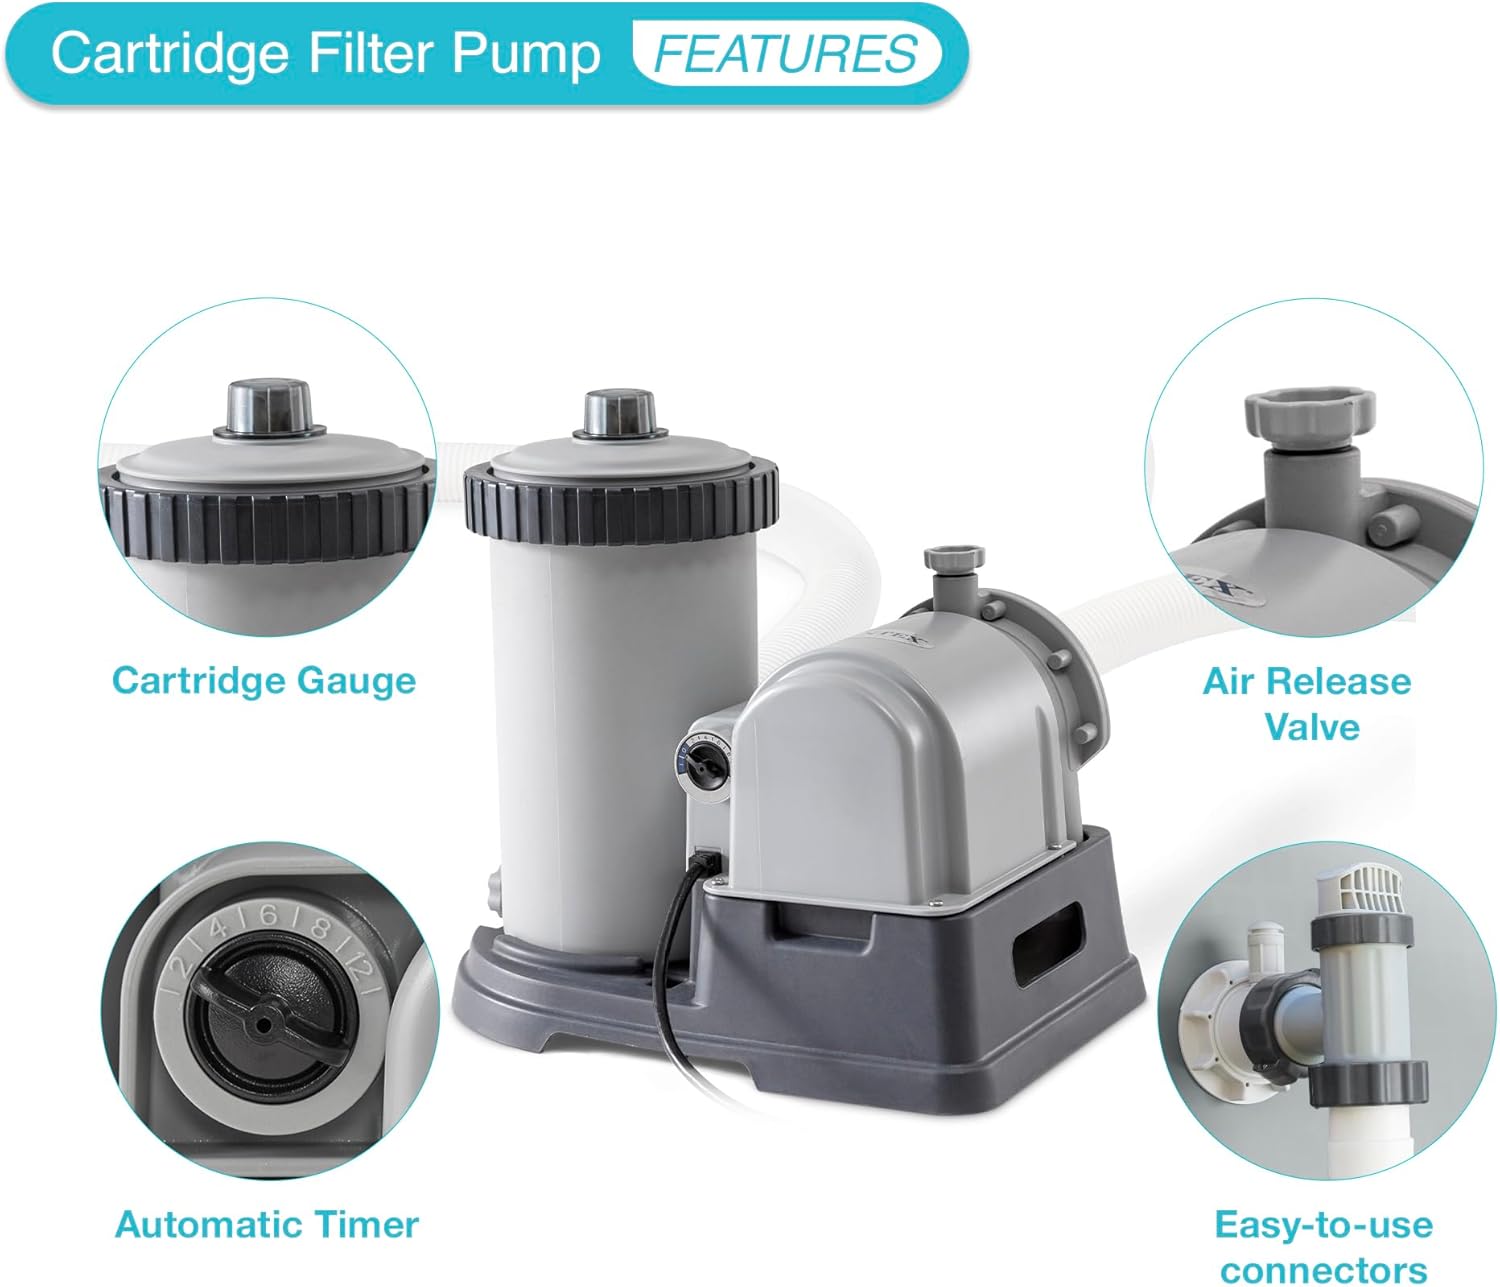
Figure 7: A filter cartridge being cleaned with a hose.
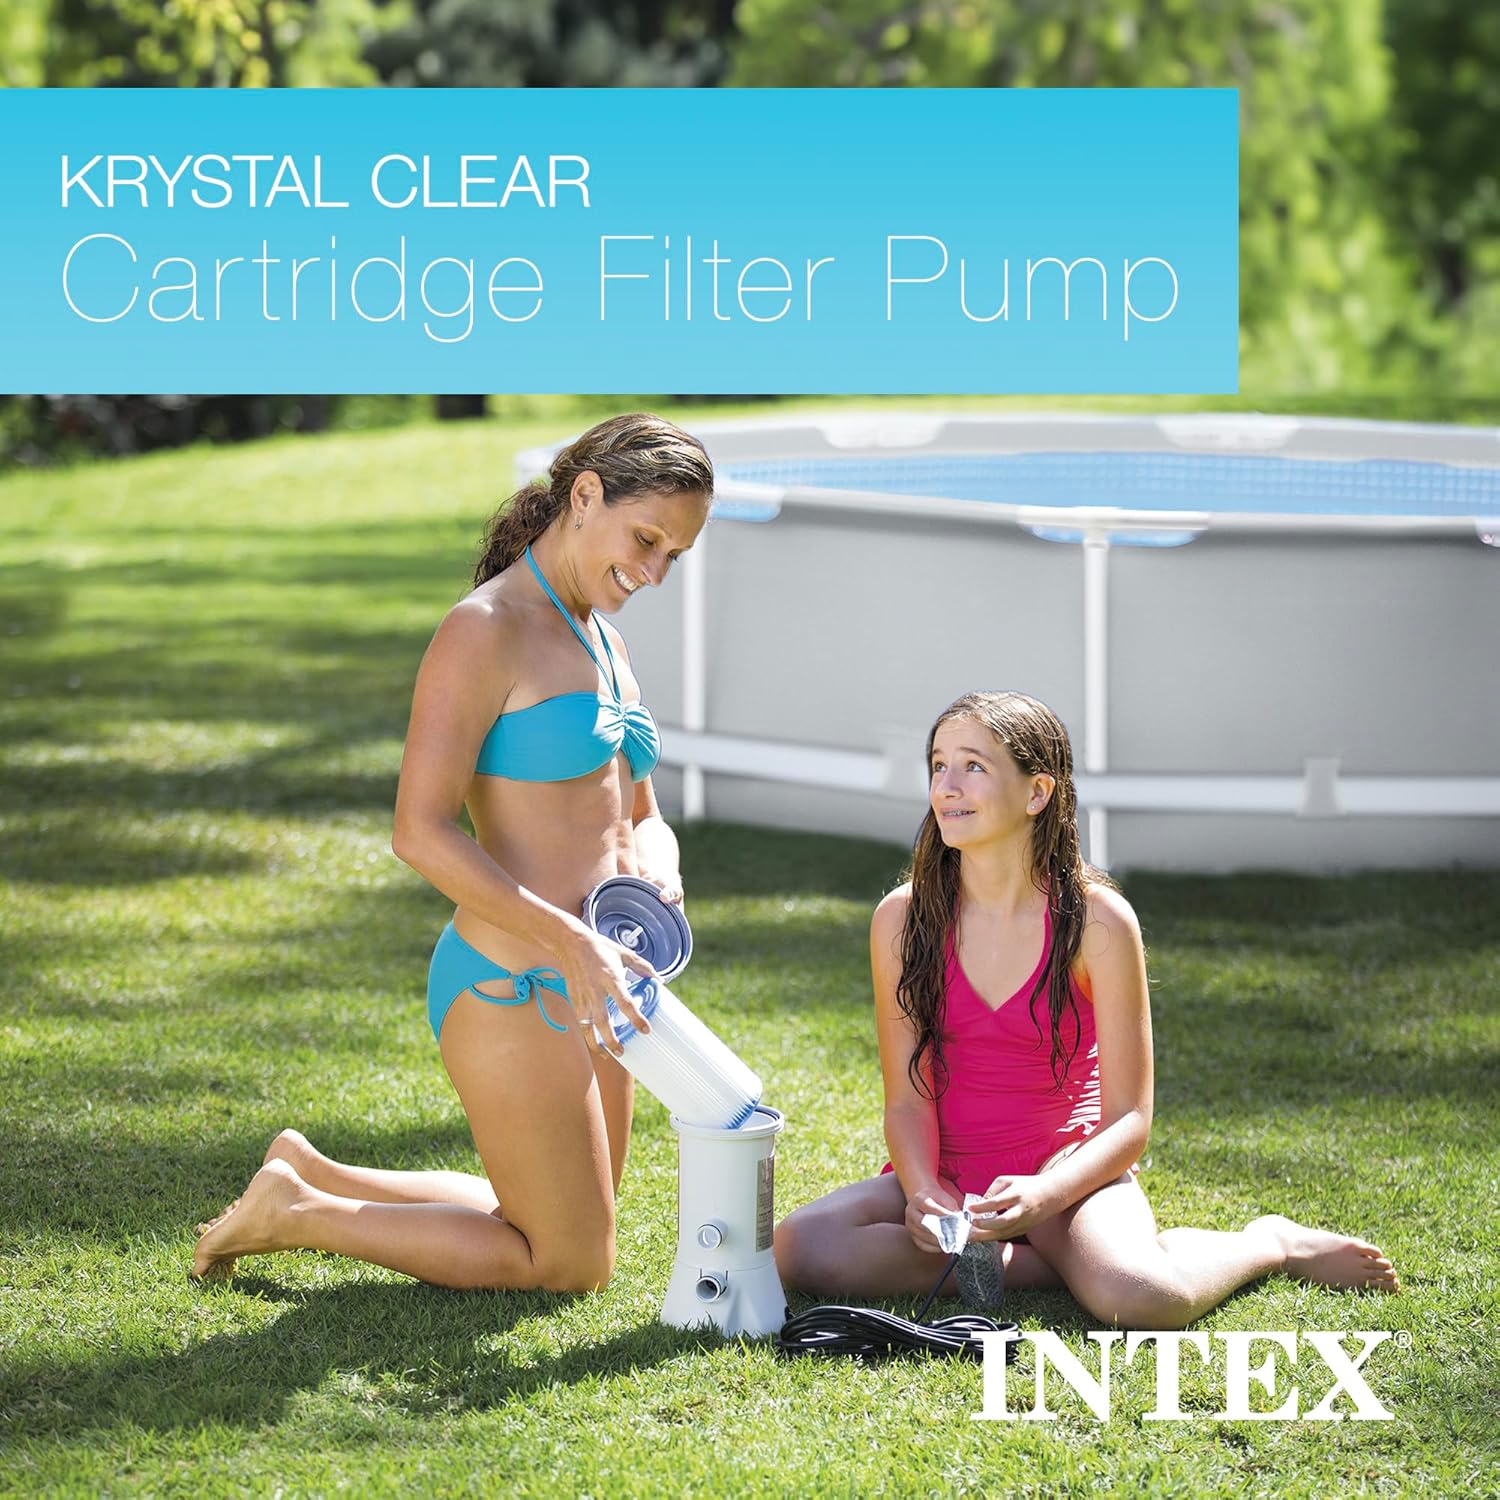
Figure 8: A new Type B filter cartridge for replacement.
4.2 Sediment Flush Valve
The sediment flush valve located at the bottom of the filter chamber allows for easy removal of accumulated sediment.
- With the pump off, open the sediment flush valve to drain any heavy debris that has settled at the bottom of the filter chamber.
- Close the valve once the water runs clear.
4.3 Winterization
At the end of the swimming season, properly prepare your pump for storage to prevent damage.
- Disconnect all hoses and drain all water from the pump and filter housing.
- Clean and dry all components thoroughly.
- Store the pump and accessories in a dry, frost-free location.
5. Troubleshooting
If you encounter issues with your filter pump, refer to the following common troubleshooting steps:
| Problem | Possible Cause | Solution |
|---|---|---|
| Pump not running | No power; GFCI tripped; Motor malfunction | Check power connection; Reset GFCI; Contact customer support |
| Low water flow | Clogged filter; Air in system; Kinked hoses | Clean/replace filter; Release air from system; Straighten hoses |
| Water leaking | Loose connections; Damaged O-rings/gaskets | Tighten connections; Inspect and replace O-rings/gaskets |
For more detailed troubleshooting or persistent issues, please refer to the full owner's manual or contact Intex customer support.
6. Specifications
- Brand: Intex
- Model Number: 2500
- Color: Black
- Material: Dacron
- Style: Above Ground
- Product Dimensions: 16"L x 13.75"W x 16"H
- Power Source: AC adapter
- Maximum Flow Rate: 2500 Gallons Per Hour (GPH)
- System Flow Rate: 1900 Gallons Per Hour (GPH)
- Maximum Lifting Height: 15.1 Meters
- Country of Origin: China
7. Official Product Video
Video: An overview of the Intex 2500 GPH Swimming Pool Filter Pump, highlighting its features and benefits for maintaining pool cleanliness.
8. Warranty and Support
The Intex 2500 GPH Swimming Pool Filter Pump comes with a one-year manufacturer warranty. For warranty claims, technical assistance, or any product-related inquiries, please contact Intex customer support directly. Keep your purchase receipt as proof of purchase for warranty purposes.
For additional resources and product information, you may visit the official Intex website or refer to the comprehensive owner's manual included with your product.


