1. Introduction
Thank you for choosing the AKASO Mini Projector, Model 874801. This pocket-sized DLP portable projector is designed for versatility, offering clear and bright projection for various uses, from entertainment and office presentations to creative applications like cookie decorating. This manual provides essential information to help you set up, operate, and maintain your projector for optimal performance.
2. Important Safety Information
Please read all safety instructions before using the projector to prevent injury or damage to the device. Keep this manual for future reference.
- Do not look directly into the projector lens when the lamp is on.
- Avoid placing the projector in unstable locations or on uneven surfaces.
- Keep the projector away from water, moisture, and extreme temperatures.
- Ensure proper ventilation to prevent overheating. Do not block ventilation openings.
- Use only the power adapter and accessories provided by AKASO.
- Do not attempt to disassemble or repair the projector yourself. Contact customer service for assistance.
3. Package Contents
Verify that all items are present in your package:
- AKASO Mini Projector (Model 874801)
- Remote Control
- Mini Tripod
- HDMI Cable
- Type-C USB Cable (for charging/data)
- Power Adapter
- Projection Lens Cover
- User Manual (this document)
4. Product Overview
The AKASO Mini Projector is a compact and lightweight device designed for portability and ease of use. It features DLP technology for vivid projections and offers multiple connectivity options.
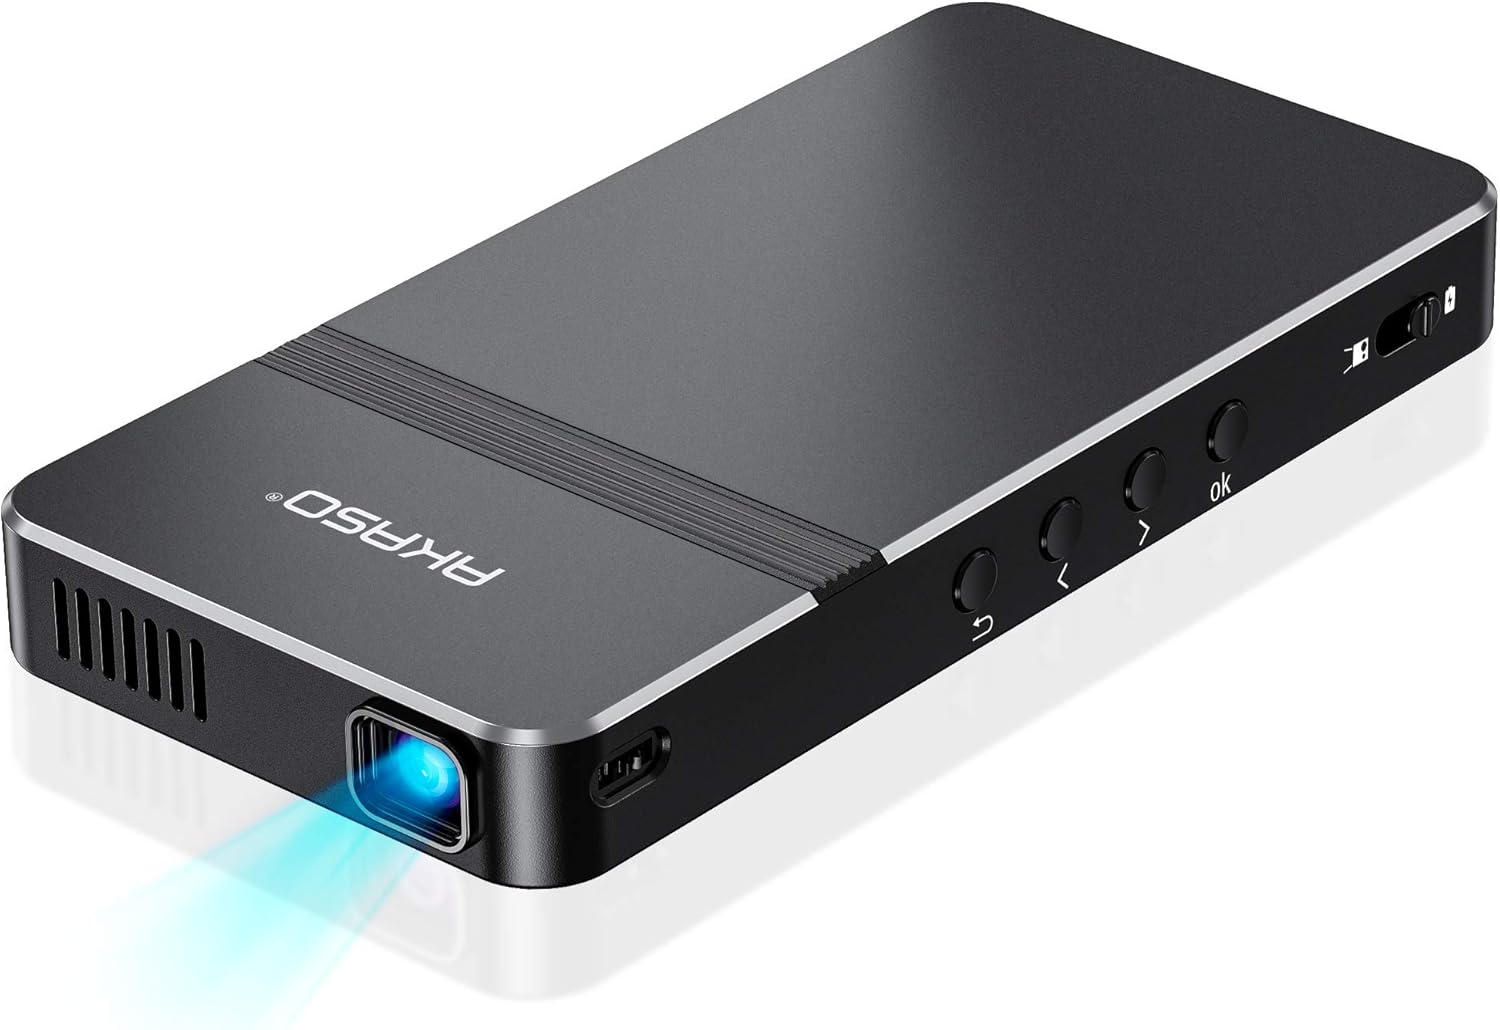
Figure 1: Top-down view of the AKASO Mini Projector, showcasing its sleek design and compact form factor.

Figure 2: The AKASO Mini Projector held in a hand, illustrating its pocket-sized and portable design.
4.1 Ports and Controls
The projector is equipped with various ports for connectivity and physical buttons for direct control.

Figure 3: Side view of the AKASO Mini Projector, highlighting its DC power input, USB-C port, HDMI port, earphone jack, and Micro SD card slot.
- DC Input: For connecting the power adapter.
- USB-C Port: For connecting compatible devices or charging.
- HDMI Port: For high-definition video and audio input.
- Earphone Jack: For connecting external audio devices.
- Micro SD Card Slot: For playing media directly from a Micro SD card.
- Power Switch: Slide to turn the projector on/off.
- Navigation Buttons (OK, Left, Right, Up, Down, Back): For menu navigation and selection.
- Focus Adjuster: A small wheel or slider to sharpen the projected image.
5. Setup Guide
5.1 Initial Power On and Charging
- Connect the power adapter to the DC input port on the projector and plug it into a power outlet.
- Slide the power switch to the 'On' position. The projector will power on, and a green indicator light will illuminate when charging.
- Allow the projector to fully charge before its first use for optimal battery life. The built-in 4000mAh battery provides up to 2.5 hours of playtime on a full charge.
5.2 Positioning the Projector
Place the projector on a stable surface. For hands-free operation or specific projection angles, attach the included mini tripod to the tripod mount on the bottom of the projector.

Figure 4: The AKASO Mini Projector mounted on its tripod, demonstrating its ability to project at various angles with automatic keystone correction.
5.3 Adjusting Focus
Once powered on and projecting an image, use the focus adjuster (typically a small wheel or slider on the side) to sharpen the image until it is clear and crisp.
5.4 Connecting Devices
The projector supports multiple wired and wireless connectivity methods:
- HDMI: Connect devices like laptops, gaming consoles, or DVD players using the provided HDMI cable.
- USB-C / USB: Connect cameras, storage drives, or other compatible devices.
- Micro SD: Insert a Micro SD card directly into the slot to play media.
- Wireless Mirroring (Airplay / EZCast): For mobile devices, connect wirelessly via Airplay (for iOS) or EZCast (for Android/other devices). Refer to the on-screen instructions for specific steps.
Video 1: An unboxing and overview of the AKASO Mini Projector, demonstrating its compact size, various ports, and included accessories. This video highlights the ease of connecting different devices and the overall portability of the unit.
6. Operating Instructions
6.1 Navigating the Interface
Use the remote control or the physical buttons on the projector to navigate the on-screen menu. Select your desired input source (e.g., HDMI, Media, EZCast, EZWire, Settings) to begin projecting content.
Video 2: A demonstration of the projector's interface and remote control functionality, showing how to select different input options and navigate the menu. This video emphasizes the user-friendly nature of the controls.
6.2 Projection for Entertainment and Presentations
The projector supports up to a 150-inch adjustable screen, making it suitable for watching HD movies, sharing photos, playing games, or conducting presentations.
- For best image performance, use the projector in a dark environment.
- Note: Copyrighted content from services like Hulu, Netflix, etc., cannot be mirrored or screencast via wireless transmission or HDMI cable due to content protection protocols.

Figure 5: A group of people enjoying a movie projected onto a wall by the AKASO Mini Projector, illustrating its use for entertainment.
6.3 Projection for Creative Uses (e.g., Cookie Decorating)
The projector is ideal for image/text tracing, such as decorating cookies or art projects. Its compact size and adjustable stand allow for precise overhead projection.

Figure 6: A person meticulously decorating a cookie, using the AKASO Mini Projector to project a design for tracing, highlighting its utility in creative crafts.
Video 3: A detailed demonstration of using the AKASO Mini Projector for cookie decorating, showing how to project intricate designs onto cookies for precise tracing with icing. This video emphasizes the projector's utility for bakers and artists.
7. Maintenance
Proper maintenance ensures the longevity and optimal performance of your projector.
- Lens Cleaning: Gently wipe the projector lens with a soft, lint-free cloth. Do not use abrasive cleaners or solvents.
- Ventilation: Regularly check and clean the ventilation openings to prevent dust buildup, which can lead to overheating.
- Storage: When not in use, store the projector in a cool, dry place, away from direct sunlight and extreme temperatures. Use the lens cover to protect the lens from dust and scratches.
- Battery Care: To maintain battery health, avoid fully discharging the projector frequently. Charge it regularly, even if not in active use.
8. Troubleshooting
If you encounter issues with your AKASO Mini Projector, refer to the following common solutions:
- No Image / Blurry Image:
- Ensure the projector is powered on and the lens cover is removed.
- Adjust the focus wheel until the image is clear.
- Check the distance between the projector and the projection surface.
- Verify the input source is correctly selected.
- No Sound:
- Check the volume settings on both the projector and the connected device.
- If using an external speaker, ensure it is properly connected and powered on.
- Connectivity Issues (Wireless):
- Ensure your mobile device and projector are connected to the same Wi-Fi network.
- Restart both the projector and your mobile device.
- Ensure no firewalls or network restrictions are blocking the connection.
- Projector Overheating:
- Ensure ventilation openings are not blocked.
- Operate the projector in a well-ventilated area.
- Turn off the projector and allow it to cool down if it feels excessively hot.
9. Specifications
| Feature | Specification |
|---|---|
| Brand | AKASO |
| Model Number | 874801 |
| Product Dimensions | 5.71 x 3.15 x 0.79 inches |
| Item Weight | 7.4 ounces |
| Display Resolution | 720 x 480 (Supports 1080P input) |
| Brightness | 50 ANSI Lumens |
| Contrast Ratio | 1000:1 |
| LED Lamp Service Life | Up to 30,000 hours |
| Connectivity Technology | HDMI, USB, Type-C, Micro SD, Wi-Fi (Airplay, EZCast) |
| Special Feature | Built-In Wi-Fi, Built-in Rechargeable Battery, Stereo Speakers |
| Recommended Uses | Gaming, Home Cinema, Cookie Decorating, Presentations |
| Battery Life | Up to 2.5 hours |
10. Warranty and Support
AKASO is committed to providing excellent customer service and product support.
10.1 AKASOGO Club Member Benefits
Register your product to become a member of the AKASOGO Club and enjoy exclusive benefits:
- 12 Months Product Warranty Extension
- Priority & Personalized Customer Service
- Up to 50% off Exclusive Coupon for Next Purchase
- Free Trial of New Released Product - Guaranteed!
Scan the QR code on your AKASOGO Club card or visit the AKASO website to register.
10.2 Customer Support
For any questions, technical assistance, or warranty claims, please contact the AKASO-Store customer service. You can find contact information on the official AKASO website or through your purchase platform.


