
Road Angel Aura HD1
Aura HD1 Dash Cam User Manual
Model: Aura HD1 | Brand: Road Angel
1. Introduction
The Road Angel Aura HD1 is a compact and powerful dash camera designed to provide reliable recording of your journeys. Featuring 1080p Full HD recording, a wide 140-degree viewing angle, and advanced night vision, it captures clear footage day and night. With integrated Wi-Fi, G-sensor, and 24/7 parking mode, the Aura HD1 offers enhanced security and convenience. This manual provides detailed instructions for setting up, operating, maintaining, and troubleshooting your dash cam.
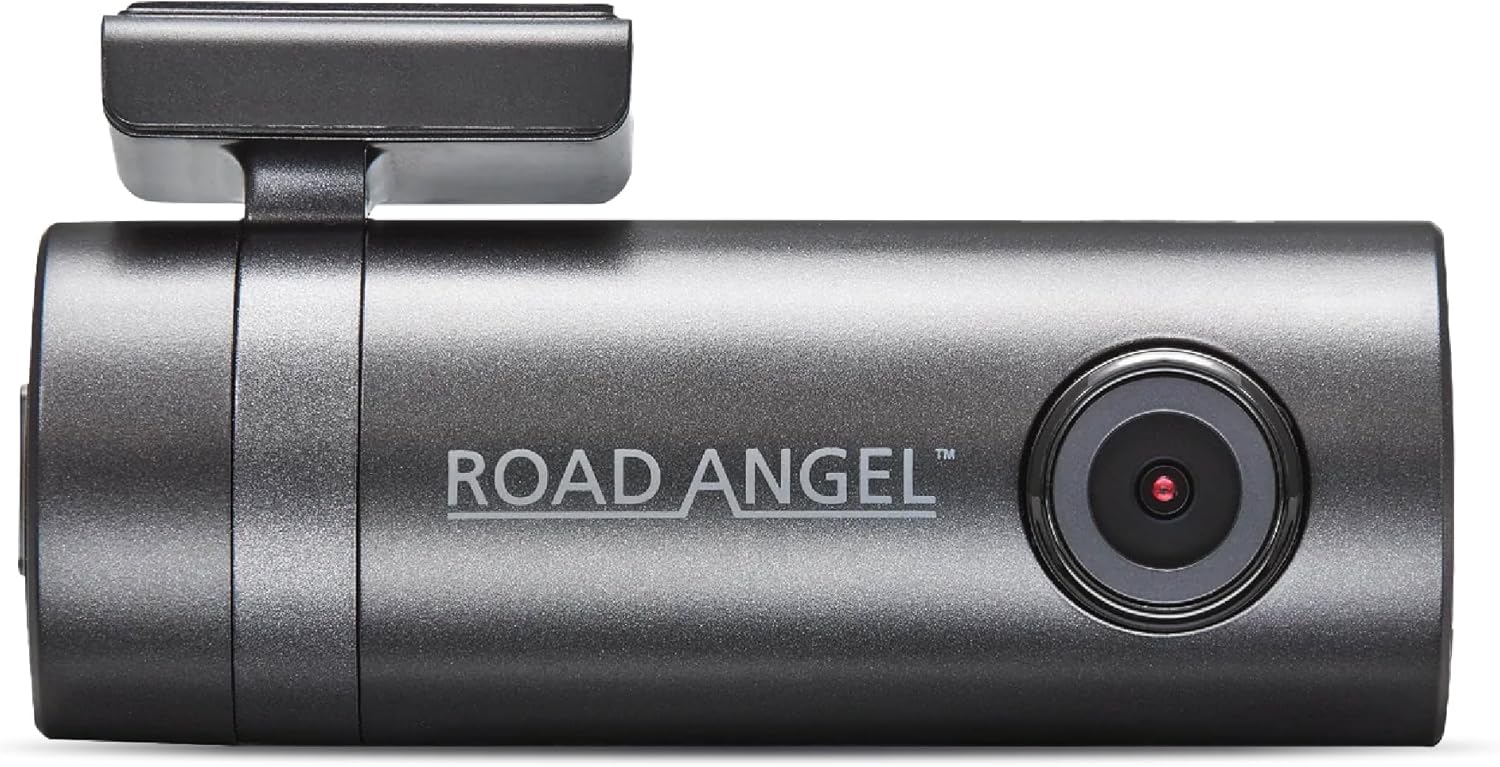
Figure 1: Aura HD1 Dash Cam Overview
2. Key Features
- Full HD 1080p Recording: Captures crisp and clear video at 30 frames per second, ensuring high-quality footage for evidence or memories.
- 140° Wide Viewing Angle: Provides extensive road coverage, minimizing blind spots and capturing more of the surrounding environment.
- Super Night Vision: Enhanced low-light performance ensures clear recordings even in challenging night-time conditions.
- Integrated Wi-Fi: Enables seamless connection to your smartphone via the dedicated Aura app for live viewing, footage download, and settings adjustment.
- Built-in G-Sensor: Automatically detects sudden impacts or accelerations and locks the current video segment to prevent overwriting, crucial for accident evidence.
- 24/7 Parking Mode: Provides continuous surveillance when your vehicle is parked, detecting motion or impacts and recording automatically.
- Winter Heating Mode: When used with the Aura hardwire kit, this feature helps keep the windshield clear from frost and ice, ensuring optimal camera operation in cold weather.
- Supports up to 128GB Micro SD Card: Ample storage for extended recording times (Class 10 or higher recommended, not included).

Figure 2: Recording and Vision Features
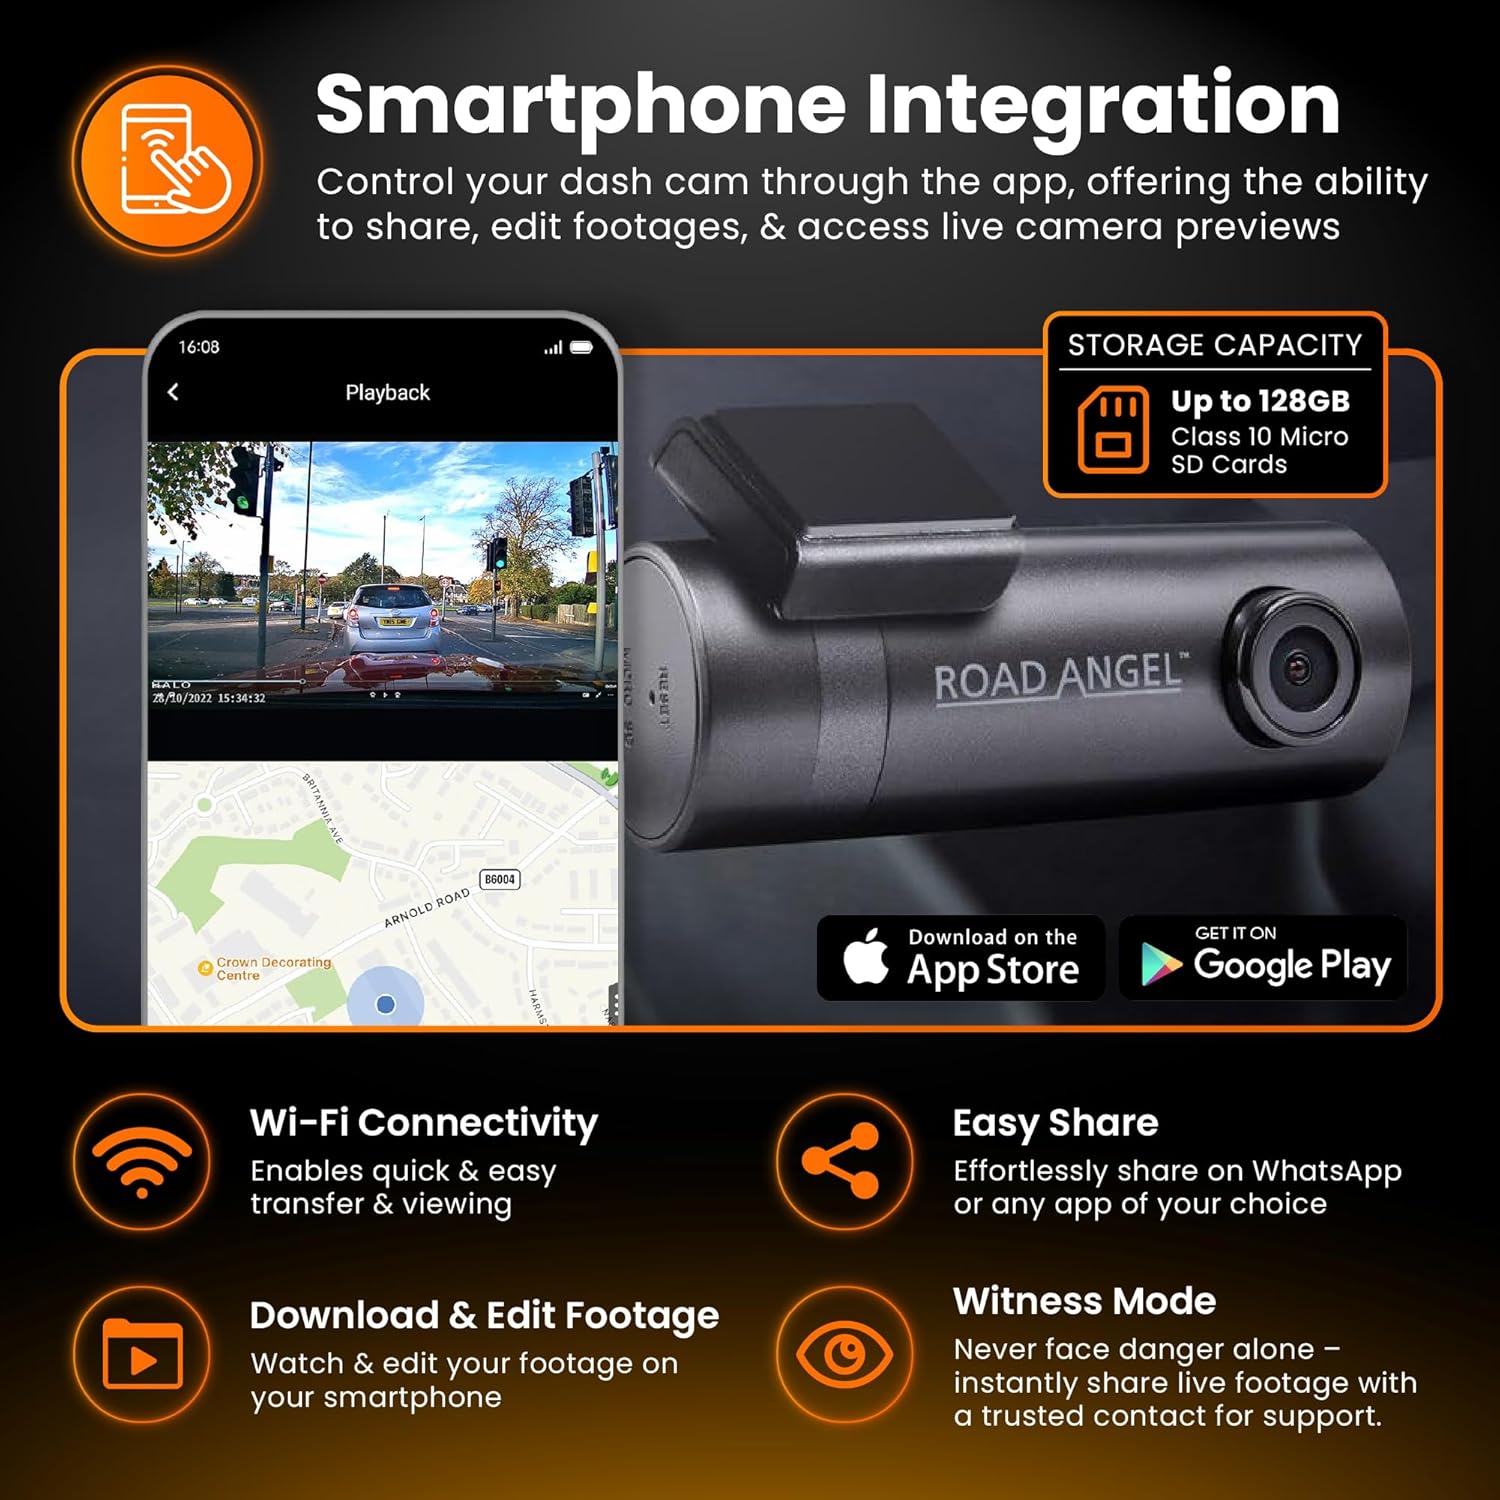
Figure 3: Smartphone Integration

Figure 4: Parking Mode and G-Sensor
3. Setup Guide
3.1 Installing the Dash Cam
- Choose a Location: Select a position on your windshield that does not obstruct your view of the road, typically behind the rearview mirror.
- Clean the Windshield: Ensure the chosen area is clean and dry for optimal adhesion of the 3M adhesive mount.
- Attach the Mount: Peel off the protective film from the 3M adhesive mount and firmly press it onto the windshield for at least 30 seconds.
- Mount the Dash Cam: Slide the Aura HD1 dash cam onto the mounted bracket until it clicks into place.
- Connect Power: Plug the provided car charger into your vehicle's 12V power outlet and connect the Micro USB cable to the dash cam. Route the cable neatly along the windshield edge and dashboard to avoid interference with driving.
3.2 Inserting the Micro SD Card
The Aura HD1 requires a Class 10 or higher Micro SD card (up to 128GB) for recording. Ensure the dash cam is powered off before inserting or removing the card.
- Locate the Micro SD card slot on the dash cam.
- Gently insert the Micro SD card with the gold contacts facing the back of the camera until it clicks into place.
- To remove, gently push the card inwards until it springs out.
Important: The dash cam will warn you if the SD card ceases to function or requires formatting. Regular formatting is recommended to maintain optimal performance.
3.3 Connecting to the Aura App (Wi-Fi)
The Aura app allows you to control your dash cam, view live footage, download recordings, and adjust settings.
- Download the "Aura" app from your smartphone's app store (available on iOS and Android).
- Ensure your dash cam is powered on.
- On your smartphone, go to Wi-Fi settings and connect to the dash cam's Wi-Fi network (SSID typically starts with "Aura" or "Road Angel"). The default password can be found in the quick start guide or on the device itself.
- Open the Aura app. The app should automatically detect and connect to your dash cam.

Figure 5: Aura App Interface
4. Operating Instructions
4.1 Automatic Recording
Once powered on, the Aura HD1 will automatically begin loop recording. Older files will be overwritten by new ones when the Micro SD card is full, ensuring continuous recording. Important events triggered by the G-sensor are locked and protected from being overwritten.
4.2 Parking Mode
The 24/7 parking mode activates when your vehicle is stationary. It uses the G-sensor to detect impacts or motion, automatically waking up the dash cam to record the event. For continuous parking surveillance, a hardwire kit (sold separately) is recommended to provide constant power.

Figure 6: Parking Mode Protection
4.3 Using the Aura App
The Aura app provides comprehensive control and access to your dash cam's features:
- Live Preview: View real-time footage from your dash cam on your smartphone.
- Playback: Browse and play back recorded videos directly from the dash cam's Micro SD card.
- Download & Edit: Download video clips to your phone's gallery. The app also allows basic editing and applying filters to your footage before sharing.
- Share Footage: Easily share recorded videos with insurance companies, family, or friends via social media or messaging apps.
- Settings: Adjust dash cam settings such as video resolution, G-sensor sensitivity, and parking mode options.

Figure 7: Quick Evidence Access via App
5. Maintenance
5.1 Formatting the Micro SD Card
To ensure optimal performance and prevent data corruption, it is recommended to format the Micro SD card regularly (e.g., once a month). This can typically be done through the Aura app or directly on the dash cam if it has a menu interface.
5.2 General Care
- Keep the dash cam lens clean using a soft, lint-free cloth.
- Avoid exposing the dash cam to extreme temperatures for prolonged periods.
- Do not attempt to disassemble the dash cam, as this will void the warranty.
6. Troubleshooting
If you encounter issues with your Aura HD1 Dash Cam, please refer to the following common troubleshooting steps:
- Dash Cam Not Powering On: Check the power connection and ensure the car charger is properly inserted into the 12V outlet. Test the outlet with another device if possible.
- Recording Not Starting: Ensure a Micro SD card is properly inserted and formatted. The dash cam will warn you if the card is faulty or needs formatting. Try a different Micro SD card if the issue persists.
- Wi-Fi Connection Issues: Ensure the dash cam's Wi-Fi is enabled. Restart both the dash cam and your smartphone. Verify you are connecting to the correct Wi-Fi network and entering the correct password.
- Poor Video Quality: Clean the dash cam lens. Ensure the windshield area in front of the lens is clean. Check the video resolution settings in the Aura app.
- G-Sensor Too Sensitive/Not Sensitive Enough: Adjust the G-sensor sensitivity settings via the Aura app.
For more detailed troubleshooting or persistent issues, please refer to the official Road Angel support resources or contact customer service.
7. Specifications
| Feature | Specification |
|---|---|
| Brand | Road Angel |
| Model Name | Aura HD1 |
| Color | Black |
| Connectivity Technology | USB, Wi-Fi |
| Special Features | Night Vision, G-Sensor, Integrated GPS (via app), Loop Recording, Parking Mode, Winter Heating Mode |
| Compatible Devices | Smartphone |
| Video Recording Resolution | 1080p |
| Viewing Angle | 140° |
| Aperture | F1.8 |
| Image Sensor | CMOS, 6-Glass 1 |
| Storage Support | Up to 128GB Class 10 Micro SD Card (not included) |
| Mounting Type | 3M Windshield Protection |
| Included Components | Aura HD1 Dash Cam, Car Charger, Charging Cable |

Figure 8: Detailed Product Specifications
8. Warranty and Support
The Road Angel Aura HD1 Dash Cam comes with a 3-year warranty, demonstrating our commitment to quality and reliability. To register your product and for more information regarding warranty terms and conditions, please visit the official Road Angel website.
For technical support, frequently asked questions (FAQs), or to download the latest software updates, please visit the Road Angel support page or contact their customer service team directly. Contact details can typically be found on the official website or in the product packaging.
Related documentsAura HD1


Ask a question about this manual
Ask about setup, troubleshooting, compatibility, parts, safety, or missing instructions. Manuals+ will review the question and use this page’s manual context to help answer it.