
1. Introduction
This manual provides instructions for the Qomolangma FMJ-1600-WA Full-auto Wide Format Cold Laminator. This machine is designed for laminating various materials up to 63 inches (1600mm) in width, offering both cold laminating and heat-assisted functions. It is suitable for pre-masking vinyl graphics, mounting prints on substrates, and over-laminating inkjet prints.
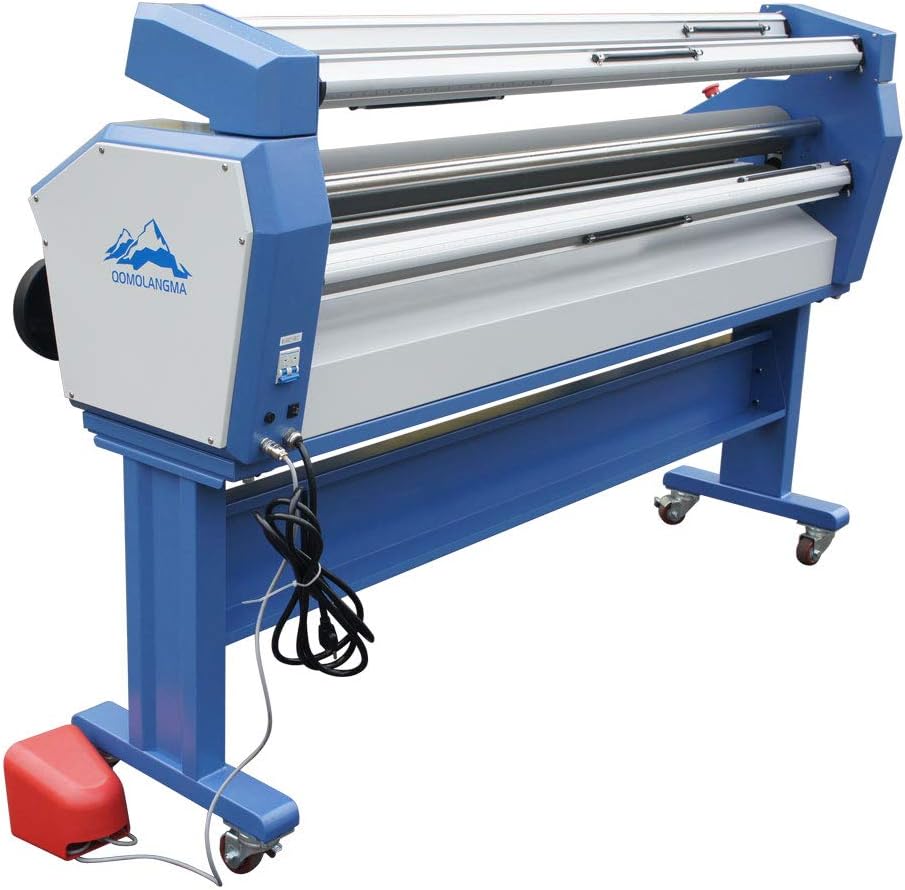
Figure 1.1: Overview of the Qomolangma FMJ-1600-WA Wide Format Cold Laminator.
2. Safety Instructions
Read all safety instructions before operating the laminator to prevent injury or damage. Keep this manual for future reference.
- Electrical Safety: Ensure the machine is connected to a grounded AC110V / 50-60Hz power supply. Do not operate with damaged power cords. Disconnect power before maintenance.
- Moving Parts: Keep hands, hair, and loose clothing away from rollers and other moving parts during operation.
- Emergency Stop: Familiarize yourself with the location and function of the E-stop button for immediate shutdown.
- Ventilation: Operate the machine in a well-ventilated area.
- Stability: Ensure the machine stand is properly assembled and stable on a level surface before operation.
- Children and Pets: Keep children and pets away from the machine during operation.
3. Product Features
The Qomolangma FMJ-1600-WA laminator incorporates several features for efficient and safe operation:
- Low Temperature Cold Laminating: Designed to prevent haziness often associated with cold lamination.
- Full-Auto Operation: Electrically driven with both auto and foot pedal switch modes.
- Wide Format Capability: Maximum working width of 1600mm (63 inches).
- Heat Assisted Function: Provides low heating seal laminating with a maximum heating temperature of 60 degrees Celsius.
- Adjustable Nip Opening: Maximum laminating thickness of 35mm (1.378 inches).
- Variable Speed Control: Adjustable working speed from 0 to 6m/min (236.22in/min).
- Roller System: Features a 102mm (4in) diameter top silicon rubber roller and a bottom natural rubber roller.
- User-Friendly Controls: Button type control panel with forward and reverse direction control.
- Safety Mechanisms: Equipped with E-stop and photocell sensors.
- Material Handling: One-side hand crank lift-up system and drop-in type interchangeable 3-inch aluminum shaft.
- Optional Trimmer Function: The machine can be equipped with four cutting knives for trimming, if purchased with this option.
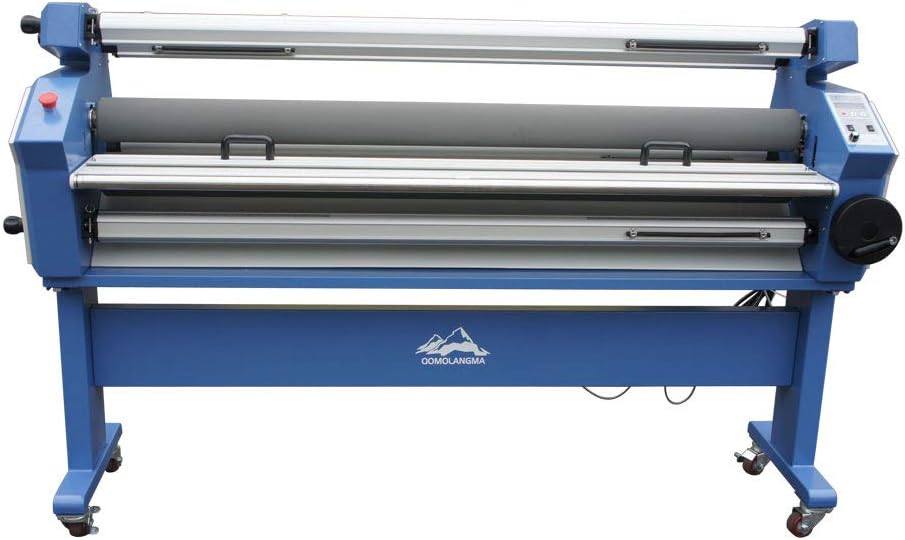
Figure 3.1: Optional cutting knives for the laminator. Note: The black hole is for tool holder installation; accessories are included only with the 'with trimmer' option.
4. Setup
Follow these steps to set up your Qomolangma FMJ-1600-WA laminator:
- Unpacking: Carefully remove all packaging materials. Inspect the machine for any shipping damage.
- Stand Assembly: The floor stand is assembled at the customer site. Follow the separate assembly instructions provided with the stand to ensure it is securely and correctly put together.
- Placement: Position the laminator on a stable, level surface in a well-ventilated area, ensuring sufficient space around the machine for material handling.
- Power Connection: Connect the power cord to a grounded AC110V / 50-60Hz electrical outlet.
- Foot Pedal Connection: Connect the foot pedal switch to its designated port on the machine.
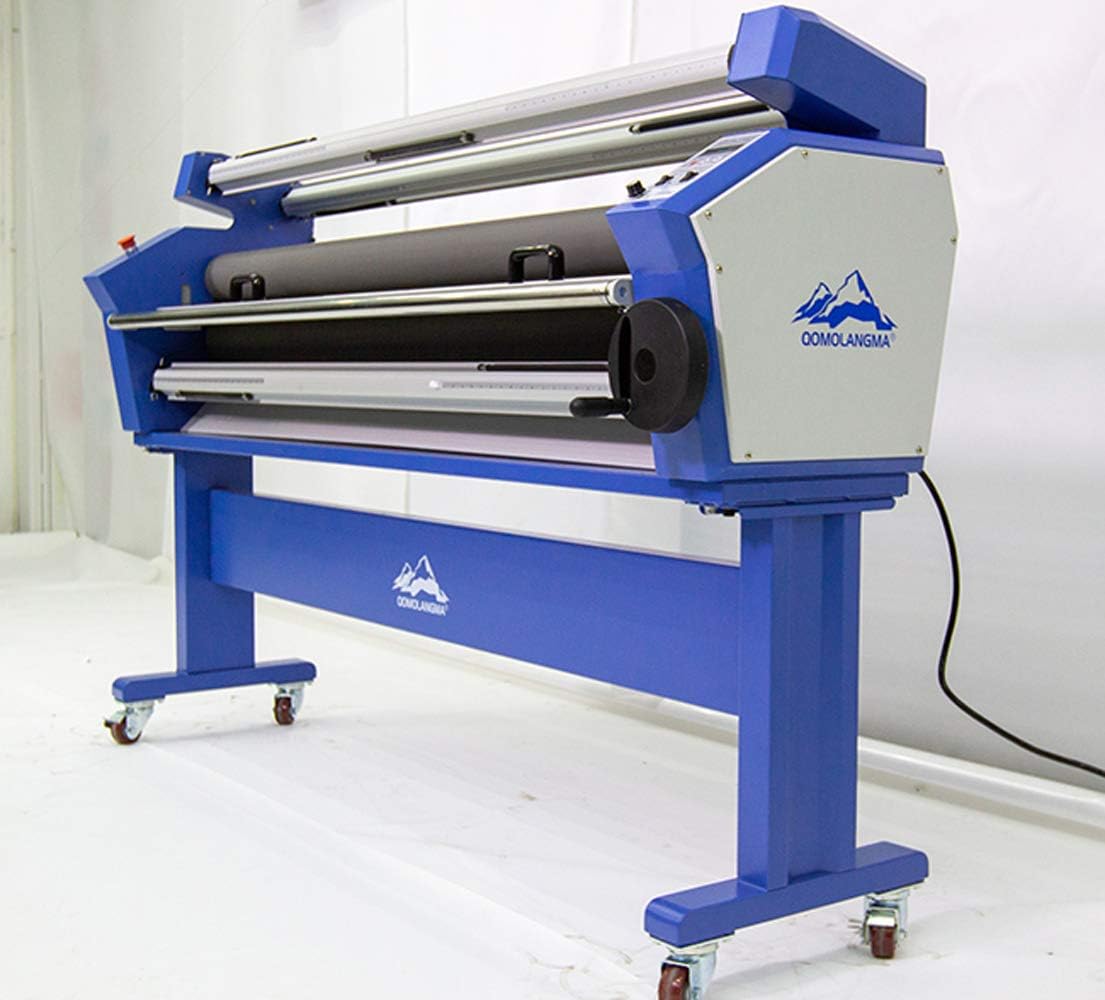
Figure 4.1: The Qomolangma FMJ-1600-WA laminator with its assembled floor stand, ready for operation.
5. Operation
Operating the laminator involves powering on, loading materials, and adjusting settings.
5.1 Control Panel Overview

Figure 5.1: The control panel for the FMJ-1600-WA laminator.
- Display: Shows status indicators (Warm, Cold, Ready) and other operational information.
- Heater Button: Activates the heat-assisted function.
- UP/DOWN Buttons: Adjust settings such as temperature or roller pressure.
- Motor Control Switch (Auto/Pedal): Selects between automatic operation or foot pedal control.
- Direction Switch (Forward/Reverse): Controls the direction of the rollers.
- Speed Control Knob: Adjusts the laminating speed.
5.2 Loading Materials
- Ensure the machine is powered off or in a safe standby mode.
- Use the hand crank lift-up system to adjust the nip opening to accommodate your material thickness.
- Carefully feed your print and laminating film into the machine, ensuring they are aligned properly.
- The drop-in type interchangeable 3-inch aluminum shaft facilitates easy loading and unloading of film rolls.

Figure 5.2: Close-up view of the laminator rollers and material guides.
5.3 Laminating Process
- Power on the machine.
- Select your desired mode: Cold for standard cold lamination, or activate the Heater for heat-assisted lamination (up to 60°C). Wait for the 'Ready' indicator.
- Adjust the laminating speed using the Speed Control Knob.
- Choose between Auto mode for continuous operation or Pedal mode for controlled feeding via the foot pedal.
- Initiate the laminating process using the Forward switch or foot pedal.
- Monitor the material as it passes through the rollers. Use the Reverse switch if necessary to correct alignment or clear jams.
- In case of any emergency, press the E-stop button immediately.

Figure 5.3: Side view of the laminator showing the hand crank for adjusting roller height.
6. Maintenance
Regular maintenance ensures optimal performance and extends the lifespan of your laminator.
- Cleaning: Regularly clean the rollers and exterior surfaces with a soft, damp cloth. Avoid abrasive cleaners or solvents.
- Roller Inspection: Periodically inspect the silicon and natural rubber rollers for any damage, debris, or adhesive residue. Clean as needed.
- Power Disconnection: Always disconnect the power supply before performing any cleaning or maintenance.
- Storage: When not in use, store the laminator in a clean, dry environment.
7. Troubleshooting
This section addresses common issues you might encounter.
- Machine Not Powering On: Check the power cord connection and the electrical outlet. Ensure the main power switch is in the 'On' position.
- Rollers Not Moving: Verify that the motor control switch is set correctly (Auto or Pedal) and that the direction switch is engaged. Check for any obstructions.
- Poor Lamination Quality (Bubbles/Wrinkles): Ensure the film and print are properly aligned. Adjust roller pressure using the hand crank. Check for proper temperature if using heat assist.
- Material Jam: Immediately press the E-stop button. Use the reverse function if possible to clear the jam. If not, carefully remove the jammed material after disconnecting power.
8. Specifications
| Specification | Value |
|---|---|
| Model | FMJ-1600-WA |
| Max. Working Width | 1600mm (63 inches) |
| Variable Working Speed | 0 - 6m / min (236.22 inches / min) |
| Max. Nip Opening (Laminating Thickness) | 35mm (1.378 inches) |
| Roller Diameter | 102mm (4 inches) |
| Top Roller Material | Silicon rubber |
| Bottom Roller Material | Natural rubber |
| Drive Motor | 90W |
| Power Consumption | 1400W |
| Power Requirement | AC110V / 50 - 60Hz |
| Machine Size (L x W x H) | 2020mm x 550mm x 1250mm (79.5in x 21.65in x 49.2in) |
| Net Weight (NW) / Gross Weight (GW) | 249kg (547.8lbs) |
| Max Heating Temperature | 60 degrees Celsius |
| Number of Rollers | 2 |
9. Warranty and Support
The Qomolangma FMJ-1600-WA laminator comes with a 3-year warranty. Additionally, customers receive lifetime free technical support for the product. For warranty claims or technical assistance, please contact your authorized Qomolangma dealer or the manufacturer, TOP123.