
1. Introduction
This manual provides detailed instructions for the installation, operation, and maintenance of your NightKing View Indoor 5MP Mini Cube Security IP Camera (Model NK-IP706G). Please read this manual thoroughly before using the product to ensure proper functionality and safety. This camera is designed for indoor surveillance, offering high-resolution video and remote access capabilities.
2. Safety Information
- Power Supply: Use only the specified power supply (DC 12V) or Power over Ethernet (PoE) compliant equipment. Incorrect voltage may damage the camera and void the warranty.
- Installation: Ensure the camera is installed in a stable location to prevent it from falling. Avoid placing it in direct sunlight, near heat sources, or in areas with high humidity or dust.
- Cleaning: Disconnect power before cleaning. Use a soft, dry cloth. Do not use liquid or aerosol cleaners.
- Operating Temperature: Operate the camera within the specified temperature range to ensure optimal performance.
- Disassembly: Do not attempt to disassemble or modify the camera. This may cause damage and void the warranty. Refer all servicing to qualified personnel.
3. Package Contents
Upon opening the package, please verify that all items are present and in good condition. The standard package for the NightKing View NK-IP706G camera typically includes:
- NightKing View 5MP Mini Cube IP Camera (Model NK-IP706G)
- Mounting Bracket and Screws
- Quick Start Guide (may vary by region)
Note: A power adapter (DC 12V) and Ethernet cable are typically not included as this camera supports Power over Ethernet (PoE).

Image 1: NightKing View 5MP Mini Cube IP Camera with its adjustable mounting bracket.
4. Setup
4.1 Physical Installation
- Choose a Location: Select an indoor location that provides the desired viewing angle and is within range of your network connection.
- Mount the Camera: Use the provided mounting bracket and screws to securely attach the camera to a wall or ceiling. Adjust the camera angle as needed.
4.2 Connection Methods
The NK-IP706G camera supports two primary connection methods: DC power with a separate network connection, or Power over Ethernet (PoE).

Image 2: Connection diagrams for the camera, illustrating both DC power and Power over Ethernet (PoE) setups.
Method 1: DC Power Connect
- Connect a DC 12V power adapter (not included) to the camera's power input.
- Connect an Ethernet cable from the camera to your network switch or router.
- Ensure your network switch/router is connected to the internet.
Method 2: PoE Connect (Recommended)
- If your network switch supports PoE, simply connect an Ethernet cable from the camera to a PoE port on the switch. The camera will receive both power and data through this single cable.
- If your switch does not support PoE, use a PoE injector (not included) between the camera and your non-PoE switch. Connect the camera to the PoE injector, and then the injector to your network switch.
4.3 Network Configuration and App Setup
- Download the App: Download the free mobile application, XMEYE, from your smartphone's app store (available for Android and iPhone).
- Register/Login: Open the XMEYE app and create a new account or log in if you already have one.
- Add Device: In the app, select the option to add a new device. You may need to scan a QR code (if available on the camera or packaging) or manually enter the camera's ID/serial number.
- Initial Setup: Follow the on-screen prompts in the app to complete the initial network configuration, including setting a strong password for your camera.
5. Operating the Camera
5.1 Remote Viewing
Once the camera is successfully added to the XMEYE app, you can view live video feeds from anywhere with an internet connection.
- Open the XMEYE app on your smartphone or tablet.
- Select the camera from your device list to start live viewing.
- The app allows you to view multiple cameras, take snapshots, and record video directly to your mobile device.
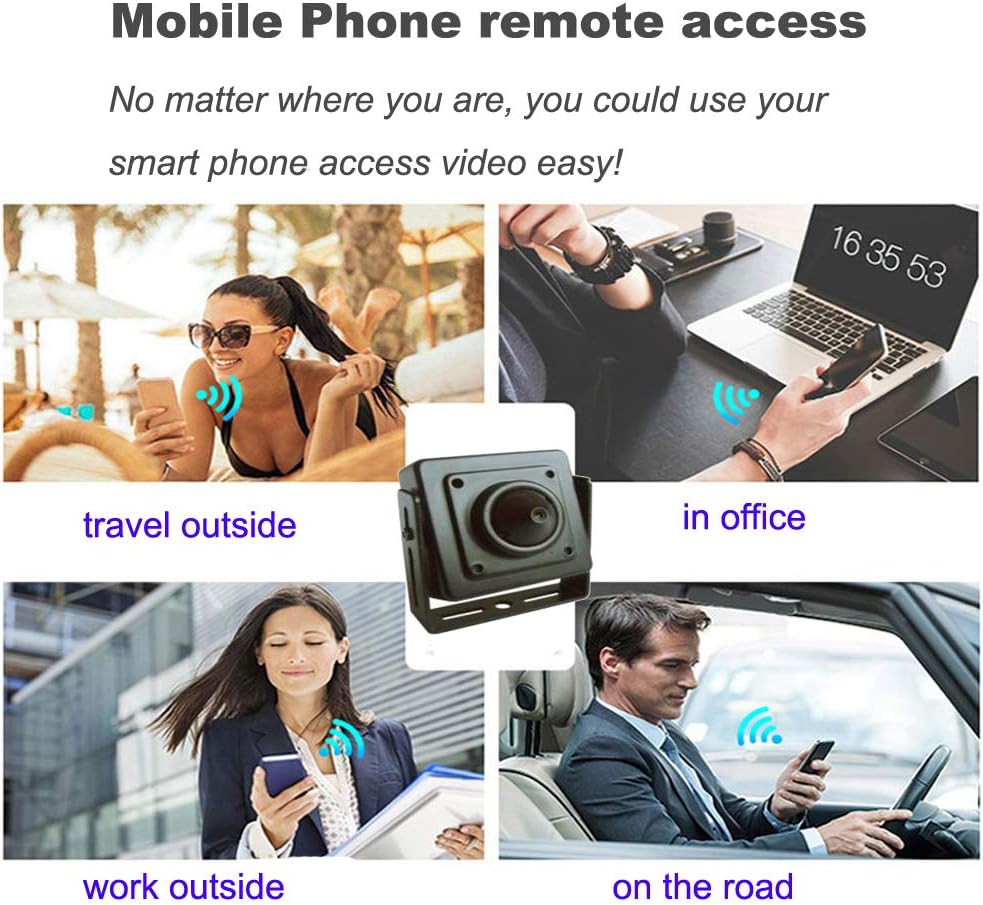
Image 3: The XMEYE app enables remote access to the camera feed from various locations using a smartphone.
5.2 Motion Detection and Alerts
The camera features motion detection capabilities to alert you to activity.
- Access the camera settings within the XMEYE app.
- Navigate to the motion detection settings.
- Enable motion detection and configure sensitivity levels and detection zones as desired.
- Set up email alerts or push notifications to receive immediate notifications on your mobile device when motion is detected.
5.3 Recording
The camera supports various recording options, often in conjunction with a Network Video Recorder (NVR) or through the mobile app.
- NVR Recording: If connected to an ONVIF-compatible NVR, configure recording schedules and settings directly on the NVR.
- App Recording: The XMEYE app allows for manual recording of live footage directly to your mobile device's storage.
- FTP Recording: The camera supports FTP for uploading recorded footage or snapshots to an FTP server. Configure FTP settings in the camera's web interface or app.
6. Maintenance
- Cleaning the Lens: Gently wipe the camera lens with a soft, lint-free cloth to remove dust or smudges. Do not use abrasive cleaners.
- Firmware Updates: Periodically check the manufacturer's website or the XMEYE app for available firmware updates. Keeping your camera's firmware updated ensures optimal performance and security.
- Password Security: Regularly change your camera's password to a strong, unique combination of characters to prevent unauthorized access.
7. Troubleshooting
If you encounter issues with your camera, refer to the following troubleshooting steps:
- No Power/Camera Not Turning On:
- Verify that the power adapter (if used) is correctly connected and providing 12V DC.
- If using PoE, ensure the Ethernet cable is securely connected to a PoE-enabled port or a functional PoE injector. Check the PoE switch/injector status lights.
- No Network Connection/Cannot View Camera:
- Ensure the Ethernet cable is properly connected to both the camera and your router/switch.
- Check your network router/switch for internet connectivity.
- Restart your router, switch, and the camera.
- Verify that the camera has been correctly added to the XMEYE app and that its network settings are accurate.
- Poor Picture Quality/Ghosting:
- Ensure the camera lens is clean and free from dust or smudges.
- Check network bandwidth. Insufficient bandwidth can lead to degraded video quality.
- If experiencing a 'ghost image' effect, try adjusting the camera's exposure or image settings within the app or web interface. Ensure the camera is not pointed directly at strong light sources.
- Motion Detection Not Working:
- Verify that motion detection is enabled in the camera settings via the XMEYE app.
- Adjust sensitivity levels.
- Ensure notification settings (email/push) are correctly configured in the app.
8. Specifications

Image 4: Compact design of the NightKing View 5MP Mini Cube IP Camera, highlighting its 5MP resolution, PoE, and ONVIF support.
| Feature | Specification |
|---|---|
| Model Number | NK-IP706G |
| Resolution | 5MP (2592x1944) |
| Lens | 3.7mm Pinhole Lens |
| Video Compression | H.265/H.264 |
| Frame Rate | 5MP@20fps; 2MP@30fps |
| Connectivity | Wired Ethernet, PoE (Power over Ethernet) |
| Compatibility | ONVIF, XMEYE App (Android, iPhone, Tablet PC) |
| Special Features | Motion Detect, Email Alert, FTP, P2P |
| Power Source | DC 12V or PoE |
| Power Consumption | 6 Watts |
| Indoor/Outdoor Usage | Indoor |
| Dimensions | Approximately 38x38mm (camera body) |
| Weight | 6.4 ounces |
| UPC | 799355782241 |
9. Warranty and Support
For warranty information and technical support, please refer to the documentation provided with your purchase or contact your retailer. Keep your proof of purchase for warranty claims.