1. Introduction
This manual provides comprehensive instructions for the Walfront LCD Digital Anemometer, a handheld device designed for measuring air speed and temperature. Please read this manual thoroughly before operating the device to ensure correct usage and optimal performance.
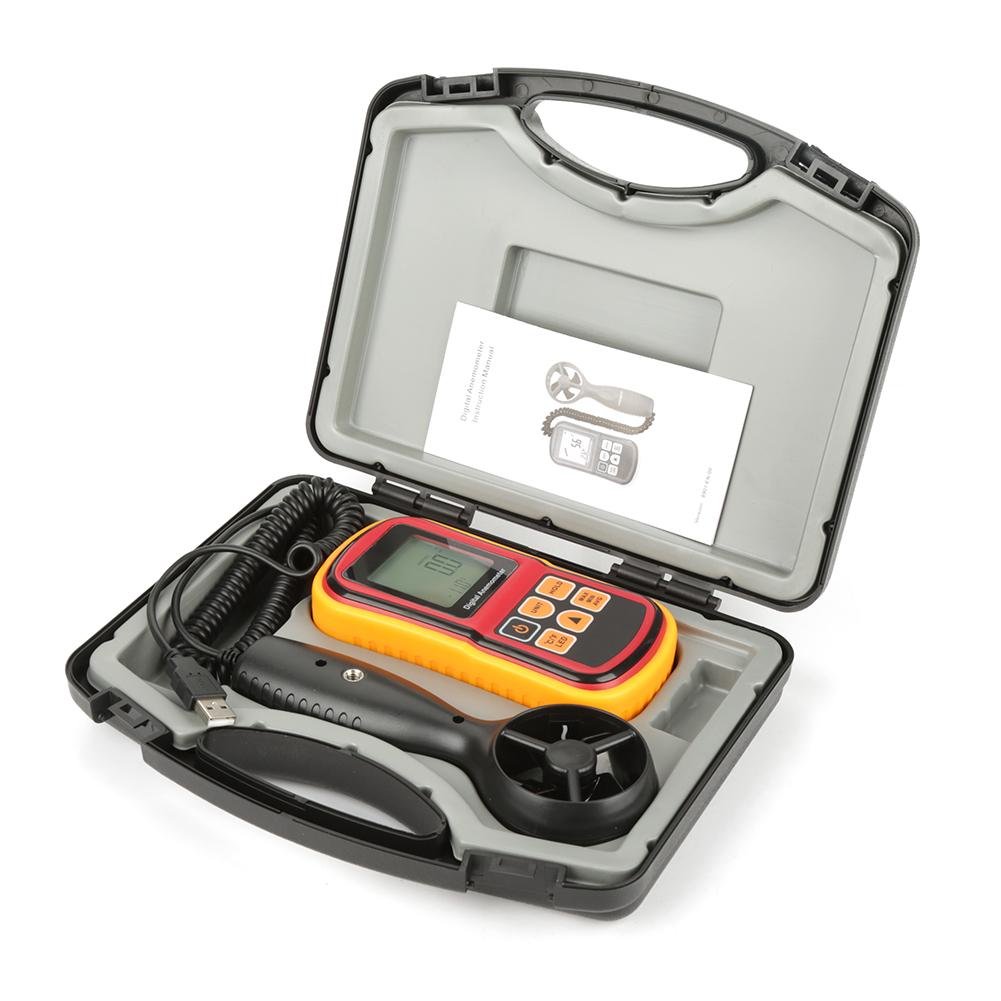
Figure 1: Walfront LCD Digital Anemometer and accessories in carrying case.
The image displays the Walfront LCD Digital Anemometer, its detachable probe, a USB cable, and an instruction manual, all neatly organized within a black protective carrying case. The main unit is red and yellow with a digital display.
2. Safety Information
To ensure safe operation and to avoid damage to the device, please observe the following safety precautions:
- Do not expose the device to extreme temperatures, humidity, or direct sunlight.
- Avoid strong impacts or dropping the device.
- Keep the device away from strong magnetic fields.
- Do not attempt to disassemble or modify the device. Repairs should only be performed by qualified personnel.
- Remove batteries if the device will not be used for an extended period to prevent leakage.
3. Product Features
The Walfront LCD Digital Anemometer offers the following key features:
- Air Speed Measurement: Measures air velocity from 0 to 45 m/s.
- Air Temperature Measurement: Measures air temperature from 0 to 45°C.
- Multiple Units: Supports m/s, ft/m, mph, km/h, Knots for air speed, and °C/°F for temperature.
- Backlight LCD Display: Large screen with backlight for clear readability in various lighting conditions.
- Data Hold Function: Freezes the current reading on the display.
- Max/Min/Average Measurement: Records maximum, minimum, and average air speed readings.
- Auto/Manual Power Off: Conserves battery life with automatic shutdown or allows manual control.
- Low Battery Indication: Alerts when battery replacement is needed.

Figure 2: Detailed view of the anemometer's display, battery compartment, and detachable probe.
This image shows three distinct views: the front of the anemometer with its LCD display and control buttons, the back of the main unit revealing the battery compartment, and the detachable wind speed probe with its fan blades.
4. Package Contents
Upon opening the package, please verify that all items are present and undamaged:
- Walfront LCD Digital Anemometer Main Unit
- Detachable Wind Speed Probe
- USB Cable
- Instruction Manual (this document)
- Protective Carrying Case
5. Setup
5.1 Battery Installation
- Locate the battery compartment on the back of the main unit.
- Slide open the battery cover.
- Insert the required batteries (not included, typically AAA or 9V, refer to device markings) according to the polarity indicators (+/-).
- Close the battery cover securely.
5.2 Connecting the Probe
- Connect the cable from the wind speed probe to the designated port on the main anemometer unit. Ensure a firm connection.

Figure 3: The main anemometer unit connected to its detachable wind speed probe.
This image shows the red and yellow main unit of the anemometer connected via a coiled cable to the black, handheld wind speed probe. A USB cable is also visible, connected to the main unit.
6. Operating Instructions

Figure 4: Anemometer held in hand, showing its ergonomic design and display.
A hand is shown holding the red and yellow main unit of the digital anemometer, with the LCD display showing a reading of "0.0" and "28.0°C". The control buttons are clearly visible.
6.1 Power On/Off
- Press the POWER button (typically marked with a circle and vertical line) to turn the device on.
- Press and hold the POWER button to turn the device off. The device also features an auto-off function after a period of inactivity.
6.2 Unit Conversion
- Press the UNIT button to cycle through air speed units: m/s, ft/m, mph, km/h, Knots.
- Press the °C/°F button to switch between Celsius and Fahrenheit for temperature readings.
6.3 Data Hold
- Press the HOLD button to freeze the current reading on the display.
- Press the HOLD button again to release the data hold function and resume live readings.
6.4 Backlight Control
- Press the LED button (often combined with °C/°F) to turn the display backlight on or off.
6.5 Max/Min/Average Measurement
- Press the MAX/MIN/AVG button to cycle through maximum, minimum, and average air speed readings recorded since the device was powered on or the function was reset.
- To reset the Max/Min/Avg data, typically power off and on the device, or consult the specific button sequence if available on the device.
7. Maintenance
7.1 Cleaning
- Wipe the device with a soft, dry cloth. Do not use abrasive cleaners or solvents.
- Ensure the wind speed probe's fan blades are free from dust and debris for accurate readings. Use a soft brush if necessary.
7.2 Storage
- Store the anemometer in its protective carrying case when not in use.
- Store in a cool, dry place, away from direct sunlight and extreme temperatures.
- Remove batteries if storing for extended periods to prevent corrosion.

Figure 5: The main anemometer unit with its yellow protective rubber casing removed.
This image shows the red main unit of the anemometer with its yellow protective rubber casing detached, revealing the device's internal structure and highlighting how the casing can be removed for cleaning or maintenance.
8. Troubleshooting
| Problem | Possible Cause | Solution |
|---|---|---|
| Device does not power on. | Low or dead batteries; incorrect battery installation. | Replace batteries; ensure correct polarity. |
| Inaccurate readings. | Dirty or obstructed probe fan; probe not securely connected. | Clean the fan blades; ensure the probe cable is firmly connected. |
| Display is dim or blank. | Low battery; backlight off. | Replace batteries; press the LED button to activate backlight. |
| Readings are stuck (not updating). | Data Hold function is active. | Press the HOLD button to deactivate. |
9. Specifications
| Parameter | Value |
|---|---|
| Air Speed Range | 0 - 45 m/s |
| Air Speed Units | m/s, ft/m, mph, km/h, Knots |
| Air Temperature Range | 0 - 45°C (32 - 113°F) |
| Temperature Units | °C, °F |
| Display | LCD with Backlight |
| Power Source | (Batteries not included, typically AAA or 9V) |
| Dimensions (Main Unit) | 5.71 x 2.83 x 1.38 inches (145 x 72 x 35 mm) |
| Material | Acrylonitrile Butadiene Styrene (ABS) |

Figure 6: Diagram showing the dimensions of the anemometer main unit.
This image illustrates the physical dimensions of the main anemometer unit, indicating its length (145mm / 5.85in), width (72mm / 2.83in), and thickness (35mm / 1.38in).
10. Warranty and Support
For warranty information or technical support, please refer to the contact details provided with your purchase documentation or visit the official Walfront website. Keep your purchase receipt as proof of purchase.
