
Introduction
This manual provides essential information for the proper installation, operation, and maintenance of your Shimano PD-M9100 XTR SPD Flat Bike Pedals. Please read this manual thoroughly before use to ensure safe and optimal performance.
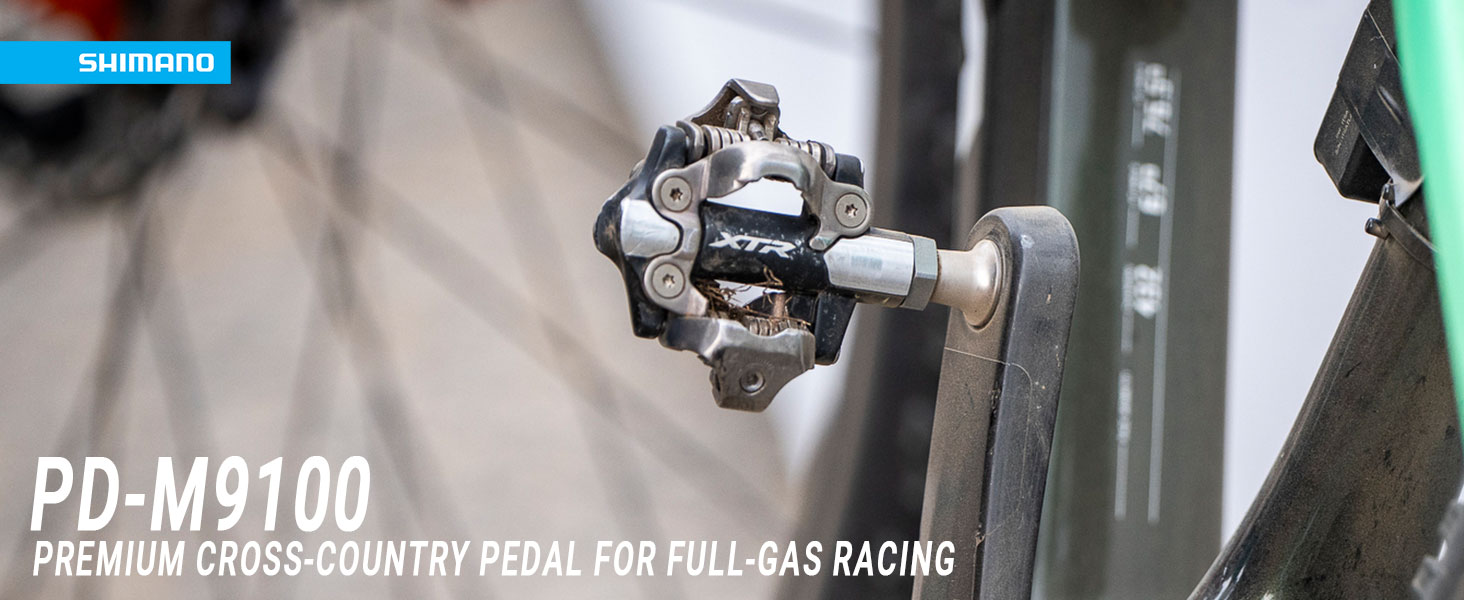
Image: The Shimano PD-M9100 XTR SPD Flat Bike Pedal, designed for cross-country racing.
Key Features:
- The cylindrical contact area is engineered to shed mud effectively, promoting consistent engagement and disengagement.
- Available with two axle length options: 52 mm and 55 mm (Crank surface – Pedal center).
- Designed to facilitate efficient pedaling and enhanced bicycle control.
- Features improved mud clearance and enhanced axle durability for stress-free pedaling.
- A wider edge-to-edge contact area ensures a solid pedal-shoe interface, transmitting power efficiently.
What's in the Box
Upon unpacking, verify that all components are present:
- Pedal x 2 (Left and Right)
- Cleats (SM-SH51 or SM-SH56, depending on package)
- Instruction Manual
Safety Information
Always prioritize safety when installing, adjusting, or using bicycle components. Failure to follow these instructions could result in serious injury or damage to your bicycle.
- Ensure all components are installed correctly and securely tightened to the manufacturer's specified torque values.
- Regularly inspect pedals and cleats for wear or damage. Replace worn parts immediately.
- Practice clipping in and out in a safe, controlled environment before riding in traffic or challenging terrain.
- Adjust cleat tension to a comfortable level that allows for safe disengagement.
- Always wear appropriate safety gear, including a helmet, when cycling.
Setup
1. Pedal Installation
- Identify the left (L) and right (R) pedals. The left pedal has a left-hand thread and tightens counter-clockwise. The right pedal has a right-hand thread and tightens clockwise.
- Apply a thin layer of grease to the pedal threads.
- Carefully thread each pedal into its corresponding crank arm by hand to avoid cross-threading.
- Using a 15mm pedal wrench or an 8mm hex wrench (depending on pedal model), tighten the pedals to the manufacturer's recommended torque specification (typically 35-55 Nm).
2. Cleat Installation and Adjustment
Cleats attach to your SPD-compatible cycling shoes. Proper positioning is crucial for comfort and efficiency.
- Attach the cleats to the sole of your cycling shoes using the provided bolts and washers. Ensure the cleat is oriented correctly (usually with the arrow pointing forward).
- Start with a neutral cleat position, typically centered under the ball of your foot.
- Adjust the cleat position forward/backward, side-to-side, and rotationally to find the most comfortable and efficient position for your riding style. This may require trial and error.
- Tighten the cleat bolts securely once the desired position is found. Refer to your shoe manufacturer's recommendations for torque.
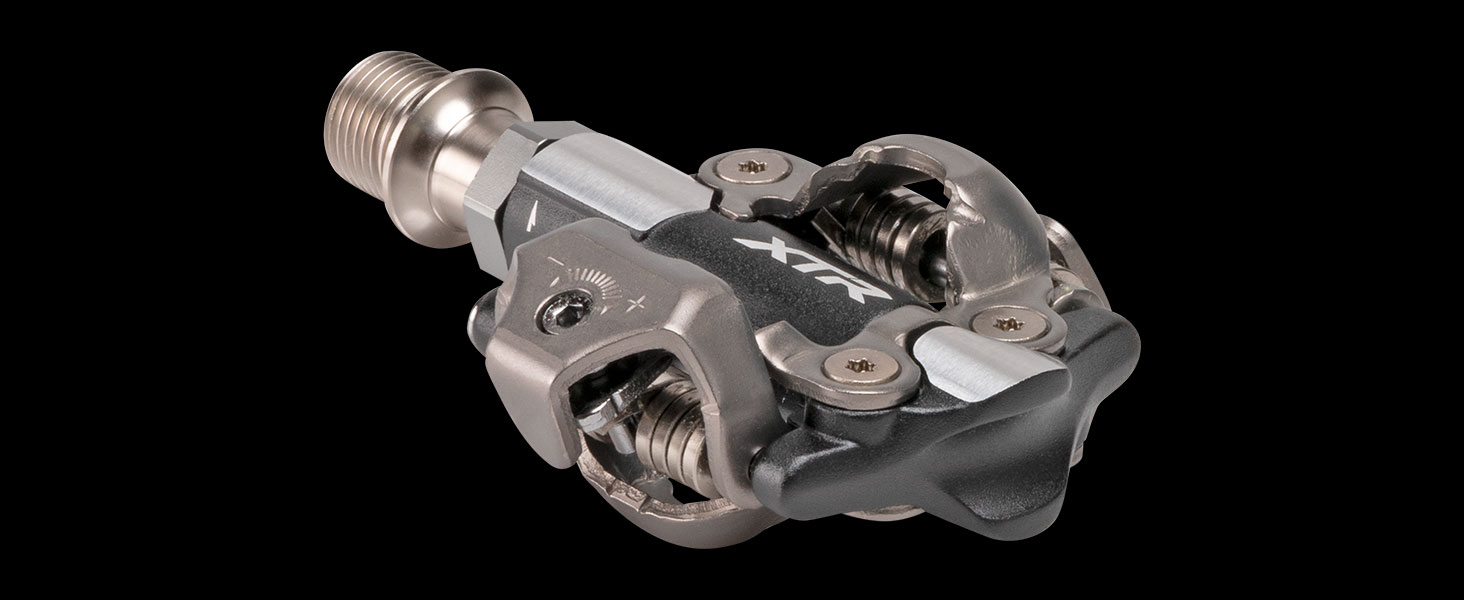
Image: A detailed view of the Shimano PD-M9100 pedal's binding mechanism.
Operating
1. Clipping In
To engage your foot with the pedal:
- Place the front part of your cleat onto the front hook of the pedal.
- Press down firmly with your heel until you hear a click, indicating the cleat is securely engaged.
2. Clipping Out
To disengage your foot from the pedal:
- Twist your heel outwards, away from the bicycle frame.
- A distinct click will indicate that your foot is released. Practice this motion until it becomes natural.
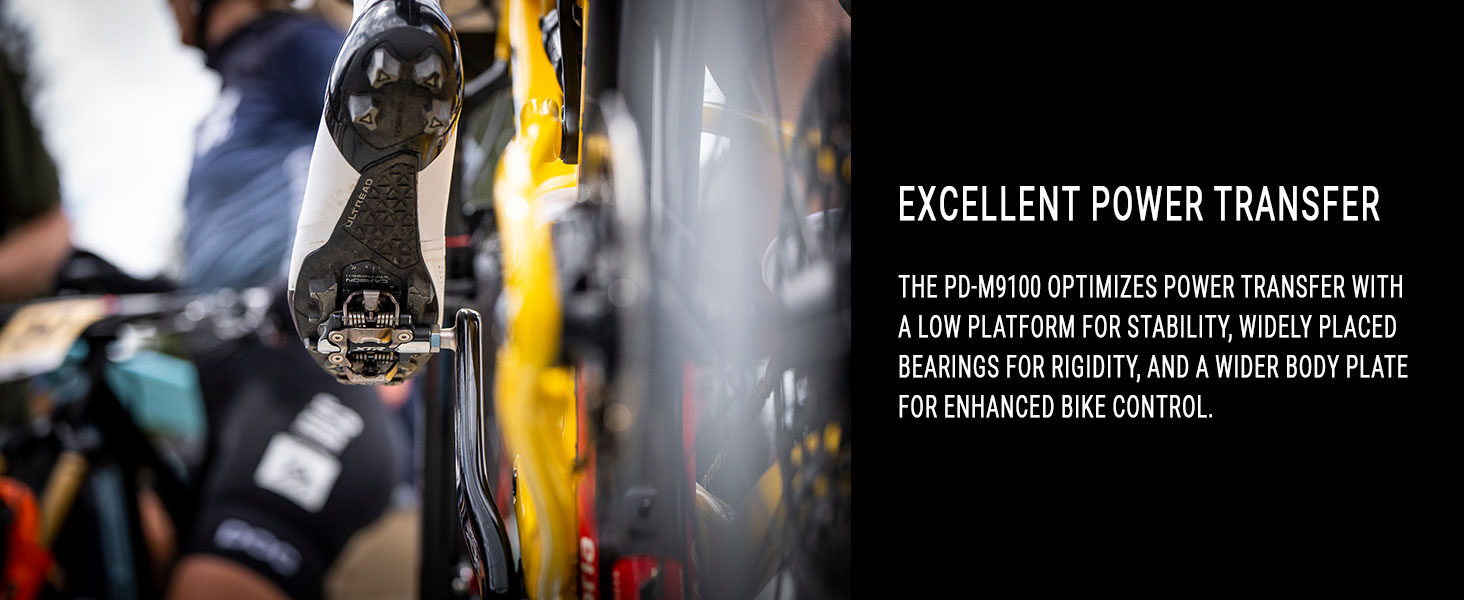
Image: A cycling shoe properly clipped into the PD-M9100 pedal, demonstrating efficient power transfer.
3. Tension Adjustment
The binding mechanism's spring tension can be adjusted to suit your preference for release force. A higher tension requires more force to clip out, while lower tension makes it easier.
- Locate the tension adjustment screw on the rear of the pedal binding mechanism.
- Use a hex wrench to turn the screw: turn clockwise to increase tension, and counter-clockwise to decrease tension.
- Ensure both pedals are set to the same tension for consistent release.

Image: The Shimano PD-M9100 pedal mounted on a bicycle, illustrating its efficient design and the location of the tension adjustment screw.
Maintenance
Regular maintenance extends the life and performance of your pedals.
1. Cleaning
- After riding in wet or muddy conditions, clean the pedals and cleats with water and a mild detergent.
- Remove any debris or mud from the binding mechanism to ensure smooth operation.
- Dry thoroughly after cleaning.
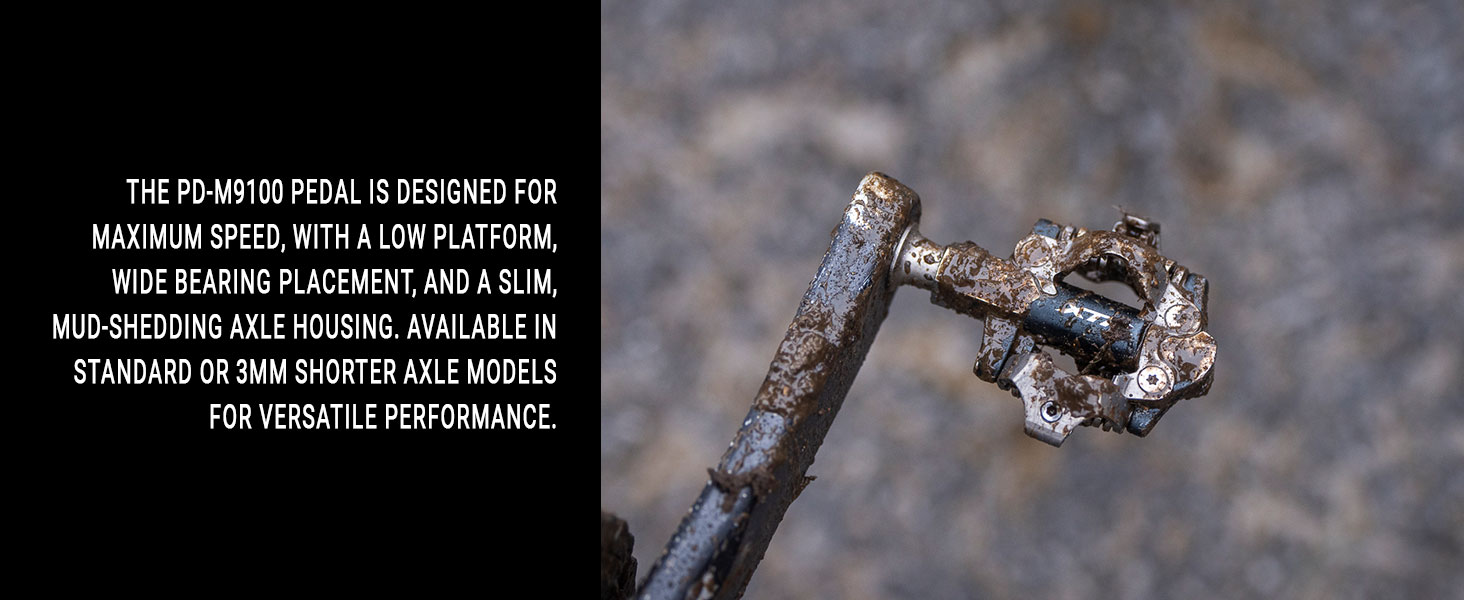
Image: A Shimano PD-M9100 pedal after use in muddy conditions, demonstrating its mud-shedding design.
2. Lubrication
- Periodically apply a small amount of light oil or grease to the pedal's binding mechanism and axle.
- This helps prevent corrosion and ensures smooth clipping in and out.
3. Inspection
- Regularly check cleats for wear. Worn cleats can lead to poor engagement or accidental release.
- Inspect the pedal body and binding mechanism for cracks, bends, or excessive play.
- Ensure pedal bolts and cleat bolts are tightened to specification.
Troubleshooting
- Difficulty Clipping In/Out: Check for mud or debris in the pedal mechanism or on the cleat. Ensure cleat tension is not excessively high. Inspect cleats for wear; replace if necessary.
- Unintended Release: Increase the cleat tension. Check cleats and pedals for excessive wear or damage. Ensure cleats are securely fastened to shoes.
- Pedal Noise (Creaking/Clicking): Clean and lubricate pedal threads and axle. Ensure pedals are tightened to the correct torque. Check cleat bolts for tightness and apply grease if needed. Inspect for worn bearings (requires professional service).
Specifications
| Brand | SHIMANO |
| Model Number | PD-M9100 |
| Color | Black |
| Material | Metal |
| Product Dimensions (L x W) | 4.53"L x 4.33"W |
| Item Weight | 1.1 Pounds |
| Axle Length Options | 52 mm, 55 mm (Crank surface – Pedal center) |
| Included Components | Pedal x 2, Cleats, Manual |
| Bike Type Compatibility | Cross Country Bike, Cyclocross Bike, Road Bike |
| Pedal Style | Clipless (SPD) |
Product Overview Video
Watch this 360-degree video for a detailed view of the Shimano PD-M9100 pedal.
Video: A 360-degree view of the Shimano PD-M9100 pedal, showcasing its design and features from all angles.
Warranty and Support
For warranty information or technical support, please refer to the official Shimano website or contact your authorized Shimano dealer. Keep your proof of purchase for warranty claims.
