1. Product Overview
The EVERSECU Solar Powered Wireless Security Camera is designed for outdoor surveillance, offering a wire-free solution with solar and battery power. It features 2.4Ghz WiFi connectivity, IP67 waterproofing, a PIR motion sensor, and local SD card storage. This camera provides remote monitoring capabilities via a mobile application.
Key Features:
- Solar Powered & Rechargeable Battery: Ensures continuous operation with minimal manual charging, requiring approximately 20 hours of solar charge per month for typical usage (10-20 triggers/day).
- 100% Wire-Free Installation: No electrical wiring required, allowing flexible placement.
- 2.4Ghz WiFi Connectivity: Connects to your home network for remote access (5G WiFi is not supported).
- IP67 Waterproof Rating: Designed to withstand various outdoor weather conditions.
- Smart PIR Motion Sensor: Detects human movement up to 5 meters, triggering recordings and app push notifications.
- Night Vision: Features both infrared light for discreet monitoring and white light for illuminated night vision and inductive street lamp function.
- SD Card Storage: Supports up to 64GB SD card for local storage, recording only when triggered. Older footage is overwritten when space is full.
- Remote Monitoring & Two-Way Audio: View live video feed, listen, and speak through the camera via the mobile app.

Figure 1: EVERSECU Solar Powered Wireless Security Camera.
2. Setup Guide
2.1. Unboxing and Initial Inspection
Carefully unpack all components and verify that all items are present:
- Main Camera Unit with integrated solar panel
- Mounting Bracket
- Mounting Screw Kit
- WiFi Antenna
- USB Charging Cable
- User Manual

Figure 2: Camera components and accessories.
2.2. Initial Charging
Before first use, fully charge the camera's internal battery using the provided USB cable. Connect the USB cable to the camera's charging port (located under the waterproof cover on the bottom) and to a standard USB power adapter (not included). The charging indicator light will show the charging status.
2.3. App Installation and Camera Connection
- Download the App: Scan the QR code provided in the physical user manual or search for "ToSee" in your mobile application market (App Store for iOS, Google Play for Android) and install it.
- Open the App: Launch the "ToSee" app and allow all necessary notifications for optimal user experience.
- Add Device: Open the top right corner '+' of the app to add a device. Select "Add a Device" or "Scan QR Code" to add your camera.
- Power On Camera: Locate the waterproof cover on the bottom of the camera. Open it to reveal the power switch. Slide the switch to the "ON (Infrared light)" or "ON (white light)" position. The camera will emit a ringtone indicating it is powered on.
- Connect to WiFi: Follow the in-app instructions to connect the camera to your 2.4Ghz WiFi network. Ensure your smartphone is connected to the same 2.4Ghz WiFi network during the setup process. If no WiFi network is available, a smartphone with traffic can be used as a hotspot.
- Secure the Cover: Once the camera is successfully connected to the network, ensure the waterproof cover on the bottom of the camera is securely closed to prevent water damage.
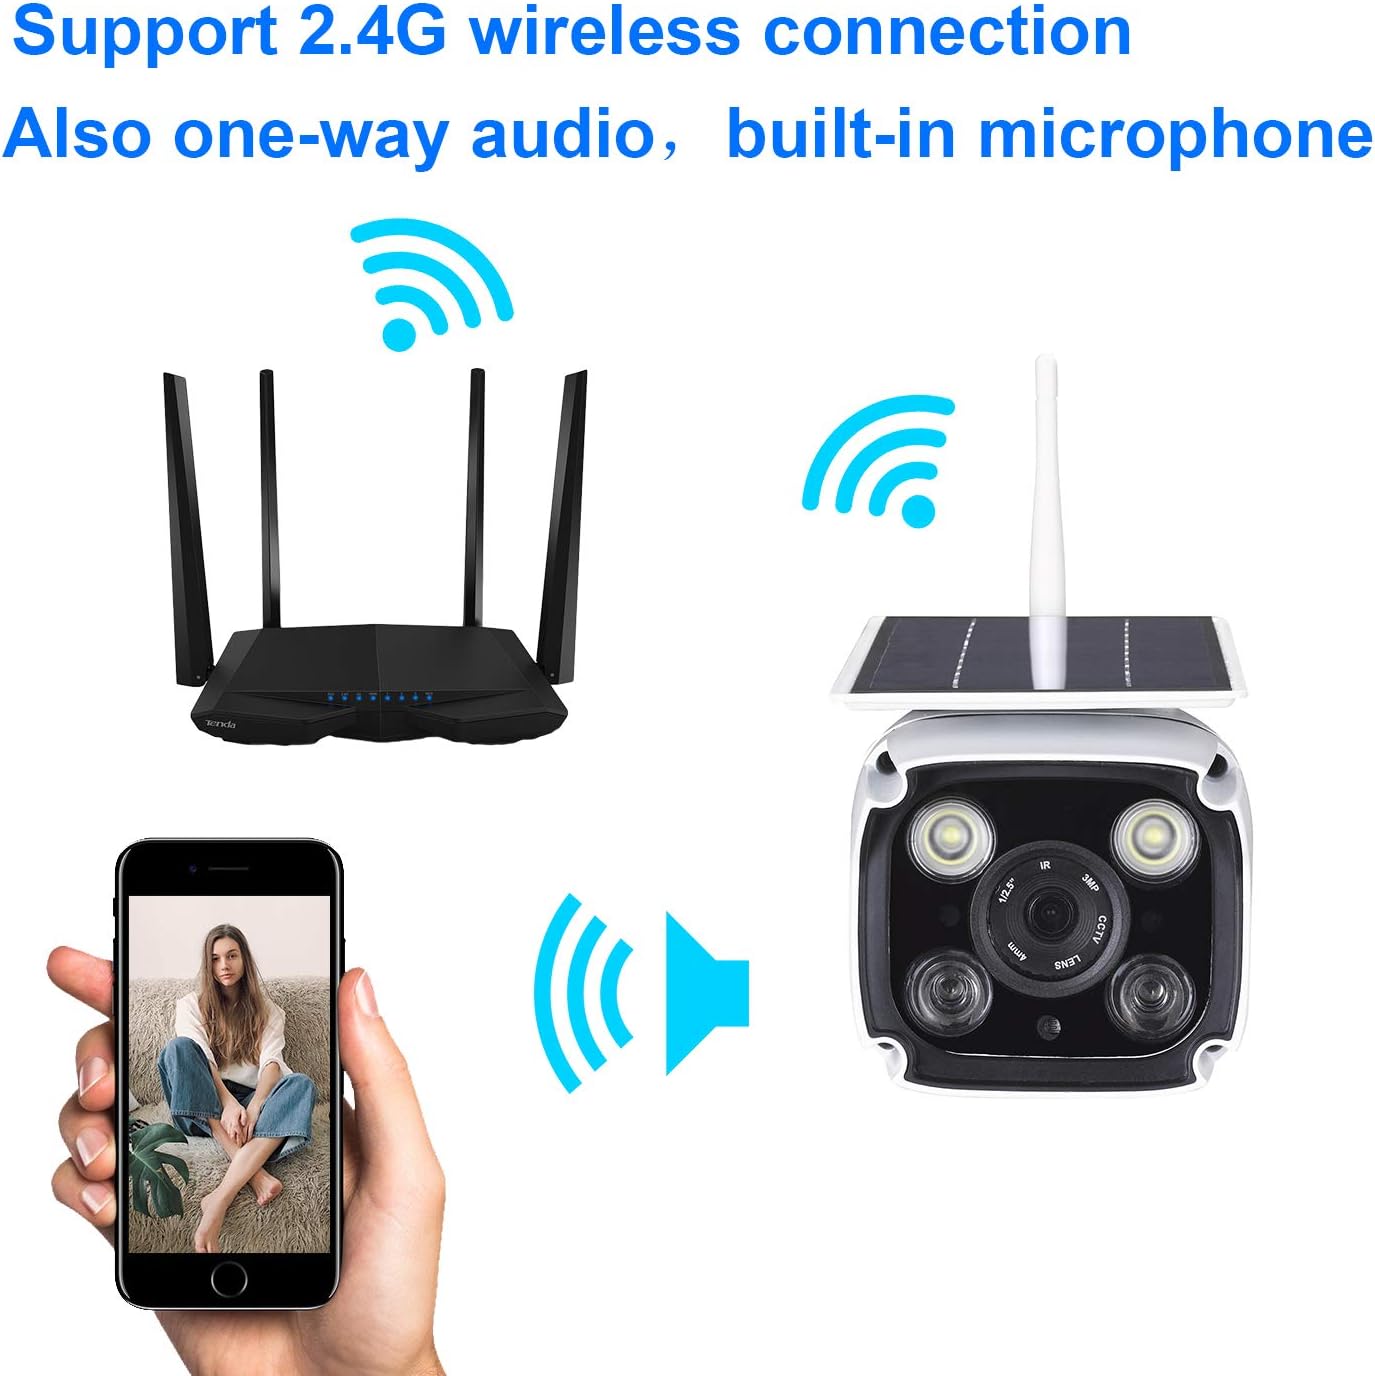
Figure 3: Wireless connection setup via mobile app.
2.4. Physical Installation
Choose a location with sufficient direct sunlight for the solar panel and good 2.4Ghz WiFi signal strength. Use the provided mounting bracket and screws to securely attach the camera to a wall or other suitable surface. Adjust the angle of the solar panel to maximize sun exposure.
3. Operating Instructions
3.1. Power Switch and Light Modes
The camera features a three-position switch located under the waterproof cover on the bottom:
- ON (Infrared light): Activates infrared night vision for discreet monitoring in low light conditions.
- OFF: Powers off the camera.
- ON (white light): Activates white light for illuminated night vision and an inductive street lamp function when motion is detected at night.

Figure 4: Three-adjustment switch for light modes.
3.2. Motion Detection and Alerts
The integrated PIR motion sensor detects human movement within a range of approximately 5 meters. Upon detection, the camera will:
- Start recording video within 1 second.
- Send real-time push notifications to your mobile app.
- If "ON (white light)" mode is selected, the white lights will automatically activate at night when motion is sensed.

Figure 5: Night vision and motion detection in action.
3.3. Remote Monitoring via App
Use the "ToSee" mobile app to:
- View live video streaming from your camera.
- Access recorded footage stored on the SD card.
- Utilize two-way audio to listen and speak through the camera.
- Monitor battery and power levels.
- Adjust camera settings, including infrared/white light modes and motion trigger sensitivity.
4. Maintenance
4.1. Solar Panel Care
To ensure optimal charging efficiency, regularly clean the surface of the solar panel to remove dust, dirt, or debris that may obstruct sunlight. Use a soft, damp cloth for cleaning.
4.2. Waterproof Cover
Always ensure the waterproof cover on the bottom of the camera is securely closed after accessing the power switch or SD card slot. Failure to do so may lead to water ingress and damage to the device.
4.3. Battery Management
While solar-powered, prolonged periods of low sunlight or frequent motion triggers can deplete the battery. If the battery level is consistently low, consider temporarily charging the camera via the USB cable or repositioning it to an area with more direct sunlight.
5. Troubleshooting
- Camera not connecting to WiFi:
- Ensure your WiFi router is 2.4Ghz. This camera does not support 5Ghz WiFi.
- Verify the WiFi password entered in the app is correct.
- Check the camera's proximity to the WiFi router for a strong signal.
- Restart your router and the camera, then attempt connection again.
- Battery not charging or low power:
- Ensure the solar panel is clean and receiving direct sunlight for several hours daily.
- Check for any obstructions blocking sunlight to the solar panel.
- If necessary, charge the camera directly using the USB cable.
- False motion detections or no detection:
- Adjust the motion detection sensitivity settings within the "ToSee" app.
- Ensure the camera's field of view is clear of moving objects like tree branches or reflective surfaces that might trigger false alerts.
- Verify the PIR sensor is not obstructed.
- App not receiving notifications:
- Check your phone's notification settings to ensure the "ToSee" app has permission to send push notifications.
- Ensure the app is running in the background or allowed to run without restrictions by your phone's operating system.
- Verify the camera is connected to WiFi and has sufficient battery.
6. Specifications
| Feature | Detail |
|---|---|
| Model Number | 3216549917 |
| Power Source | Battery Powered, Solar Powered |
| Connectivity Protocol | Wi-Fi (2.4Ghz only) |
| Video Capture Resolution | 1080p (1920*1080) |
| Effective Video Resolution | 2 MP |
| Water Resistance Level | IP67 Waterproof |
| Special Feature | Motion Sensor (PIR) |
| Low Light Technology | Night Color (White Light), Infrared Light |
| Battery Capacity | 5200mAh (2600mAh*2) |
| Storage Capacity | Supports up to 64GB SD Card |
| Solar Panel Power | 2.2W |
| Indoor/Outdoor Usage | Outdoor |
| Item Weight | 2.59 pounds |
| Package Dimensions | 10.1 x 8.1 x 4.8 inches |
7. Warranty and Support
For warranty information and technical support, please refer to the documentation included with your product or contact EVERSECU customer service directly. Keep your purchase receipt for warranty claims.
8. Important Safety Information
- Do not disassemble or attempt to repair the camera yourself. This may void the warranty and cause damage.
- Ensure the camera is installed securely to prevent it from falling.
- Avoid placing the camera in locations with extreme temperatures or direct exposure to corrosive substances.
- Dispose of batteries and electronic components responsibly according to local regulations.
9. Product Videos
No official seller videos were found for this product in the provided data.
