
1. Introduction
Welcome to the comprehensive instruction manual for your new Weber Genesis II E-335 Liquid Propane Grill. This grill is designed to provide an exceptional outdoor cooking experience, featuring the powerful GS4 high-performance grilling system, a dedicated sear station, and a convenient side burner. With porcelain-enameled, cast-iron cooking grates, it ensures superior heat retention for perfectly grilled meals. This manual will guide you through the assembly, operation, maintenance, and troubleshooting of your grill, ensuring years of reliable performance.
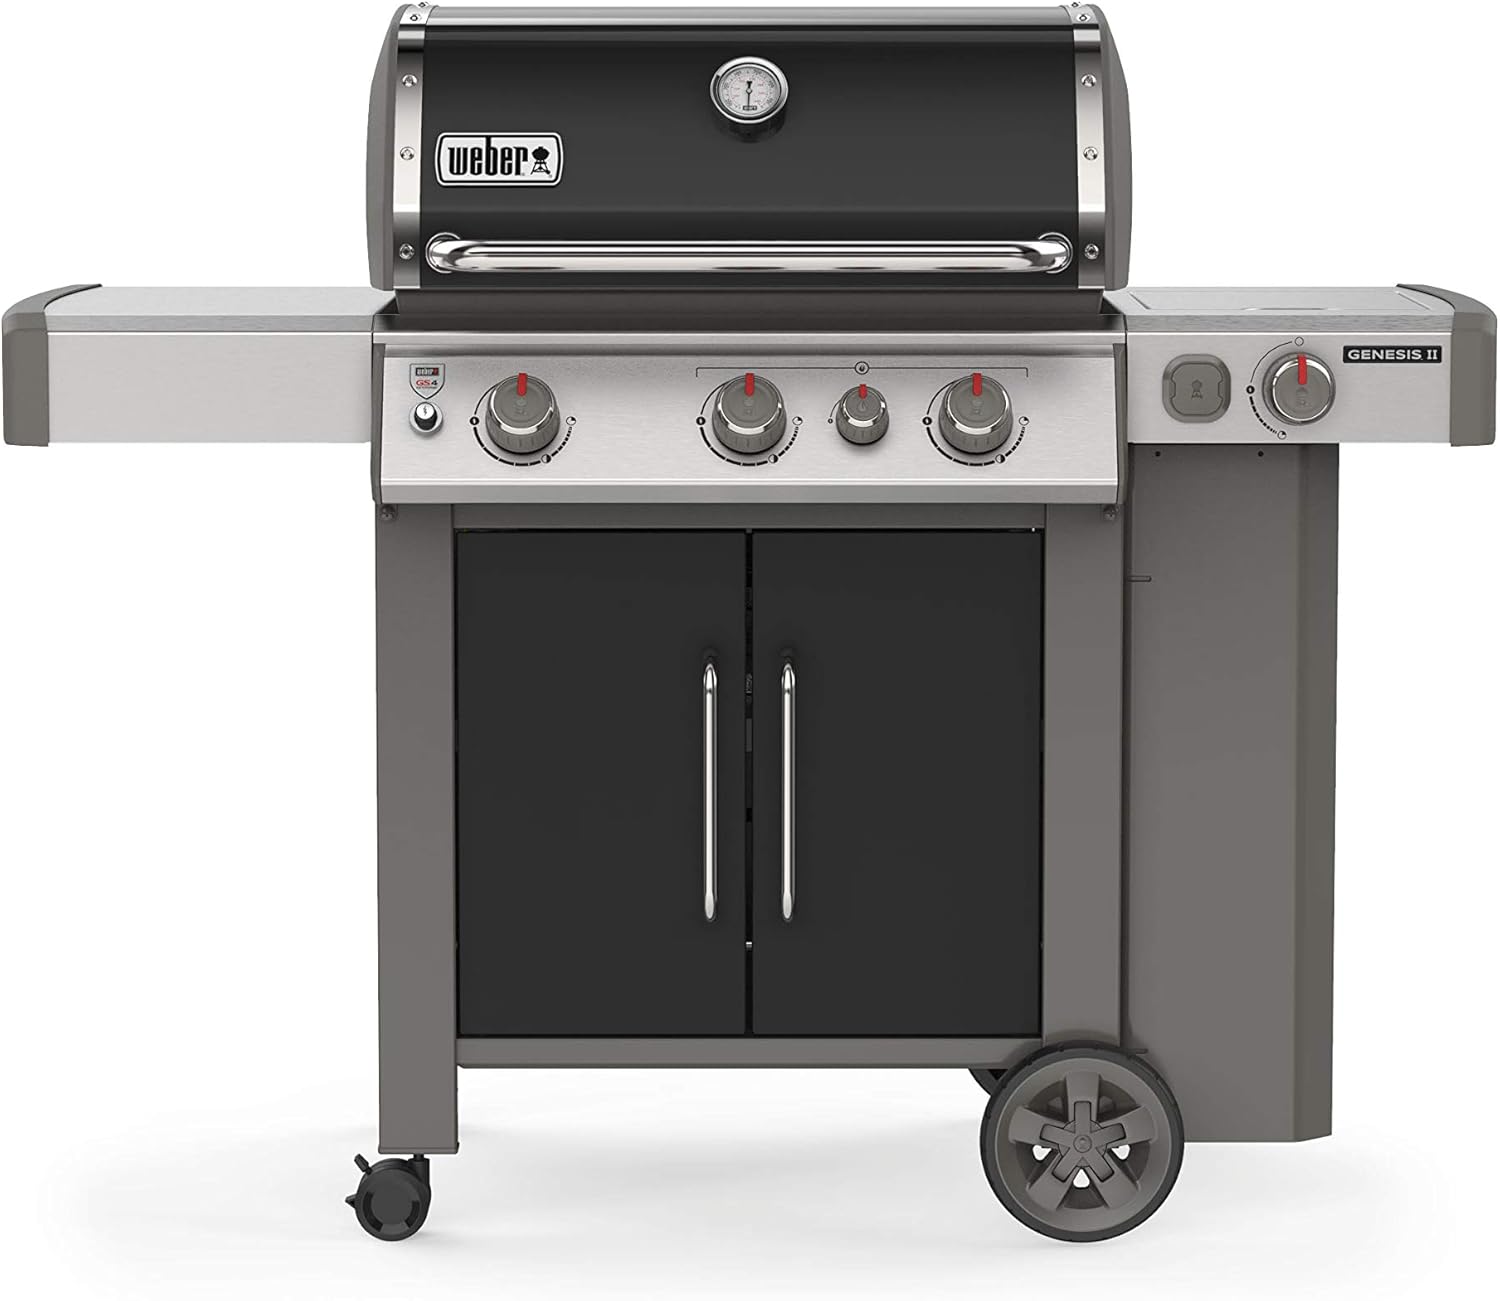
Figure 1: Front view of the Weber Genesis II E-335 Liquid Propane Grill.
2. Safety Information
WARNING: For your safety, read all instructions before operating this appliance. Failure to follow these instructions could result in fire, explosion, or burn hazard, which could cause property damage, personal injury, or death.
- This grill is for outdoor use only. Do not operate indoors or in an enclosed area.
- Do not store or use gasoline or other flammable vapors and liquids in the vicinity of this or any other appliance.
- Always ensure proper ventilation when operating the grill.
- Check for gas leaks before each use. Refer to the "Checking for Gas Leaks" section in Setup.
- Keep children and pets away from the grill at all times.
- Always wear protective gloves when handling hot components.
- Do not obstruct the flow of combustion and ventilation air.
- This product contains chemicals known to the State of California to cause cancer and birth defects or other reproductive harm (Proposition 65 warning).
3. Setup and Assembly
3.1 Assembly
Assembly of your Weber Genesis II E-335 grill typically takes approximately 2 to 3 hours for one person. While the instructions are designed to be clear, it is recommended to take your time and follow each step carefully. Ensure all parts are accounted for before beginning.
- Unpack all components and lay them out. Refer to the parts list in your physical manual.
- Assemble the cart frame according to the diagrams.
- Attach the grill cook box and side tables to the assembled cart.
- Install the burners, Flavorizer bars, and cooking grates.
- Ensure all connections are secure and tightened appropriately.

Figure 2: Grill dimensions and key features diagram, useful during assembly.
3.2 Connecting the Liquid Propane (LP) Tank
The Weber Genesis II E-335 grill operates on a standard 20 lb. liquid propane tank (not included).
- Ensure the LP tank valve is closed by turning it clockwise.
- Place the LP tank into the designated tank scale area within the grill cabinet. The tank scale helps indicate the remaining gas level.
- Connect the regulator hose to the LP tank valve. Turn the coupling nut clockwise until it is fully tightened. Do not overtighten.
- Open the LP tank valve slowly by turning it counter-clockwise.

Figure 3: View of the liquid propane tank compartment and tank scale.
3.3 Checking for Gas Leaks
Always perform a leak test before initial use and after any period of storage or if the tank has been disconnected.
- Mix a solution of equal parts liquid dish soap and water.
- Ensure all burner control knobs are in the OFF position.
- Open the LP tank valve.
- Apply the soap solution to all gas connections, including the regulator connection, hose, and manifold connections.
- Look for bubbles. If bubbles appear, there is a leak. Close the LP tank valve immediately and tighten the connection. Repeat the test. If bubbles persist, do not use the grill and contact Weber customer support.
4. Operating Your Grill
4.1 Ignition
The Genesis II E-335 features the Infinity Ignition system for reliable starts.
- Ensure the LP tank valve is fully open.
- Open the grill lid.
- Turn the first main burner control knob (typically the far left) to the HIGH position.
- Press and hold the ignition button. You should hear a clicking sound and see a flame.
- Once the first burner is lit, release the ignition button.
- Turn on additional main burners as needed by rotating their respective control knobs to the desired setting.
- If a burner does not light within 5 seconds, turn the control knob to OFF, wait 5 minutes for gas to dissipate, and repeat the process.

Figure 4: Close-up of the Infinity Ignition button and control knobs.
4.2 Main Burners and Temperature Control
The grill features three high-performance main burners. Adjust the control knobs to achieve your desired cooking temperature.
- High Heat: Use for searing, direct grilling of smaller items.
- Medium Heat: Ideal for most direct grilling, such as chicken pieces or vegetables.
- Low Heat: Suitable for indirect cooking, warming, or slow roasting.

Figure 5: Detailed view of the main burner control knobs.
4.3 Sear Station
The dedicated sear station burner creates an intense heat zone for quickly adding professional sear marks to your meat.
- Preheat the grill with the sear station burner on HIGH for 5-10 minutes.
- Place your food directly over the sear station burner.
- Sear for 1-2 minutes per side, then move the food to a lower heat zone to finish cooking.
4.4 Side Burner
The side burner is perfect for simmering sauces, sautéing vegetables, or preparing side dishes while grilling.
- Ensure the side burner control knob is in the OFF position.
- Place a suitable pot or pan on the side burner grate.
- Turn the side burner control knob to the desired setting (LOW to HIGH) and ignite using the integrated ignition.
4.5 Grilling Tips
- Always preheat your grill with the lid closed for 10-15 minutes before placing food on the grates.
- Use a meat thermometer to ensure food is cooked to safe internal temperatures.
- Utilize the warming rack for keeping cooked food warm or toasting buns.
- The grill features two stainless steel side tables with tool hooks for convenience.

Figure 6: The Weber Genesis II E-335 grill in operation, showcasing its cooking capacity.
4.6 iGrill 3 Compatibility
Your Genesis II E-335 grill is designed to be compatible with the Weber iGrill 3 Bluetooth thermometer (sold separately). This allows you to monitor food temperatures from your smart device.

Figure 7: The iGrill 3 port, ready for the optional smart thermometer.
5. Maintenance and Care
Regular cleaning and maintenance will extend the life of your grill and ensure optimal performance.
5.1 Cleaning Grill Grates
After each use, while the grates are still warm, brush off any food residue with a grill brush. The porcelain-enameled, cast-iron grates are durable and easy to clean.

Figure 8: Close-up of the porcelain-enameled, cast-iron cooking grates.
5.2 Cleaning Flavorizer Bars
Periodically, remove the Flavorizer bars and scrape off any accumulated grease or food particles. They protect the burners and vaporize drippings for added flavor.
5.3 Grease Management System
The grease management system directs grease away from the burners into a removable catch pan located beneath the cook box.
- Regularly check and empty the disposable drip pan liner in the catch pan.
- Clean the catch pan as needed.

Figure 9: The removable grease tray for easy cleaning.

Figure 10: Interior of the grill cabinet, showing space for drip pans and cleaning tools.
5.4 Exterior Care
Clean exterior surfaces with a mild soap and water solution. For stainless steel parts, use a stainless steel cleaner. Always use a grill cover when the grill is not in use to protect it from the elements.
6. Troubleshooting
This section addresses common issues you might encounter with your Weber Genesis II E-335 grill.
| Problem | Possible Cause | Solution |
|---|---|---|
| Burner will not light. | No gas flow; clogged burner ports; faulty igniter. | Check LP tank connection and gas level. Clean burner ports. Check igniter electrode for proper positioning (ensure it's not "pushed down" or shorting). |
| Uneven heat across cooking surface. | Clogged burner ports; low gas pressure. | Clean burner ports. Ensure LP tank is not low and regulator is functioning correctly. |
| Excessive flare-ups. | Grease buildup; high fat content in food. | Clean grease management system and Flavorizer bars regularly. Trim excess fat from meat. |
| Gas smell. | Gas leak. | Immediately turn off gas at the tank. Perform a leak test (Section 3.3). Do not operate if leak persists. |
7. Technical Specifications
| Feature | Detail |
|---|---|
| Brand | Weber |
| Model Name | Genesis II E-335 |
| Model Number | 61016001 |
| Product Dimensions (D x W x H) | 29"D x 59"W x 47"H |
| Item Weight | 153 Pounds |
| Fuel Type | Liquid Propane (LP) |
| Main Burner Count | 3 |
| Side Burner Count | 1 |
| Cooking Surface Area | 669 Square Inches |
| Material | Cast Iron (grates), Porcelain (enameled), Stainless Steel (frame, handle) |
| Included Components | GS4 Grilling System (Infinity ignition, High performance Burners, Flavorizer bars, Grease management system), Two stainless steel side tables with tool hooks, Stainless steel heat deflectors. (iGrill3 Bluetooth thermometer sold separately) |
| UPC | 077924083938 |
8. Warranty and Customer Support
8.1 Warranty Information
The Weber Genesis II E-335 grill comes with a 10-year warranty, reflecting Weber's commitment to quality and durability. This warranty covers various components of the grill. Please refer to the official Weber warranty documentation provided with your grill for full details and terms.
8.2 Customer Support
For any questions, technical assistance, or warranty claims, please contact Weber customer support. You can find more information and contact details on the official Weber website or through their Amazon store page.


