
Introduction
This manual provides essential information for the safe and efficient operation, maintenance, and troubleshooting of your Weber Genesis II S-335 Liquid Propane Grill. Please read this manual thoroughly before assembly or operation to ensure proper use and to prevent injury or damage.

Image: The Weber Genesis II S-335 Liquid Propane Grill, showcasing its stainless steel finish, three main burners, side burner, and enclosed cabinet.
Safety Information
Always follow basic safety precautions when operating a gas grill.
- Ensure proper ventilation when operating the grill.
- Keep children and pets away from the grill during operation.
- Do not store flammable materials near the grill.
- Always check for gas leaks before each use.
- Use heat-resistant gloves when handling hot components.
- Do not attempt to repair or alter the grill's gas system. Contact qualified service personnel.
Setup and Assembly
The Weber Genesis II S-335 grill is designed for straightforward setup. While assembly is generally not required for the main unit as it often comes pre-assembled, some minor attachments or initial checks may be necessary.
Initial Checks
- Unpacking: Carefully remove all packaging materials and inspect the grill for any shipping damage.
- Component Verification: Ensure all included components, such as the battery for ignition, are present.
- Placement: Position the grill on a level, stable surface outdoors, away from combustible materials.
- LP Tank Connection: Connect the liquid propane tank according to the manufacturer's instructions. Ensure a secure, leak-free connection.
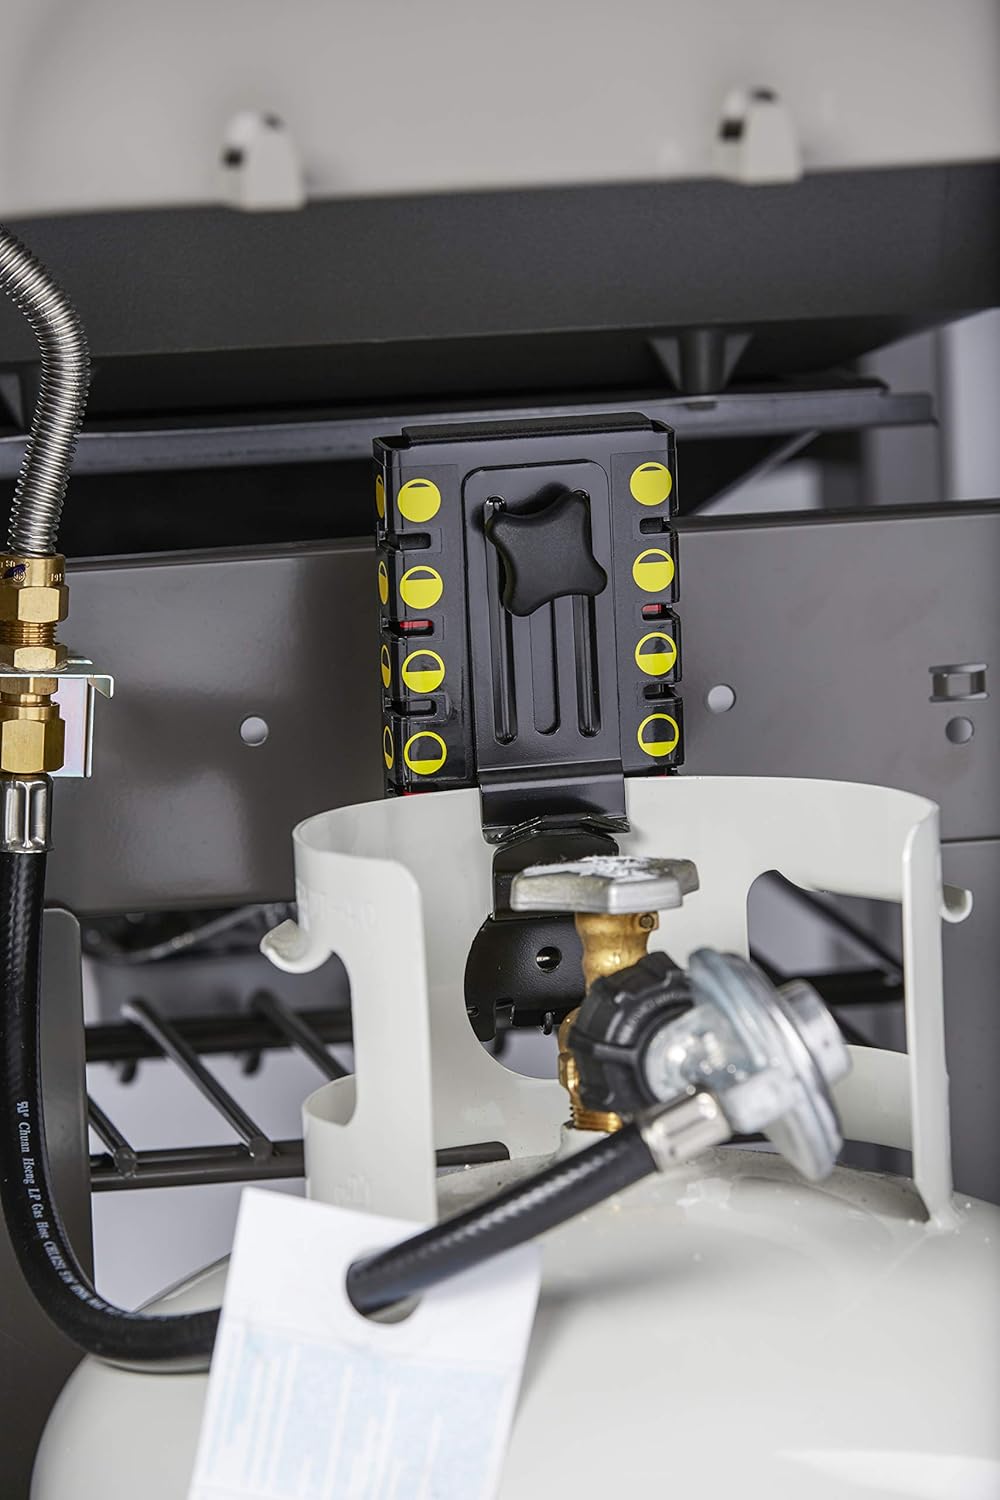
Image: Close-up view of the liquid propane tank connection and the integrated fuel gauge, which helps monitor propane levels.
Tool Hooks and Storage
The grill features convenient tool hooks on the side shelf for hanging grilling utensils. The enclosed cabinet provides storage space for accessories.

Image: The side shelf of the grill with integrated hooks for hanging grilling tools, demonstrating convenient storage.
Operating Instructions
Pre-heating the Grill
- Open the grill lid.
- Turn on the gas supply at the LP tank.
- Turn the main burner control knobs to the HIGH position.
- Press the igniter button until the burners ignite.
- Close the lid and allow the grill to pre-heat for 10-15 minutes, or until the desired temperature is reached. The lid-mounted thermometer indicates the internal temperature.

Image: Close-up of the grill's control knobs, showing the settings for the main burners and side burner.

Image: Close-up of the lid-mounted thermometer, displaying temperature readings in both Fahrenheit and Celsius.
Grilling Techniques
- Direct Grilling: For searing and cooking smaller items, use direct heat by placing food directly over lit burners.
- Indirect Grilling: For larger cuts of meat or delicate items, turn off the burner(s) directly under the food and cook with indirect heat from adjacent lit burners.
- Sear Station: The dedicated sear station creates an intense heat zone for quickly adding sear marks and locking in juices on meats.
- Side Burner: Use the integrated side burner to simmer sauces, sauté vegetables, or prepare side dishes while the main grilling area is in use.
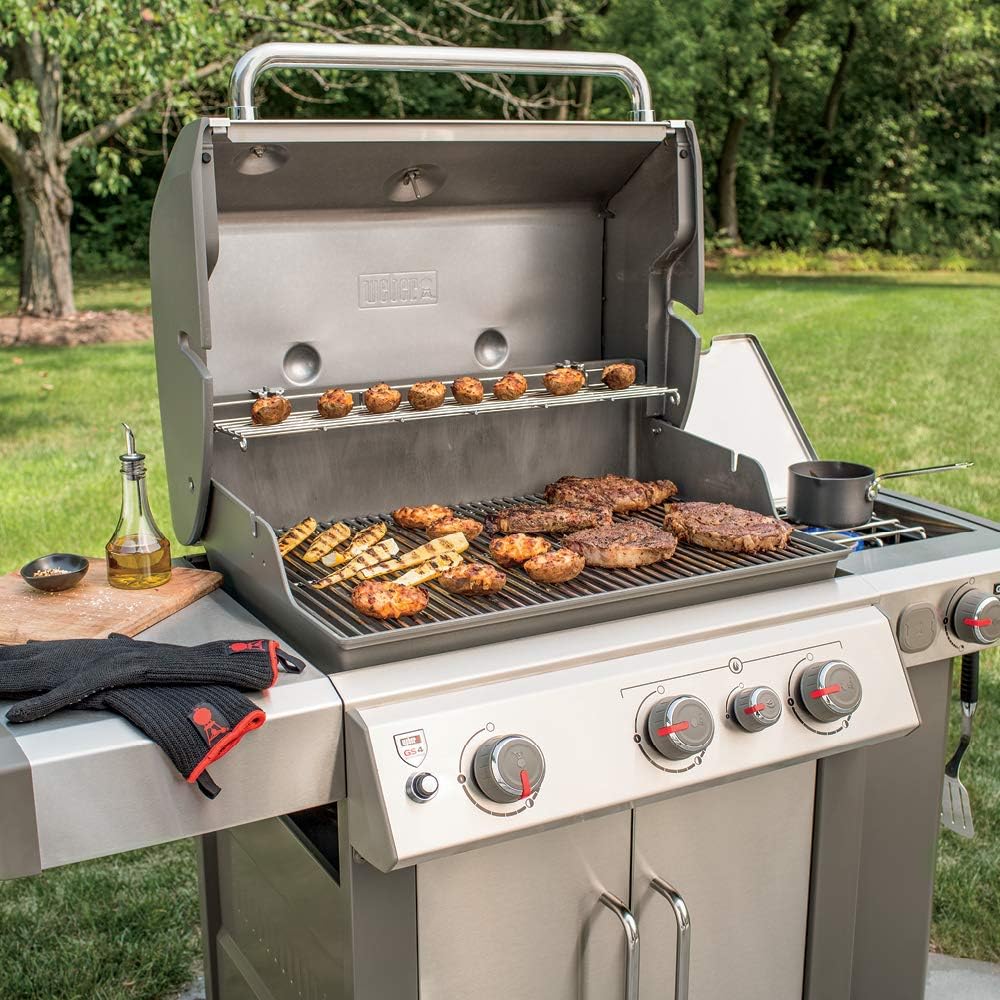
Image: The Weber Genesis II S-335 grill with its lid open, showing various foods cooking on the grates and a pot on the side burner.

Image: A person using tongs to turn food on the grill, demonstrating the ease of access to the cooking surface.
Shutting Down the Grill
- Turn all burner control knobs to the OFF position.
- Turn off the gas supply at the LP tank.
- Close the grill lid.
Maintenance
Regular maintenance ensures the longevity and optimal performance of your grill.
Cleaning the Cooking Grates
- After each use, while the grates are still warm, brush off any food residue with a grill brush.
- For deeper cleaning, remove the 7mm stainless steel rod cooking grates and wash with warm, soapy water. Rinse thoroughly and dry.

Image: Close-up view of the solid 7mm stainless steel rod cooking grates, designed for superior heat retention and easy cleaning.
Cleaning Flavorizer Bars and Burners
- Periodically remove the Flavorizer bars and gently scrape off any accumulated debris.
- Inspect burner tubes for blockages (e.g., spider webs). Clean with a wire brush if necessary.

Image: View of the stainless steel Flavorizer bars positioned above the burners, designed to vaporize drippings and protect burners.
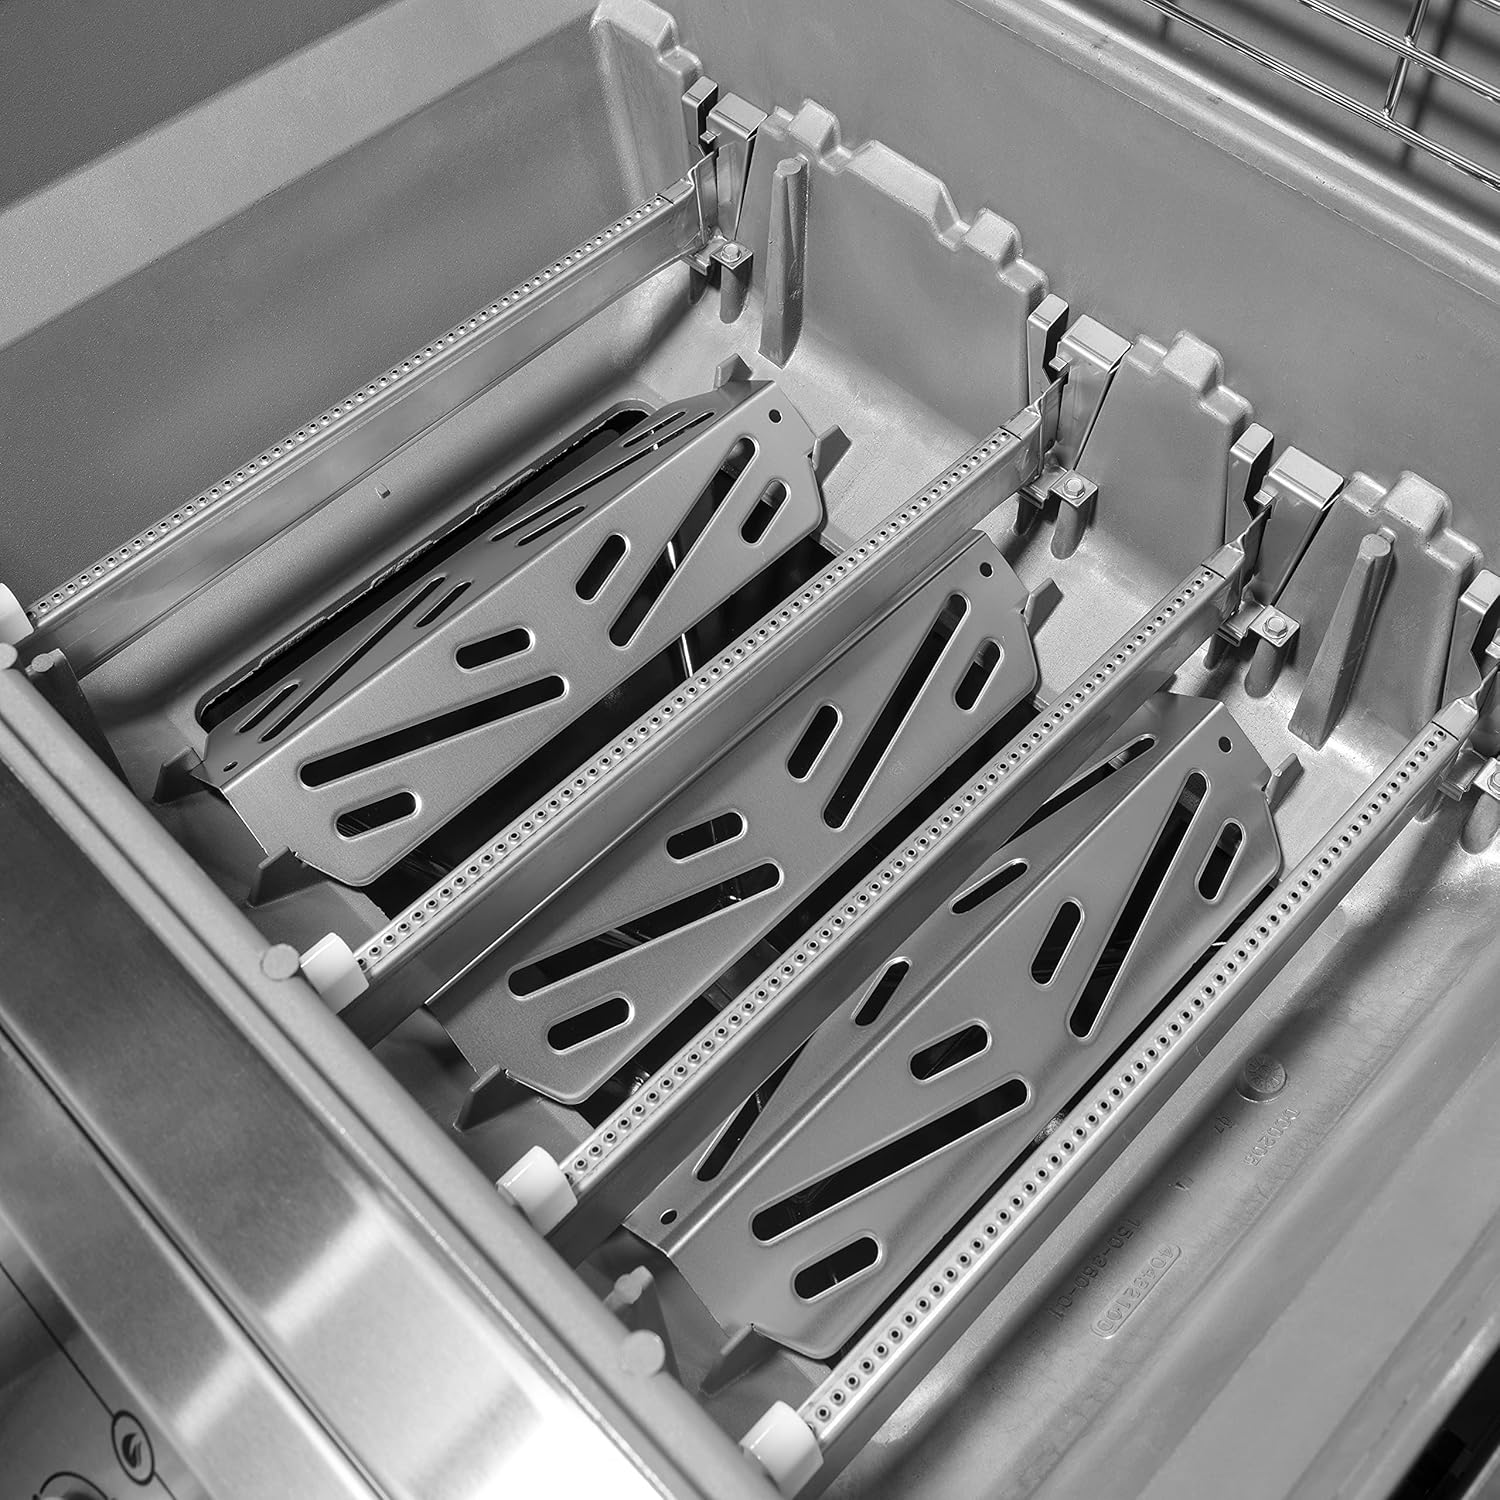
Image: Detailed view of the GS4 high-performance grilling system components, including the burners and ignition system.
Grease Management System
- Regularly check and empty the grease tray and catch pan located beneath the cookbox.
- Ensure the grease management system is clean to prevent flare-ups.

Image: The interior of the grill's storage cabinet, showing space for accessories and the location of the grease management system components.
Troubleshooting
If you encounter issues with your grill, refer to the common problems and solutions below.
| Problem | Possible Cause | Solution |
|---|---|---|
| Burners not igniting | No gas flow, clogged burner ports, faulty igniter battery. | Check LP tank valve, clean burner ports, replace AA battery (included). |
| Low flame or uneven heat | Low gas in tank, regulator bypass, clogged burner tubes. | Refill LP tank, reset regulator (turn off grill, disconnect/reconnect tank, slowly open tank valve), clean burner tubes. |
| Excessive flare-ups | Grease buildup, high heat setting. | Clean grease management system, reduce heat, trim excess fat from food. |
If problems persist, contact Weber customer support.
Specifications
Detailed specifications for the Weber Genesis II S-335 Liquid Propane Grill.
| Feature | Detail |
|---|---|
| Model Name | Genesis II S-335 LP |
| Model Number | 61006001 |
| Fuel Type | Liquid Propane (LP) |
| Main Burner Count | 3 |
| Side Burner Count | 1 |
| Cooking Surface Area | 513 Square Inches (main grates) |
| Grates Material | Solid 7mm Stainless Steel Rod |
| Special Features | GS4 High Performance Grilling System, Sear Station, Warming Rack, Fuel Gauge (LP only) |
| Product Dimensions (HxWxD) | 47"H x 59"W x 29"D |
| Item Weight | 160 Pounds |
| Material | Stainless Steel (overall) |
| Included Components | 1 AA battery (for ignition) |
| UPC | 077924083952 |

Image: Technical diagram illustrating the dimensions (Height 47", Width 59", Depth 29") and key features of the Genesis II S-335 Gas Grill, including cooking area (513 sq. inches) and compatibility with iGrill 3.
Warranty and Support
The Weber Genesis II S-335 Liquid Propane Grill comes with a 10-Year Warranty, reflecting Weber's commitment to quality and durability. This warranty covers specific components as detailed in the official warranty documentation provided with your grill.
For warranty claims, technical assistance, or general inquiries, please contact Weber customer support.
- Manufacturer: Weber Stephen Products
- Online Support: Visit Weber Support Website
- Customer Service: Refer to the contact information provided in your grill's packaging or on the official Weber website.
Note: Always register your product to facilitate warranty service and receive important product updates.
Important Notes on Videos
Based on the provided product data, no official seller-created videos with specific URLs were available for embedding in this manual. If available, relevant videos demonstrating assembly, operation, or maintenance would be included here with detailed descriptions.


