
Introduction
Thank you for choosing the Bonnlo BC0DDW Free Standing Bathroom Cabinet. This manual provides detailed instructions for the safe assembly, proper operation, routine maintenance, and effective troubleshooting of your new cabinet. Please read this manual thoroughly before assembly and retain it for future reference.
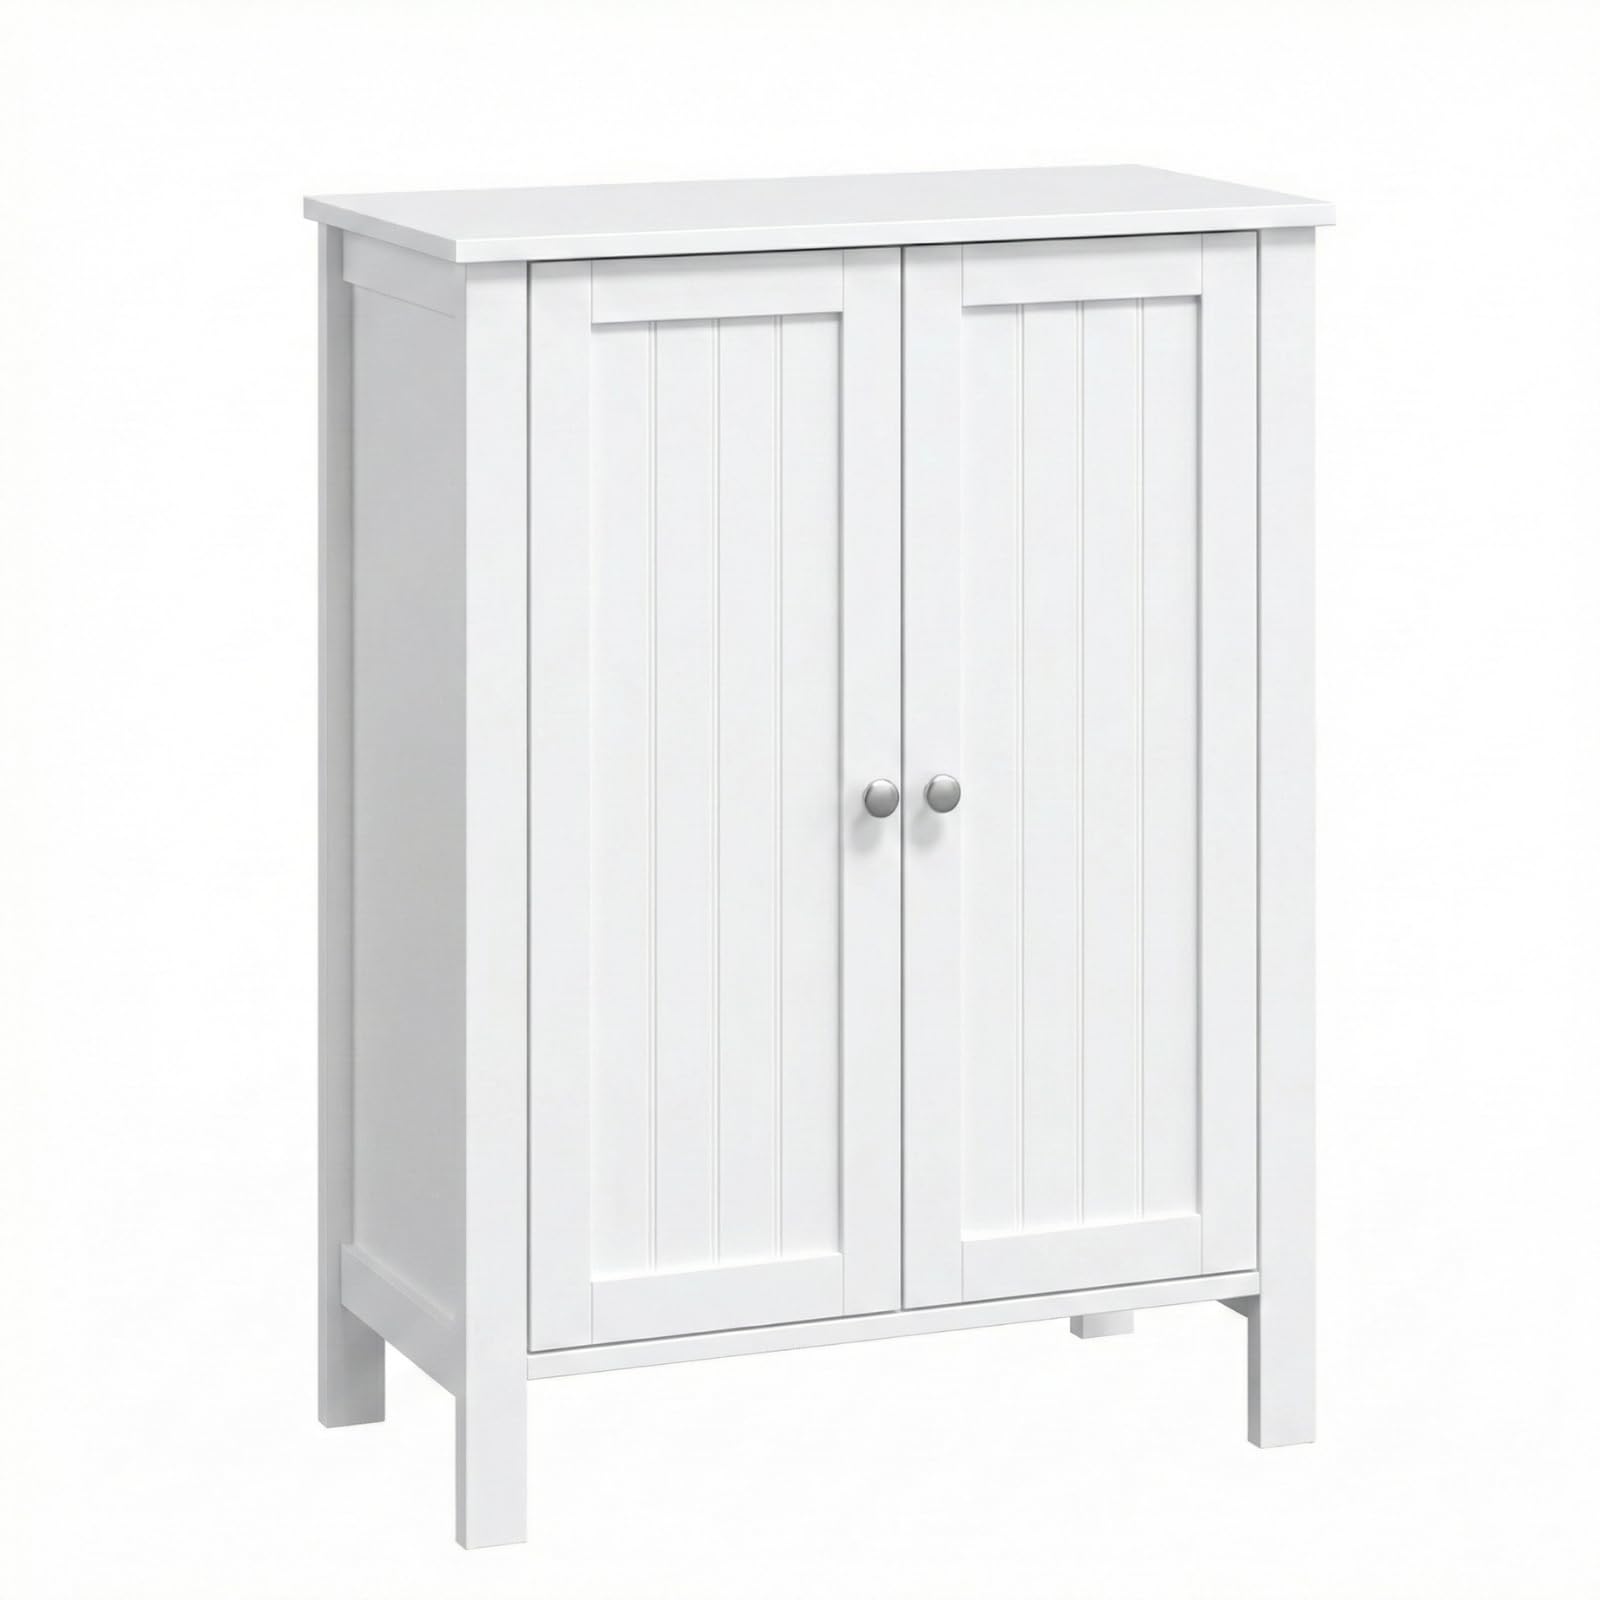
Image: Front view of the Bonnlo BC0DDW Bathroom Cabinet.
Safety Information
To ensure your safety and prevent damage to the product, please observe the following precautions:
- Wear appropriate safety gear: Always use gloves and eye protection during assembly to prevent injury.
- Ensure proper ventilation: Assemble the cabinet in a well-ventilated area to avoid inhaling fine dust from the MDF material.
- Use only included hardware: Utilize only the provided hardware and parts for assembly. Do not substitute components.
- Follow user manual: Adhere strictly to the instructions in this manual for safe and correct installation.
- Anti-tip kit: Secure the cabinet to the wall using the included anti-tip kit to prevent accidental tipping, especially in households with children or pets.

Image: Illustration of the anti-tip kit installation for enhanced stability.
Included Components
Before beginning assembly, verify that all parts listed below are present and undamaged. If any components are missing or damaged, please contact customer service.
- Cabinet Panels (Top, Bottom, Sides, Back)
- 2 Doors
- 2 Adjustable Shelves
- Installation Kit (Screws, Dowels, Hinges, Knobs, Magnetic Catches)
- Anti-Tip Kit
- User Manual

Image: Detailed view of key components: P2 MDF Board, Metal Hinges, Silver Knobs, and Magnetic Door.
Setup and Assembly
The Bonnlo BC0DDW cabinet is designed for simple assembly. Follow the step-by-step instructions provided in the included installation guide. A Phillips head screwdriver and a hammer (for dowels) are typically required. It is recommended to have a second person assist during certain steps to ensure stability and ease of assembly.
Key Assembly Steps:
- Unpack and Identify Parts: Lay out all components on a clean, soft surface to prevent scratches. Match each part to the diagrams in the assembly guide.
- Assemble the Frame: Connect the side panels to the bottom and top panels using the provided cam locks and dowels. Ensure all connections are secure.
- Install Back Panel: Slide the back panel into the designated grooves. Secure it with small nails or screws as indicated in the guide.
- Attach Doors: Mount the doors to the cabinet frame using the hinges. Adjust as necessary for proper alignment.
- Install Shelves: Insert the shelf pins into the desired height positions. Place the adjustable shelves onto the pins.
- Attach Knobs and Magnetic Catches: Secure the door knobs and magnetic catches.
- Install Anti-Tip Kit: Securely attach the anti-tip kit to the top rear of the cabinet and to a wall stud. This is a critical safety step.

Image: Visual guide for assembly and product dimensions.
Operating Instructions
Adjusting Shelves:
The cabinet features two adjustable shelves that can be positioned at three different heights. To adjust a shelf:
- Empty the shelf of all contents.
- Carefully lift the shelf to remove it from the support pins.
- Relocate the four shelf support pins to the desired holes on the cabinet sides. Ensure pins are level.
- Place the shelf back onto the support pins, ensuring it is securely seated.
Door Operation:
The cabinet is equipped with double doors and magnetic catches for secure closure. To open, gently pull the knob. To close, push the door until the magnetic catch engages.

Image: Cabinet interior showcasing adjustable shelves and storage capacity.
Maintenance
Cleaning:
To clean the cabinet, wipe surfaces with a soft, damp cloth. Avoid using abrasive cleaners, harsh chemicals, or excessive moisture, as these can damage the finish and material. Dry immediately with a clean, dry cloth.
General Care:
- Periodically check all fasteners and tighten them if necessary to maintain stability.
- Avoid placing excessively heavy items on the shelves to prevent bowing or damage.
- Keep the cabinet away from direct sunlight and extreme temperature changes to prevent material warping or discoloration.
Troubleshooting
| Problem | Possible Cause | Solution |
|---|---|---|
| Cabinet is wobbly or unstable. | Loose fasteners; uneven floor; anti-tip kit not installed. | Ensure all screws and cam locks are fully tightened. Place cabinet on a level surface. Install the anti-tip kit as per instructions. |
| Doors do not align or close properly. | Hinges are loose or misaligned; cabinet frame is not square. | Adjust the screws on the hinges to align the doors. Recheck frame assembly to ensure it is square. |
| Strong odor (off-gassing) from the cabinet. | New furniture odor from manufacturing materials. | Place the cabinet in a well-ventilated area for up to two weeks to allow the odor to dissipate. |
| Missing or damaged parts. | Manufacturing error or shipping damage. | Do not proceed with assembly. Contact Bonnlo customer service for replacement parts. |
Specifications
- Model: BC0DDW
- Brand: Bonnlo
- Material: P2 MDF (Medium Density Fiberboards), Engineered Wood
- Color: White
- Product Dimensions (D x W x H): 11.8" x 23.6" x 31.5" (30 cm x 60 cm x 80 cm)
- Item Weight: Approximately 26 pounds (11.8 kg)
- Number of Doors: 2
- Number of Shelves: 2 (Adjustable)
- Height of Each Shelf: 8.7" (22.1 cm)
- Height From Bottom to Floor: Front: 3.94" (10 cm), Side: 3.15" (8 cm)
- Maximum Weight Capacity: 10.7 kg (approximately 23.6 lbs)
- Installation Type: Freestanding, Floor Mount
- UPC: 611890867224

Image: Detailed product dimensions.
Warranty and Support
Warranty:
This Bonnlo product comes with a 12 Months Warranty Period from the date of purchase. This warranty covers manufacturing defects and material flaws under normal use. It does not cover damage caused by improper assembly, misuse, accidents, or unauthorized modifications.
Customer Support:
For any questions regarding assembly, operation, missing parts, or warranty claims, please contact Bonnlo customer service. We offer 24 Hours Customer Service to assist you.
Contact Information:
Please refer to your purchase documentation or the Bonnlo official website for the most current customer service contact details.