1. Introduction
The MOOER PREAMPLIVE is a digital preamp modeller designed for live performance. It offers 12 independent preamp channels, selectable from a library of 50 models available through supporting software and mobile applications. This unit integrates a dual-position booster, adjustable pre and post noise gates, a fully programmable effects loop with A/B mode, comprehensive channel switching control, MIDI IN and OUT connectivity, a dedicated headphone output, and multiple audio outputs with optional cabinet simulation and Impulse Response (IR) loading capabilities. A unique 'TONE CAPTURE' feature allows users to sample their own amplifier's preamp section to create new digital models.
2. Setup
2.1 Power Connection
Connect the included 12V DC power adapter to the 'DC IN 12V' port on the rear of the unit. Ensure the power supply provides 1000mA (1A) or more. Using an incorrect power supply may damage the unit.

Image: The MOOER PREAMPLIVE power adapter, designed for effects units, with a 12V DC output plug.
2.2 Audio Connections
Connect your instrument to the 'INPUT' jack. Use the 'OUTPUT' jack to connect to your amplifier's power amp input, a mixer, or an audio interface. For direct connection to a PA system or recording device, use the 'XLR OUT' port. The 'SEND' and 'RETURN' jacks are for integrating external effects pedals into the PREAMPLIVE's effects loop.

Image: Rear panel of the MOOER PREAMPLIVE showing input, send, return, output, XLR out, MIDI in/out, phones, USB, and DC in ports.
2.3 MIDI and USB Connections
The 'MIDI IN' and 'MIDI OUT' ports allow for external MIDI control and synchronization. The 'USB' port is used for connecting to a computer for software updates, IR loading, and managing preamp models via the MOOER software or mobile applications.
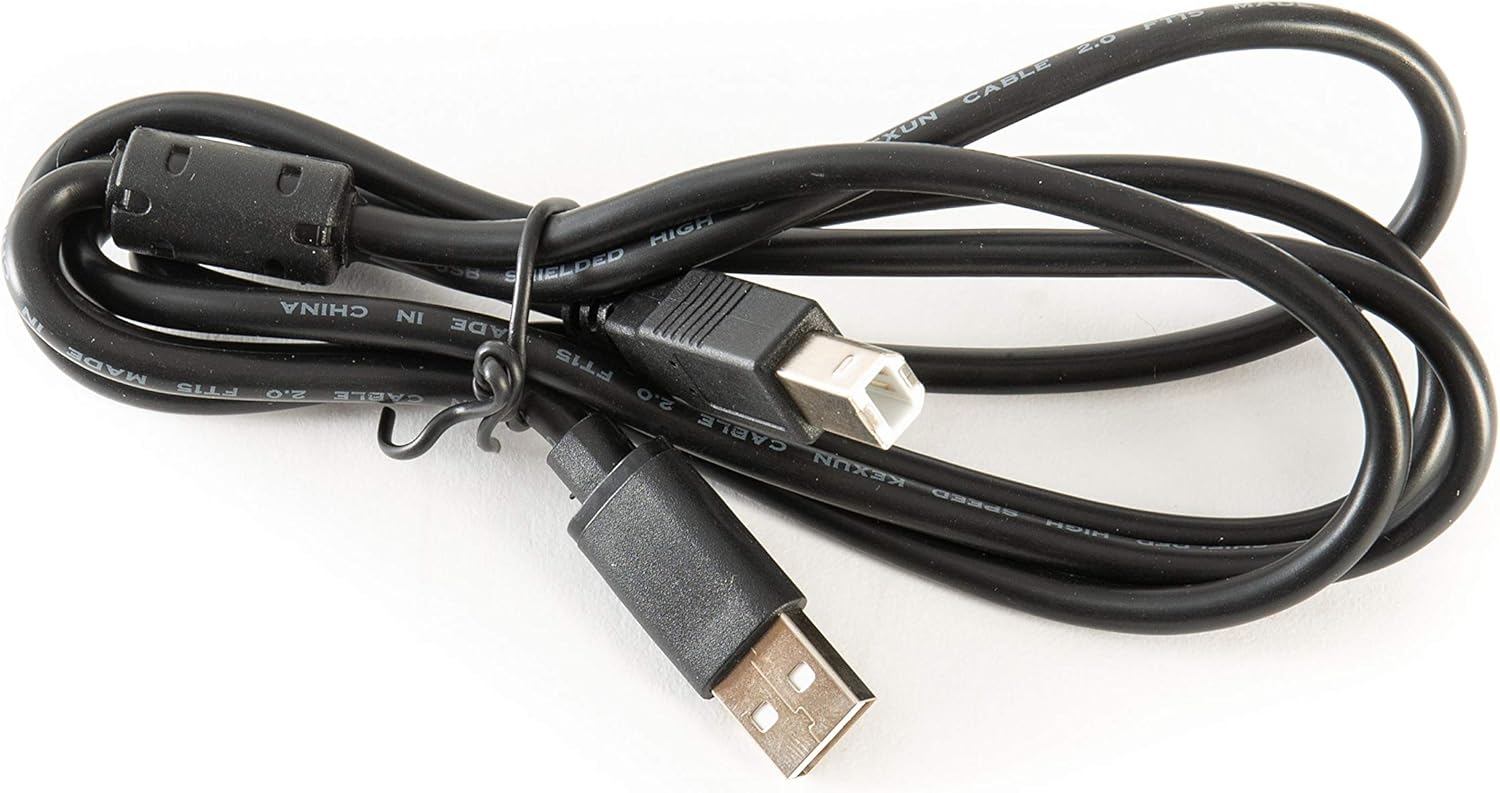
Image: A black USB A to B cable, typically used for connecting the PREAMPLIVE to a computer.
3. Operating Instructions
3.1 Front Panel Controls
The PREAMPLIVE features a range of controls for shaping your tone:
- VOL: Adjusts the overall output volume.
- BASS, MID, TREBLE: Standard 3-band EQ controls for tone shaping.
- GAIN: Controls the amount of overdrive/distortion.
- MASTER: Adjusts the master volume of the selected preamp channel.
- PRESENCE: Adds clarity and brightness to the high frequencies.
- FX LEVEL: Controls the mix level of the effects loop.
- BOOST (POST/PRE): Activates a boost circuit. The switch selects whether the boost is applied before (PRE) or after (POST) the preamp section.
- XLR OUT ON/OFF: Toggles the XLR output.
- CAB SIM: Engages or disengages the cabinet simulation for the output.

Image: Front view of the MOOER PREAMPLIVE pedal, displaying all control knobs, switches, and footswitches.
3.2 Footswitch Functions
The four footswitches (1, 2, 3, 4) provide various control options:
- Footswitch 1 (SOURCE): Used in Tone Capture mode to select the source amplifier.
- Footswitch 2 (TARGET): Used in Tone Capture mode to select the target amplifier.
- Footswitch 3 (CAPTURE): Initiates the Tone Capture process.
- Footswitch 4 (ACTIVE): Toggles the unit on/off or activates/deactivates the selected preamp channel.
- FX LOOP ON/OFF (2+4): Pressing footswitches 2 and 4 simultaneously toggles the effects loop.
- TONE CAPTURE (1+4): Pressing footswitches 1 and 4 simultaneously enters Tone Capture mode.
- BYPASS (1+3): Pressing footswitches 1 and 3 simultaneously bypasses the unit.
3.3 Channel Switching and Presets
The PREAMPLIVE allows you to store and recall 12 independent preamp channels. These channels are organized into banks, accessible via the footswitches. Refer to the detailed manual or the MOOER software/app for specific instructions on saving, loading, and organizing your presets.
3.4 Effects Loop A/B Mode
The effects loop features a unique A/B mode, enabling you to integrate your amplifier's analog preamp alongside the digital models. This expands your tonal options without requiring complex external switching systems.
3.5 Tone Capture Feature
The Tone Capture feature allows you to sample the preamp section of your own physical amplifier and create a digital model within the PREAMPLIVE. This custom model can then be used in live performances or shared with others. Follow the on-screen instructions in the MOOER software/app for the Tone Capture process.
4. Maintenance
To ensure the longevity and optimal performance of your MOOER PREAMPLIVE, follow these maintenance guidelines:
- Cleaning: Use a soft, dry cloth to clean the unit. Avoid abrasive cleaners, solvents, or excessive moisture.
- Storage: Store the unit in a cool, dry place away from direct sunlight, extreme temperatures, and high humidity.
- Software Updates: Regularly check the official MOOER website for firmware updates. Keeping your unit updated ensures access to new features and performance improvements.
- Power Supply: Always use the original or a compatible 12V DC, 1A (minimum) power supply. Disconnect the power when the unit is not in use for extended periods.
5. Troubleshooting
If you encounter issues with your PREAMPLIVE, refer to the following common troubleshooting steps:
- No Power: Ensure the 12V DC power adapter is securely connected to both the unit and a working power outlet. Verify the power supply meets the 12V, 1A specification.
- No Sound Output:
- Check all audio cable connections (input, output, effects loop).
- Verify that the VOL and MASTER knobs are not set to minimum.
- Ensure the unit is not in bypass mode (check footswitch 1+3 combination).
- If using XLR OUT, ensure the 'XLR OUT ON/OFF' switch is engaged.
- Test with headphones to isolate issues with external amplification.
- Unexpected Behavior/Freezing: Disconnect the power, wait a few seconds, and then reconnect. If issues persist, consult the MOOER support resources for potential factory reset procedures or advanced troubleshooting.
- USB/MIDI Connectivity Issues: Ensure the USB cable is properly connected. For computer connections, check if the necessary drivers are installed (if required by MOOER). For MIDI, verify cable connections and MIDI settings on both the PREAMPLIVE and the external MIDI device.
6. Specifications
| Brand | MOOER |
| Model Number | PREAMPLIVE |
| Product Dimensions | 3.54"L x 3.54"W x 3.54"H (9cm x 9cm x 9cm) |
| Item Weight | 165 Grams |
| Voltage | 12 Volts |
| Amperage | 1000 Milliamps (1A) |
| Audio Output Effects | Loop |
| Controls Type | Touch (Footswitches) |
| Power Source | DC power supply |
| Hardware Interface | 1/4-inch Audio, 3.5mm Audio, 5-Pin XLR, USB |
| Signal Format | Analog (with digital modeling) |
7. Warranty and Support
For detailed warranty information, product registration, and technical support, please visit the official MOOER website. The warranty period and terms may vary by region and retailer. Keep your proof of purchase for any warranty claims.
MOOER Official Website: www.mooeraudio.com


