
HERTZ CK165
HERTZ Cento Series CK-165 Component Speaker Kit User Manual
Model: CK165
Introduction
This manual provides comprehensive instructions for the installation, operation, and maintenance of your HERTZ Cento Series CK-165 6.5" Two-Way Component Speaker Kit. Please read this manual thoroughly before installation and use to ensure optimal performance and safety.
Product Overview
The HERTZ Cento CK-165 is a high-quality two-way component speaker system designed for detailed and natural audio reproduction. It features advanced materials and engineering to deliver superior sound performance in your vehicle.
Key Features
- Soft Tetolon Fiber Tweeter: 26 mm (1 in.) dome and 20 mm (0.8 in.) voice coil, for a natural and yet detailed reproduction of musical nuances.
- Neodymium Magnet: High-density magnetic flux, optimized for maximum control during high-energy dynamic transients in the mid-high frequency range.
- SPP-M Woofer Cone: 165 mm (6.5 in.) Semi Pressed Paper-Mica cone enhanced with Mica powder for an excellent balance between lightness and damping.
- High-Density Flux Ferrite Magnet: Combined with low-carbon polar plates for reduced distortion at high power levels.
- Adjustable Tweeter Level: Three-position switch (0, +3 dB) for an optimal tone balance that can be customized by the user.
- Component: 2-Way Coaxial system.
What's in the Box
- Pair of Woofers (6.5 inches)
- Pair of Tweeters (26 mm)
- Pair of Crossovers

Image: Complete HERTZ Cento CK-165 component speaker kit, showing two woofers, two tweeters, two crossovers, and two speaker grilles.
Safety Information
Please observe the following safety guidelines to prevent injury and damage to the product or vehicle.
- Always disconnect the vehicle's battery before beginning any electrical installation.
- Ensure all wiring is properly insulated and secured to prevent short circuits and damage.
- Do not operate the speakers at excessively high volumes for prolonged periods, as this may cause hearing damage.
- This item complies with US Federal Motor Vehicle Safety Standard 218 (FMVSS 218) (DOT FMVSS No. 218 Certified).
Setup and Installation
Proper installation is crucial for optimal sound quality and product longevity. It is recommended that installation be performed by a qualified professional.
Tools Required
- Wire strippers/crimpers
- Screwdrivers (Phillips and flathead)
- Drill (if custom mounting is required)
- Multimeter (for checking polarity and connections)
- Electrical tape or heat shrink tubing
Woofer Installation
- Identify suitable mounting locations in your vehicle (e.g., door panels). Ensure adequate depth and clearance.
- Carefully remove existing speakers or trim panels.
- Connect the woofer wires to the vehicle's speaker wiring, observing correct polarity. The woofer has clearly marked terminals.
- Secure the woofer using appropriate screws. Ensure it is firmly mounted to prevent vibrations.

Image: Side view of the HERTZ CK-165 woofer, highlighting the speaker terminals for wiring connections.
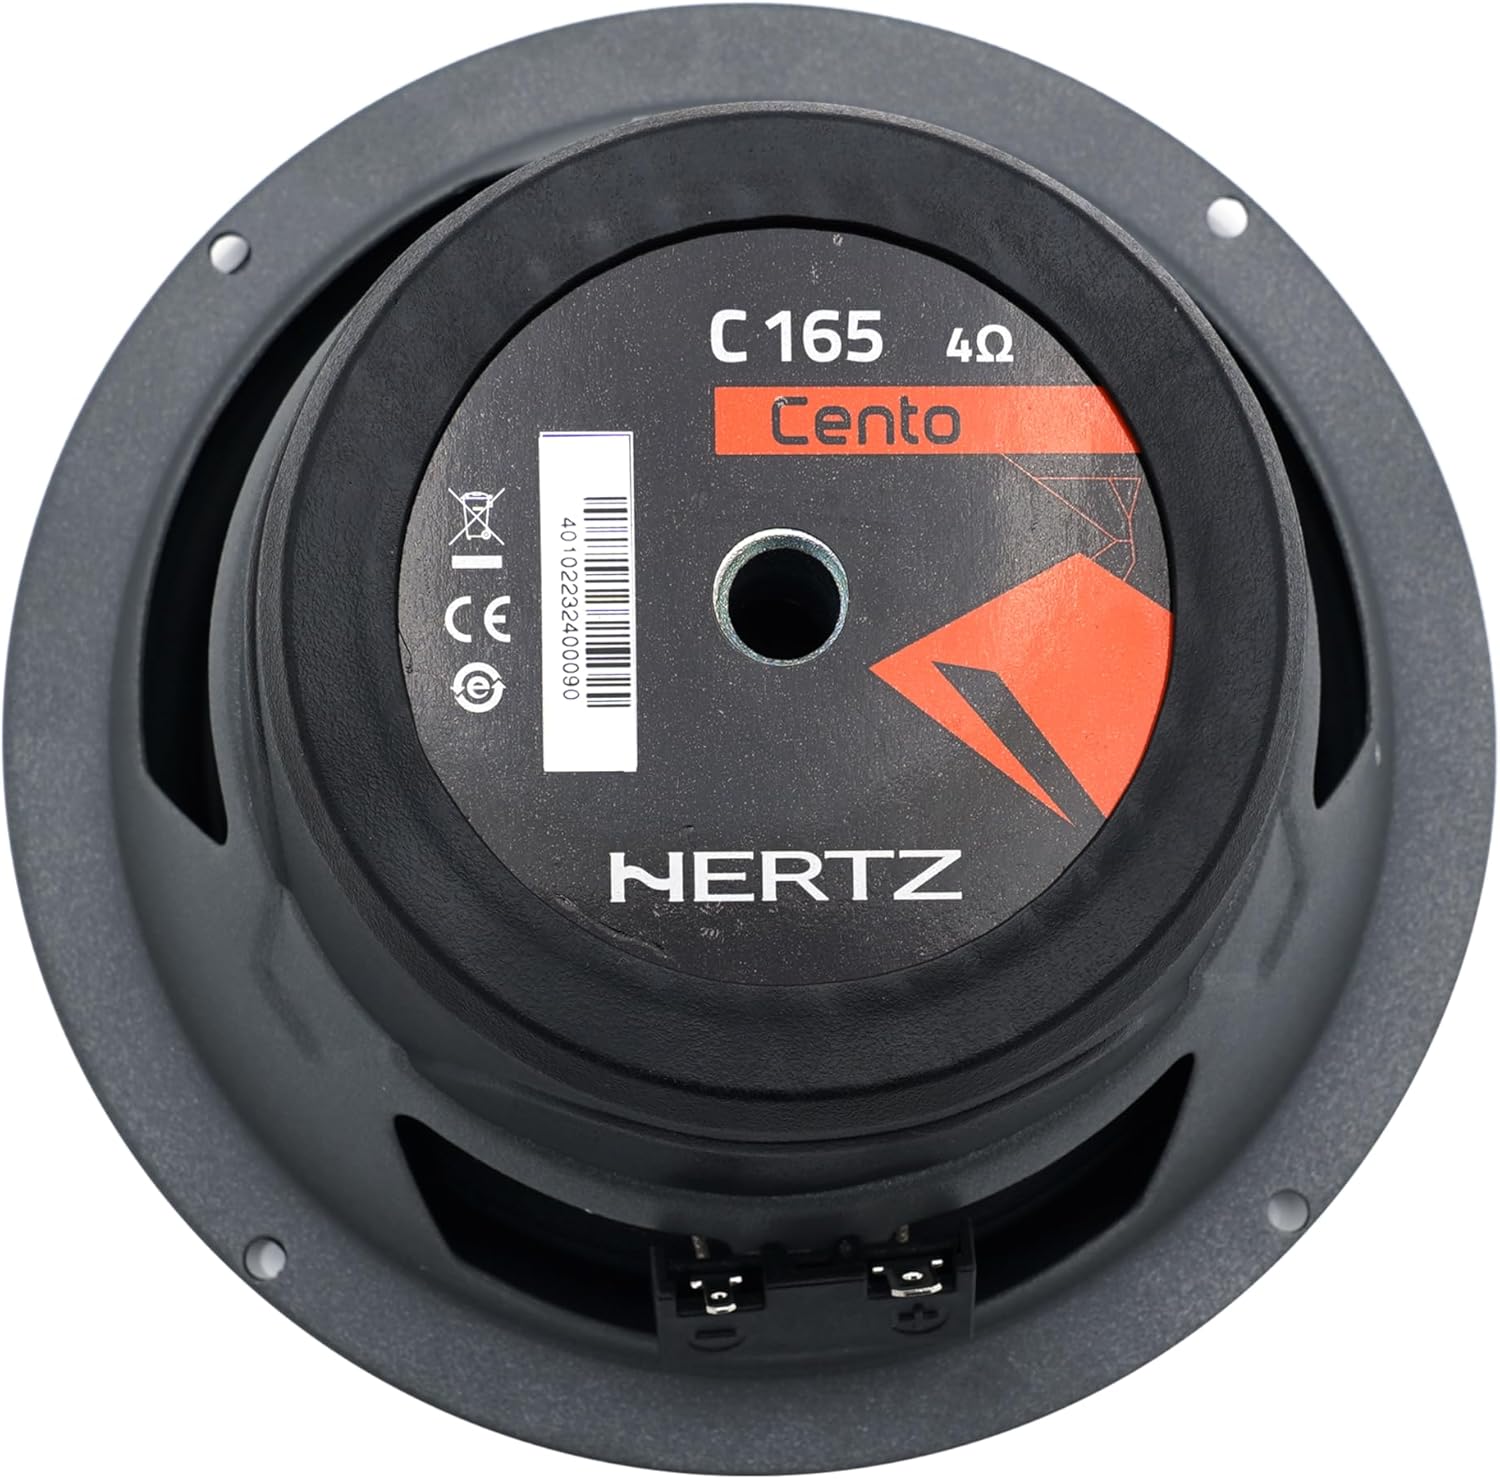
Image: Rear view of the HERTZ CK-165 woofer, showing the magnet structure and model information.

Image: Close-up of the HERTZ CK-165 woofer cone, showcasing the Semi Pressed Paper-Mica material.

Image: Front view of a single HERTZ CK-165 woofer, showing the speaker cone and surround.
Tweeter Installation
- Choose a mounting location for the tweeters that provides optimal sound staging (e.g., A-pillars, dash).
- Mount the tweeters securely. Various mounting options may be available (flush mount, surface mount).
- Connect the tweeter wires to the crossover network.

Image: A pair of HERTZ CK-165 tweeters, featuring their Tetolon dome and protective grille.
Crossover Network Installation
- Find a dry, secure location for the crossover networks, away from heat and moisture.
- Connect the input terminals of the crossover to the amplifier or head unit's speaker outputs.
- Connect the woofer output terminals of the crossover to the woofers.
- Connect the tweeter output terminals of the crossover to the tweeters.
- Utilize the tweeter level adjustment switch on the crossover (0, +3 dB) to fine-tune the high-frequency output to your preference.

Image: A pair of HERTZ CK-165 passive crossover networks, showing their compact design.
Operating Instructions
Once installed, the HERTZ Cento CK-165 speakers will operate as part of your vehicle's audio system. Follow these guidelines for optimal performance.
- Break-in Period: Allow a break-in period of approximately 20-30 hours of normal listening to allow the speaker components to loosen and perform optimally.
- Volume Control: Adjust the volume from your head unit or amplifier. Avoid pushing the speakers into distortion, which can cause damage.
- Tweeter Level Adjustment: Experiment with the 0 dB and +3 dB settings on the crossover to find the sound balance that best suits your listening preferences and vehicle acoustics.
Maintenance
The HERTZ Cento CK-165 speakers require minimal maintenance to ensure long-lasting performance.
- Cleaning: Use a soft, dry cloth to wipe down the speaker grilles and surrounds. Avoid using harsh chemicals or abrasive cleaners.
- Inspection: Periodically check all wiring connections to ensure they are secure and free from corrosion.
- Environmental Protection: While designed for automotive use, avoid exposing the speakers to excessive moisture or extreme temperatures.
Troubleshooting
If you experience issues with your HERTZ Cento CK-165 speakers, refer to the following common problems and solutions.
| Problem | Possible Cause | Solution |
|---|---|---|
| No sound from speakers | Loose wiring connection; Incorrect polarity; Amplifier/head unit issue; Blown fuse. | Check all wiring connections at the speakers, crossovers, and head unit/amplifier. Verify correct polarity. Test the amplifier/head unit. Check vehicle fuses. |
| Distorted sound | Over-driving speakers (volume too high); Incorrect gain settings on amplifier; Loose speaker mounting; Damaged speaker. | Reduce volume. Adjust amplifier gain settings. Ensure speakers are securely mounted. Inspect speaker cones for damage. |
| Weak or no bass | Incorrect woofer polarity; Insufficient power; Poor enclosure/mounting. | Verify woofer polarity. Ensure adequate power from amplifier. Check woofer mounting for air leaks. |
| Harsh or absent treble | Incorrect tweeter polarity; Crossover setting; Damaged tweeter. | Verify tweeter polarity. Check tweeter level switch on crossover. Inspect tweeter for damage. |
If the problem persists after attempting these solutions, please contact HERTZ customer support or a qualified car audio technician.
Technical Specifications
| Specification | Value |
|---|---|
| Power Handling - Peak W | 285 W |
| Power Handling - Continuous W | 95 W |
| Impedance | 4 Ω |
| Frequency Response | 55 ÷ 22,5k Hz |
| Sensitivity dB SPL | 93 dB |
| Woofer Voice Coil Ø | 25 mm (1 in.) |
| Woofer Size | 165 mm (6.5 in.) |
| Tweeter Size | 26 mm (1 in.) |
| Mounting Type | Coaxial |
| Model Name | CK165 |
| Speaker Type | Component |
| Item Weight | 5.5 Pounds |
| Product Dimensions | 0.39 x 0.39 x 0.39 inches |

Image: Technical diagram showing detailed dimensions for the HERTZ CK-165 woofer and tweeter components.
Warranty and Support
The HERTZ Cento Series CK-165 Component Speaker Kit comes with a Limited Warranty. For specific warranty terms and conditions, please refer to the warranty card included with your product or visit the official HERTZ website.
For technical support, troubleshooting assistance, or warranty claims, please contact HERTZ customer service through their official channels. Keep your proof of purchase for warranty validation.
You can visit the official HERTZ store on Amazon for more information: HERTZ Store
Ask a question about this manual
Ask about setup, troubleshooting, compatibility, parts, safety, or missing instructions. Manuals+ will review the question and use this page’s manual context to help answer it.