1. Introduction
This manual provides essential information for the installation, operation, and maintenance of your Seagate BarraCuda 8 TB Internal Hard Drive. This drive is designed for use in desktop personal computers, offering high capacity storage for various applications.
2. Safety Information
Observe the following safety precautions to prevent damage to the drive or injury to yourself:
- Electrostatic Discharge (ESD) Protection: Always handle the hard drive by its edges. Wear an anti-static wrist strap or frequently touch a grounded metal object before handling the drive to discharge static electricity.
- Power Disconnection: Ensure your computer system is completely powered off and unplugged from the electrical outlet before installing or removing the hard drive.
- Physical Handling: Avoid dropping or subjecting the drive to sudden impacts. Hard drives contain delicate components that can be damaged by mishandling.
- Ventilation: Ensure adequate airflow around the drive within your computer case to prevent overheating.
3. Package Contents
Verify that your package contains the following items:
- Seagate BarraCuda 8TB SATA Hard Drive
Note: SATA data cables, power cables, and mounting screws are typically not included and must be purchased separately if needed.
4. Setup
4.1. Physical Installation
- Prepare Your System: Power off your computer and unplug the power cord. Open the computer case to access the drive bays.
- Mount the Drive: Slide the Seagate BarraCuda hard drive into an available 3.5-inch drive bay. Secure the drive using appropriate mounting screws. Ensure the drive is firmly seated to prevent vibration.
- Connect Cables:
- Connect one end of a SATA data cable to the data port on the hard drive and the other end to an available SATA port on your motherboard.
- Connect a SATA power cable from your power supply unit (PSU) to the power connector on the hard drive.

Image: Rear view of the Seagate BarraCuda 8TB hard drive, illustrating the SATA data and power connectors for proper system integration.
4.2. Connecting to System
- Close Case and Power On: Once cables are securely connected, close your computer case and reconnect the power cord. Power on your computer.
- BIOS/UEFI Verification: During startup, enter your system's BIOS or UEFI settings to confirm that the new hard drive is detected. The drive should appear in the list of connected storage devices.
5. Operating
5.1. Initial Setup (Formatting and Partitioning)
For the operating system to recognize and use the new hard drive, it must be initialized, partitioned, and formatted.
- Windows: Open 'Disk Management' (search for it in the Start menu). Locate the new drive, right-click on it, and select 'Initialize Disk'. Choose GPT (GUID Partition Table) for drives larger than 2TB. Then, create a new simple volume and format it (NTFS is recommended for Windows).
- macOS: Open 'Disk Utility' (Applications > Utilities). Select the new drive, click 'Erase', choose a name, format (e.g., APFS or Mac OS Extended), and scheme (GUID Partition Map).
- Linux: Use tools like
fdisk,gparted, orDisksutility to partition and format the drive (e.g., ext4 filesystem).
5.2. Data Transfer
Once the drive is formatted, it will appear as a new storage volume in your operating system. You can now transfer files, install applications, or configure it for data backup purposes.
6. Maintenance
6.1. Data Backup
Regularly back up important data from your hard drive to another storage device (e.g., external hard drive, cloud storage). This protects against data loss due to drive failure, accidental deletion, or other unforeseen events.
6.2. Drive Health Monitoring
Modern operating systems and third-party utilities can monitor the health of your hard drive using S.M.A.R.T. (Self-Monitoring, Analysis and Reporting Technology). Periodically check S.M.A.R.T. status for early indications of potential drive issues.
7. Troubleshooting
If you encounter issues with your Seagate BarraCuda hard drive, consider the following:
- Drive Not Detected:
- Verify that both the SATA data and power cables are securely connected to the drive and motherboard/PSU.
- Check BIOS/UEFI settings to ensure the SATA port is enabled and the drive is recognized.
- Try a different SATA port or cable.
- Ensure the drive is initialized and formatted in Disk Management (Windows) or Disk Utility (macOS/Linux).
- Slow Performance:
- Ensure the drive is not excessively full (performance can degrade when near capacity).
- Check for background processes or antivirus scans that might be accessing the drive.
- Run a disk defragmentation tool (for HDDs on Windows) or optimize the filesystem.
- Verify that the SATA controller drivers are up to date.
- Unusual Noises:
Clicking, grinding, or loud whirring sounds can indicate a potential drive failure. Back up your data immediately and consider replacing the drive.
For further assistance, refer to the Seagate support website or contact technical support.
8. Specifications
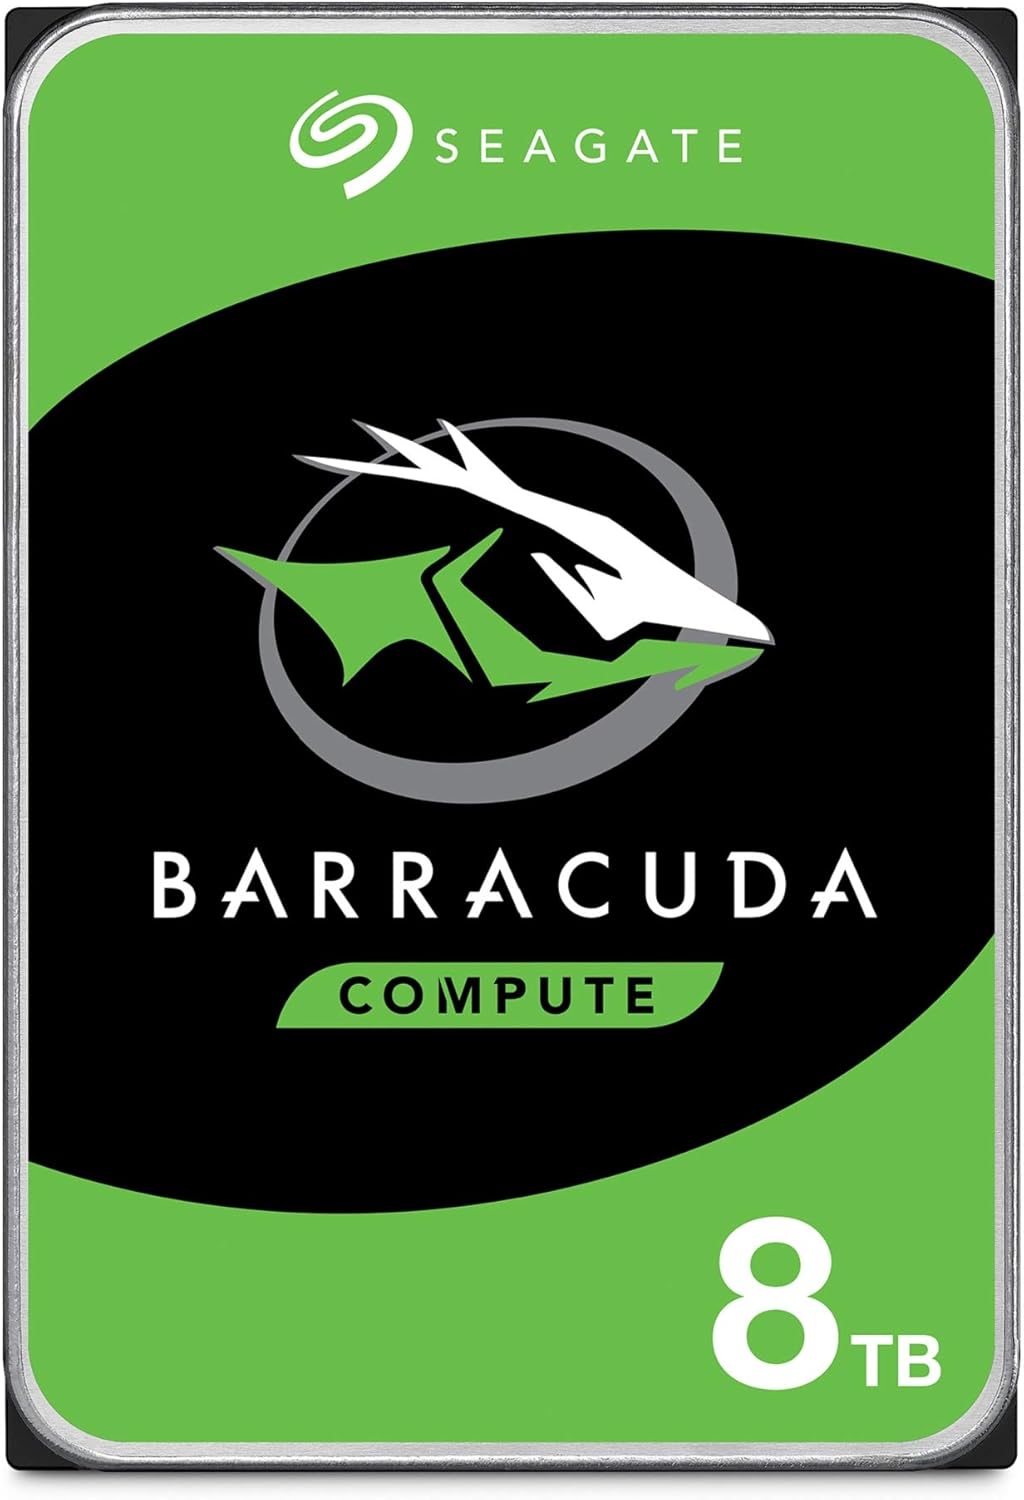
Image: Front view of the Seagate BarraCuda 8TB hard drive, displaying the product branding and capacity.
| Feature | Specification |
|---|---|
| Model Number | ST8000DM004/ST800DMZ04 |
| Digital Storage Capacity | 8 TB |
| Hard Disk Interface | Serial ATA (SATA) |
| Connectivity Technology | SATA 6 Gb/s |
| Hard Disk Form Factor | 3.5 Inches |
| Hard Disk Rotational Speed | 5400 RPM |
| Cache | 256 MB |
| Item Weight | 1.45 pounds (approx. 0.66 kg) |
| Product Dimensions (LxWxH) | 5.79 x 4 x 1.03 inches (147 x 101.6 x 26.1 mm) |
| Compatible Devices | Desktop, Gaming Console |
| Installation Type | Internal Hard Drive |

Image: Seagate BarraCuda 8TB hard drive with its physical dimensions clearly indicated.
9. Warranty and Support
9.1. Limited Warranty
The Seagate BarraCuda 8 TB Internal Hard Drive comes with a 2-year limited warranty. Please retain your proof of purchase for warranty claims. For detailed terms and conditions, refer to the official Seagate website.
9.2. Data Recovery Services
Seagate offers optional Rescue Data Recovery Services for added peace of mind. These services can help recover data in the event of accidental data loss or drive failure. Information regarding these services can be found on the Seagate website.
9.3. Technical Support
For technical assistance, driver downloads, firmware updates, or additional product information, please visit the official Seagate support website: