Important Safeguards
When using electrical appliances, basic safety precautions should always be followed to reduce the risk of fire, electric shock, and injury to persons, including the following:
- Read all instructions before operating the appliance.
- Do not touch hot surfaces. Use handles or knobs.
- To protect against electrical shock, do not immerse cord, plugs, or the appliance in water or other liquid.
- Close supervision is necessary when any appliance is used by or near children.
- Unplug from outlet when not in use and before cleaning. Allow to cool before putting on or taking off parts, and before cleaning the appliance.
- Do not operate any appliance with a damaged cord or plug, or after the appliance malfunctions or has been damaged in any manner. Contact customer service for examination, repair, or adjustment.
- The use of accessory attachments not recommended by the appliance manufacturer may cause injuries.
- Do not use outdoors.
- Do not let cord hang over edge of table or counter, or touch hot surfaces.
- Do not place on or near a hot gas or electric burner, or in a heated oven.
- Extreme caution must be used when moving an appliance containing hot oil or other hot liquids.
- Always attach plug to appliance first, then plug cord into the wall outlet. To disconnect, turn any control to "off", then remove plug from wall outlet.
- Do not use appliance for other than intended use.
Product Overview and Features
The NutriChef PKGRIL43.5 is a versatile 2-in-1 appliance designed for both panini pressing and griddle cooking. It features non-stick surfaces for easy food release and cleaning, adjustable temperature control, and a removable drip tray for grease management.
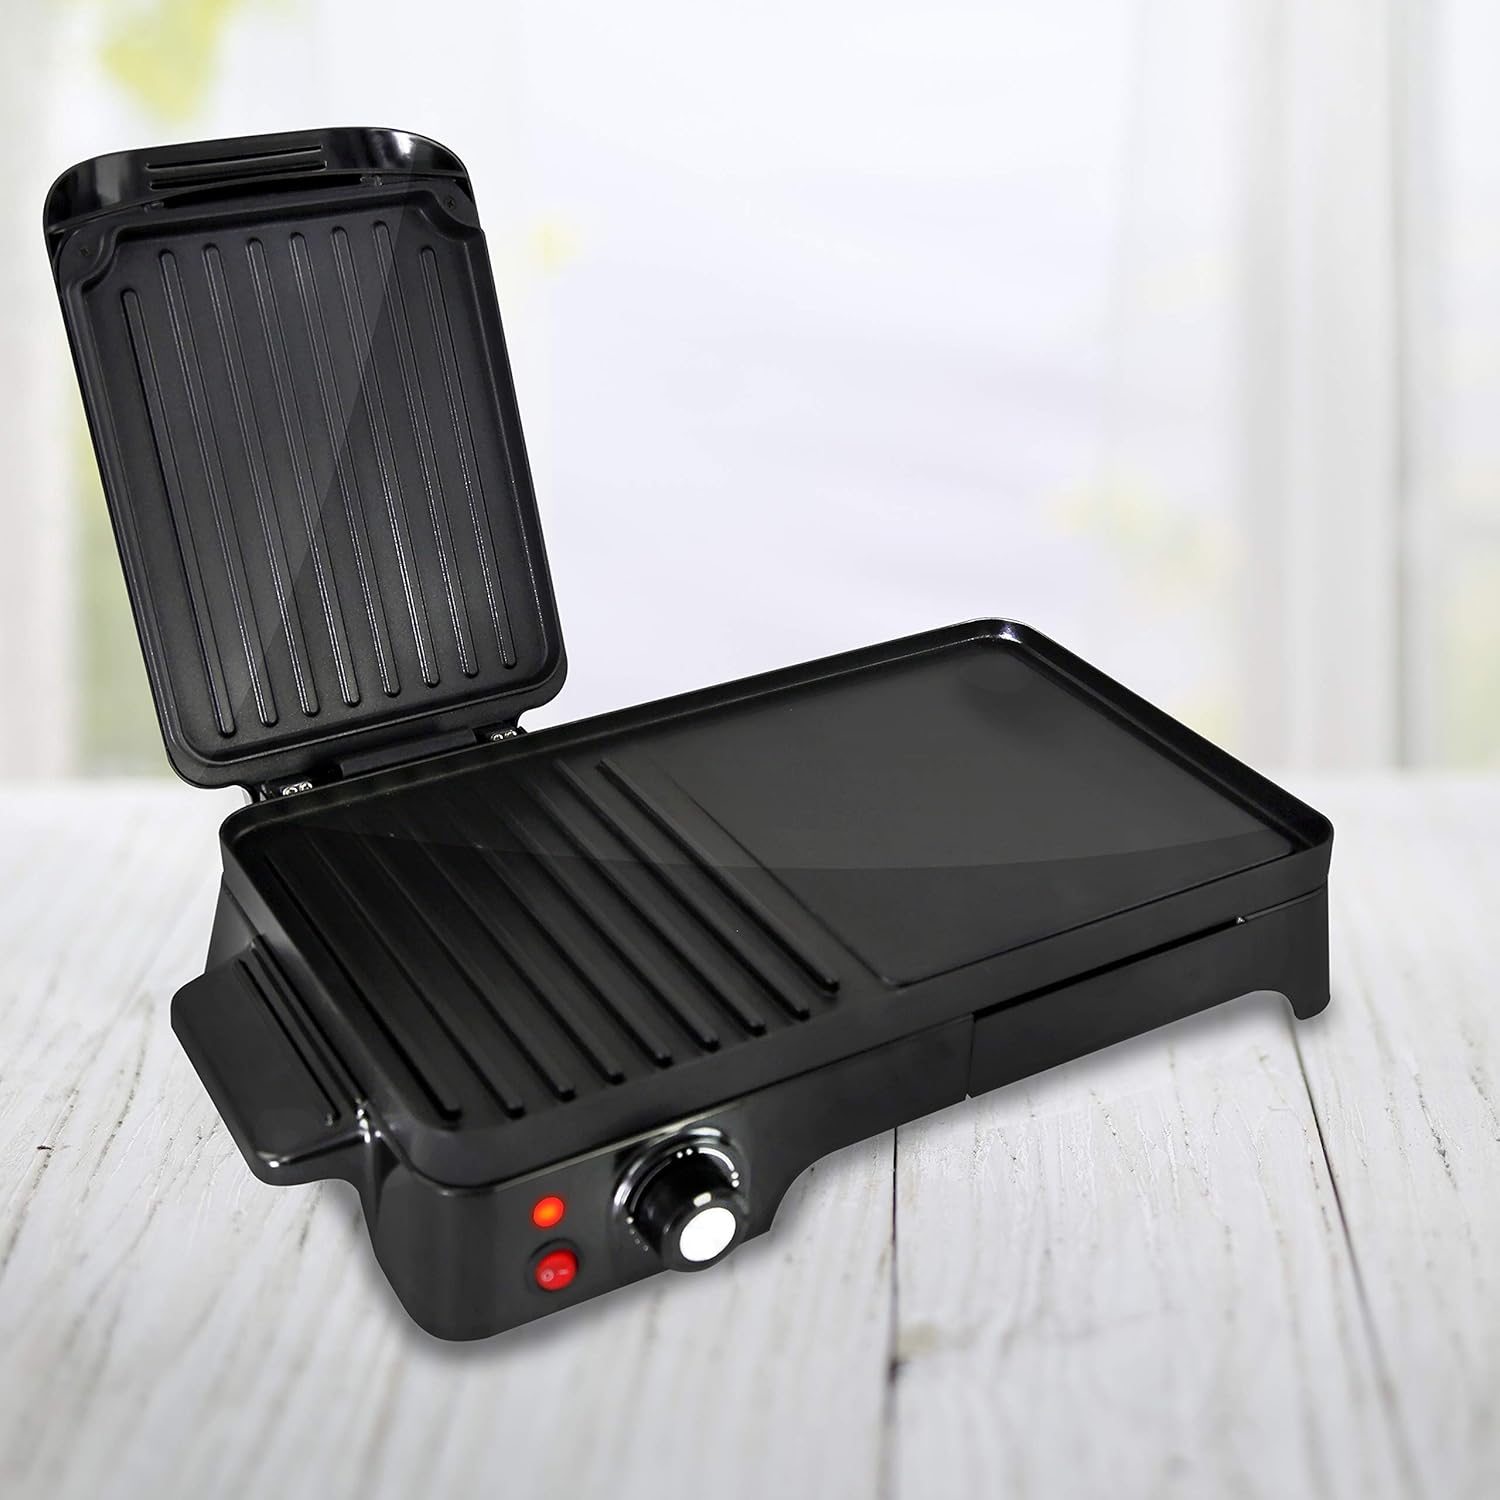
Image: The NutriChef 2-in-1 Panini Press Grill and Griddle shown with its lid open, revealing the ribbed grill plate and flat griddle surface.
- Versatile 2-in-1 Design: Functions as both a panini press grill and a flat griddle, suitable for sandwiches, meats, eggs, pancakes, and more.
- Non-Stick Surface: Ensures easy food release and simplifies cleaning.
- Temperature Control: A rotary knob allows for precise temperature adjustments to suit various cooking requirements.
- Removable Drip Tray: Collects excess grease and oil, promoting healthier cooking and easy disposal.
- Compact and Space-Saving: Designed to fit conveniently on countertops.
- High-Powered Heating Element: 1500 Watt element for quick heating and efficient cooking.
- Power ON/OFF Switch: For simple and safe operation.


Image: Icons illustrating key features: non-stick coating, temperature control, and quick heating.
What's in the Box
The following items are included with your NutriChef PKGRIL43.5:
- Griddle Plate Cooktop (Main Unit)
- Oil Catching Drip Tray
- Spatula Tongs

Image: The main unit of the grill and griddle, along with the removable drip tray and spatula tongs.
Setup
- Unpack: Carefully remove all components from the packaging. Retain packaging for future storage or transport.
- Initial Cleaning: Before first use, wipe the cooking surfaces with a damp cloth. Ensure the drip tray is clean and properly inserted.
- Placement: Place the appliance on a stable, heat-resistant, and dry surface. Ensure there is adequate ventilation around the unit.
- Power Connection: Plug the power cord into a standard 120V electrical outlet.

Image: A hand plugging the appliance into an electrical outlet.
Operating Instructions
Follow these steps for optimal cooking results:
- Preheating:
- Ensure the drip tray is correctly positioned.
- Plug in the appliance. Turn the power switch to the "ON" position. The power indicator light will illuminate.
- Turn the temperature control knob to your desired setting. The ready indicator light will turn on during heating and cycle on/off to maintain the set temperature.
- Allow the unit to preheat for approximately 5-10 minutes, or until the ready indicator light turns off, signaling it has reached the set temperature.
- Cooking:
- Carefully place food onto the preheated cooking surface. For panini or grilled items, close the lid to apply even pressure and heat from both sides.
- Monitor cooking progress. Cooking times will vary based on food type and thickness.
- Use the provided spatula tongs to turn or remove food. Avoid using metal utensils that could scratch the non-stick coating.
- After Cooking:
- Once cooking is complete, turn the temperature control knob to the "OFF" position and switch off the power.
- Unplug the appliance from the wall outlet and allow it to cool completely before cleaning.
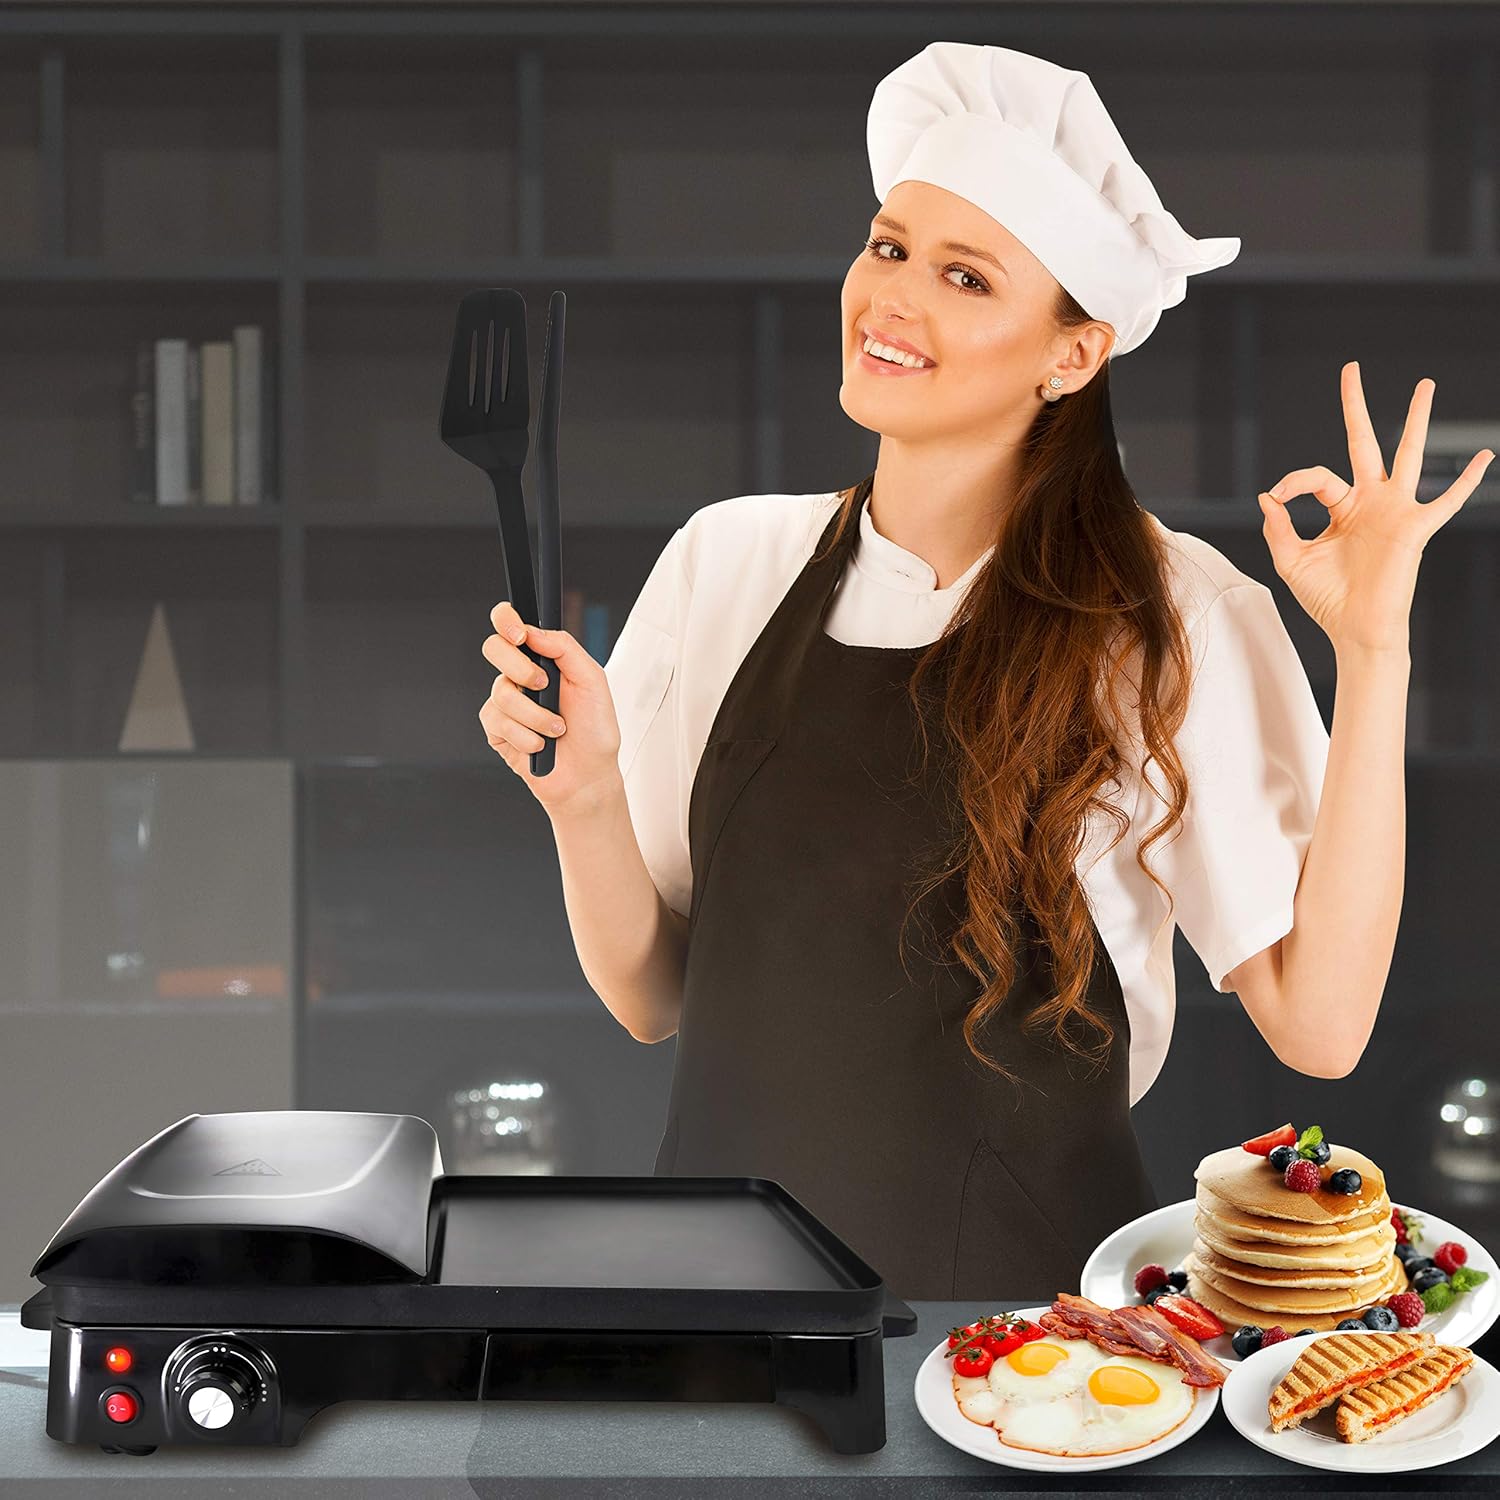
Image: A panini sandwich being cooked on the ribbed grill plate of the appliance.

Image: Eggs and bacon cooking on the flat griddle surface of the appliance.
Video: An official product video demonstrating the NutriChef 2-in-1 Panini Press Grill and Griddle in use, showing various foods being cooked on both the grill and griddle surfaces.
Cleaning and Maintenance
Proper cleaning and maintenance will extend the life of your appliance.
- Always Unplug: Ensure the appliance is unplugged and completely cooled before cleaning.
- Remove Drip Tray: Slide out the oil catching drip tray and empty its contents. Wash the drip tray with warm, soapy water. Rinse thoroughly and dry.
- Clean Cooking Surfaces:
- Wipe the non-stick cooking plates with a soft, damp cloth or sponge. For stubborn food residue, use a small amount of mild dish soap.
- Do not use abrasive cleaners, scouring pads, or metal utensils, as these can damage the non-stick coating.
- Ensure all soap residue is removed by wiping with a clean, damp cloth.
- Clean Exterior: Wipe the exterior of the appliance with a damp cloth. Do not immerse the main unit in water or any other liquid.
- Storage: Once clean and dry, store the appliance in a cool, dry place.
Troubleshooting
| Problem | Possible Cause | Solution |
|---|---|---|
| Appliance does not turn on. | Not plugged in, power switch off, or power outlet issue. | Ensure the appliance is securely plugged into a working 120V outlet. Check that the power switch is in the "ON" position. Test the outlet with another appliance. |
| Food sticks to the cooking surface. | Insufficient preheating, damaged non-stick coating, or not using a small amount of oil/butter (if desired). | Allow the appliance to fully preheat. Ensure the non-stick coating is intact. For some foods, a light coating of cooking oil or butter may be beneficial. |
| Uneven cooking. | Improper food placement or uneven heat distribution. | Ensure food is spread evenly across the cooking surface. Allow the appliance to fully preheat to ensure consistent temperature. |
| Smoke or unusual odor during first use. | Protective coatings burning off. | This is normal for first use. Ensure good ventilation. If smoke persists after initial use, discontinue use and contact customer service. |
Specifications
- Model Number: PKGRIL43.5
- Power: 1500 Watt
- Voltage: 120V
- Construction Materials: Die Cast Aluminum
- Total Griddle Plate Size (L x W): 17'' x 10'' inches
- Product Dimensions (L x W x H): 20.3'' x 12.5'' x 5.3'' inches
- Item Weight: 7.92 lbs
- Power Cable Length: 2.5 feet
- Color: Black
- Special Feature: Manual Temperature Control
Warranty and Support
This product is sold without a manufacturer's warranty. For any product inquiries or support needs, please refer to the retailer where the product was purchased.