1. Introduction
The TechniSat DIGITRADIO 2 is a versatile portable radio designed for high-quality audio reception both at home and on the go. It features DAB+ and FM radio reception, Bluetooth audio streaming, an OLED display, and a built-in rechargeable battery for extended use. This manual provides detailed instructions for setting up, operating, and maintaining your device.
Key Features:
- DAB+ and FM radio reception
- Bluetooth audio streaming for connecting smartphones or tablets
- Integrated replaceable battery providing up to 10 hours of music playback
- High-quality dimmable OLED display
- Headphone jack (3.5 mm)
- 1 W (RMS) mono speaker with equalizer
- Memory for up to 20 favorite stations for both DAB+ and FM
- Alarm clock with two adjustable alarms, sleep timer, and snooze function
- Large, clear control buttons for intuitive operation
2. Product Overview and Components
Familiarize yourself with the components of your TechniSat DIGITRADIO 2.
Package Contents:
- TechniSat DIGITRADIO 2 Radio
- Power Adapter
- USB Cable
- User Manual
- Rechargeable Battery (pre-installed or separate)
Device Layout:

Figure 2.1: Front view of the TechniSat DIGITRADIO 2, highlighting the speaker grille, OLED display, and control panel.

Figure 2.2: Detailed view of the control panel and OLED display, showing station information and navigation buttons (MODE, FAV, OK, MENU, directional arrows).
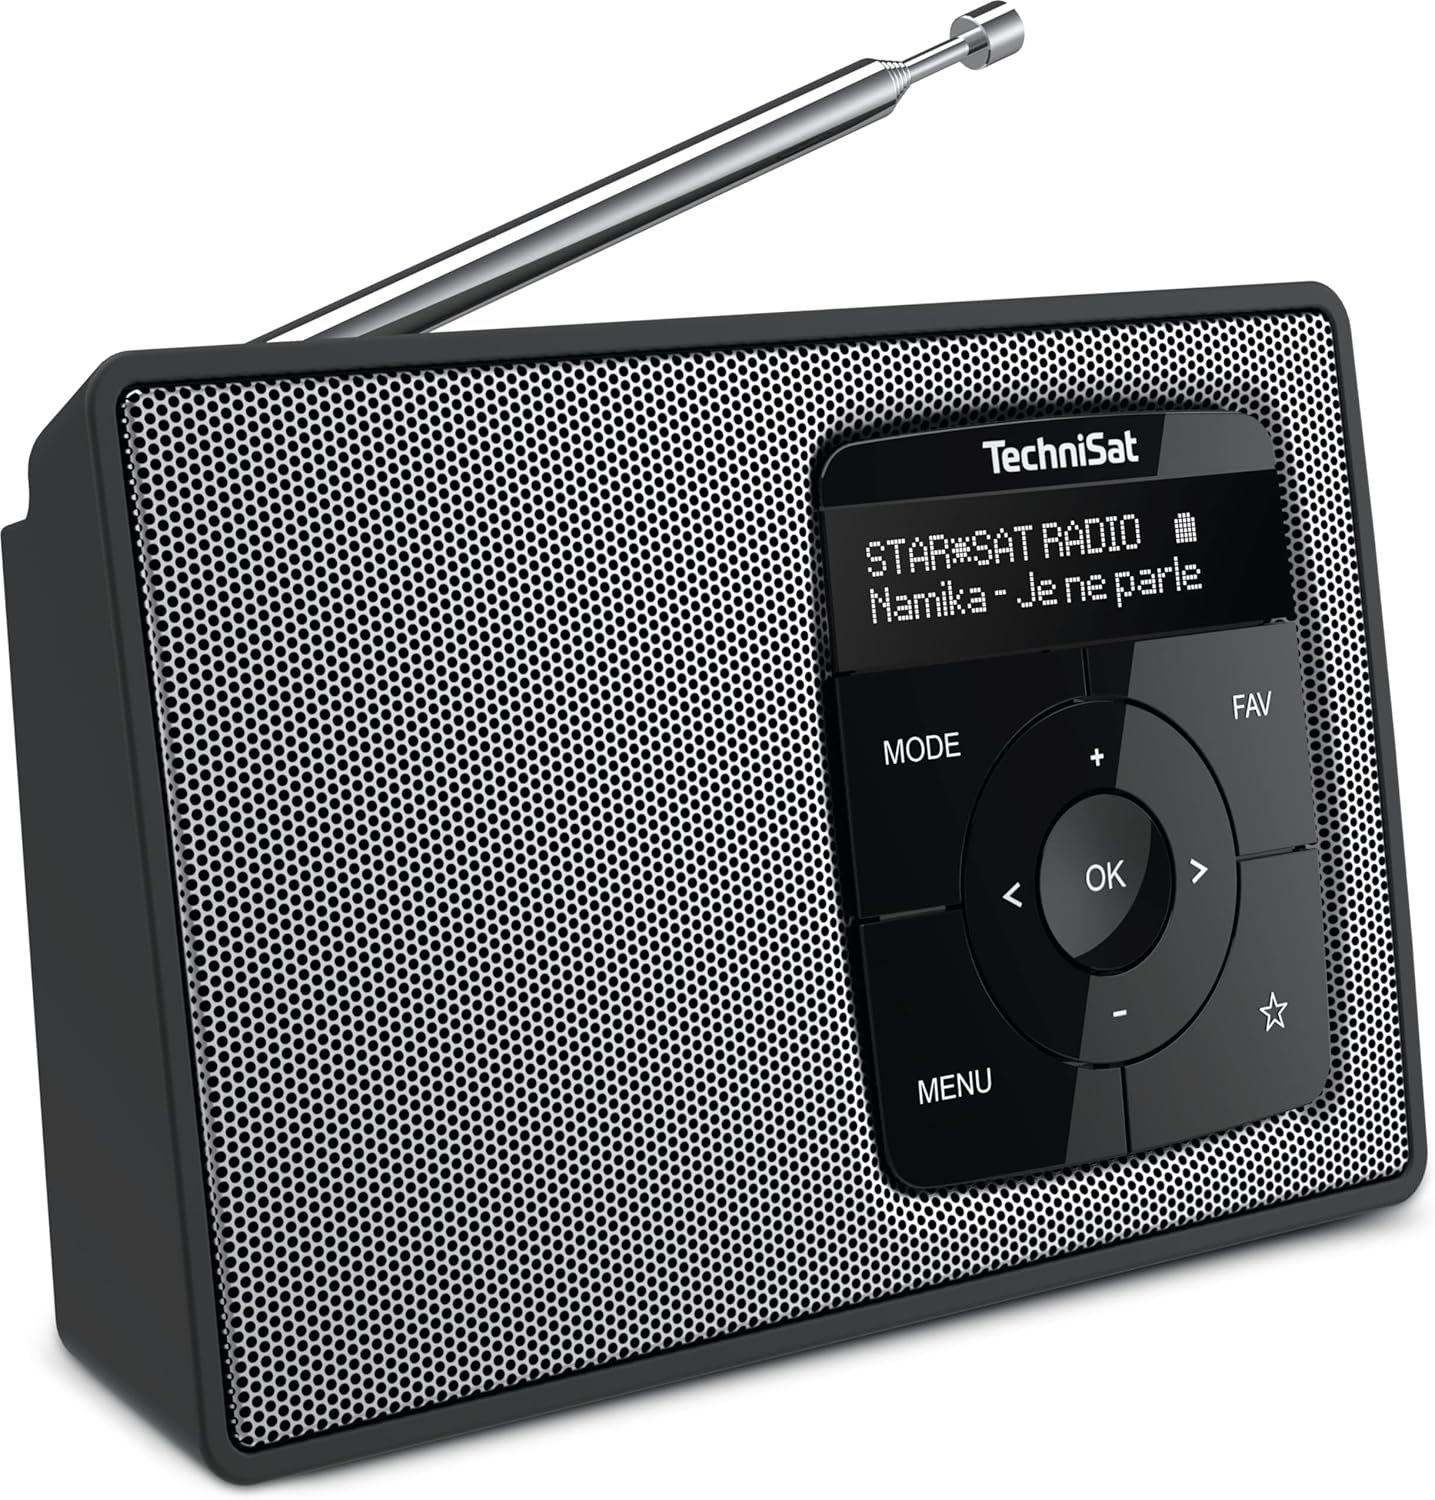
Figure 2.3: Angled perspective of the radio, illustrating its compact design and the extendable antenna for improved reception.
3. Setup
3.1 Powering On the Device
- Battery Installation: Ensure the rechargeable Lithium-ion battery is correctly inserted into the battery compartment. If it's new, it might be pre-installed.
- Connect Power Adapter: Plug the supplied power adapter into the DC IN port on the radio and then into a wall outlet. The battery will begin charging.
- First Power On: Press and hold the POWER button (usually integrated with the MODE or OK button, refer to specific button labels on your device) to turn on the radio.
3.2 Initial Scan (DAB+ and FM)
Upon first power-on, the radio will typically initiate an automatic scan for available DAB+ and FM stations. This process may take a few minutes.
- DAB+ Scan: The radio will search for all available digital radio stations and store them.
- FM Scan: The radio will scan for analog FM stations.
- Ensure the antenna is fully extended for optimal reception during the scan.
4. Operation
4.1 Switching Between DAB+ and FM Modes
Press the MODE button to switch between DAB+ radio, FM radio, and Bluetooth audio streaming modes.
4.2 DAB+ Radio Operation
- Select Station: In DAB+ mode, use the LEFT/RIGHT arrow buttons to navigate through the list of available stations.
- Confirm Selection: Press the OK button to select and play a station.
- Store Presets: To save a favorite station, press and hold the FAV button. Use the arrow buttons to select a preset number (1-20) and press OK to confirm.
- Recall Presets: Briefly press the FAV button, then use the arrow buttons to select your desired preset and press OK.
4.3 FM Radio Operation
- Tune Station: In FM mode, use the LEFT/RIGHT arrow buttons to manually tune the frequency. Press and hold the LEFT/RIGHT arrow buttons for automatic scanning to the next available station.
- Store Presets: Similar to DAB+ mode, press and hold the FAV button, select a preset number, and press OK.
- Recall Presets: Briefly press the FAV button, select your desired preset, and press OK.
4.4 Bluetooth Audio Streaming
- Enter Bluetooth Mode: Press the MODE button until "Bluetooth" or a similar indicator appears on the OLED display. The radio will enter pairing mode.
- Pair Device: On your smartphone or tablet, enable Bluetooth and search for "DIGITRADIO 2" (or similar name). Select it to pair.
- Play Audio: Once paired, you can play audio from your device, and it will stream through the radio's speaker.
4.5 Alarm Clock, Sleep Timer, and Snooze
- Setting Alarm: Access the alarm settings via the MENU button. Follow the on-screen prompts to set up to two alarms, including time, source (DAB+/FM/Buzzer), and volume.
- Sleep Timer: The sleep timer allows the radio to turn off automatically after a set period. Access this function via the MENU.
- Snooze Function: When an alarm sounds, press any button (except power) to activate the snooze function for a short delay.
4.6 Headphone Use
Connect 3.5mm headphones to the headphone jack for private listening. The internal speaker will automatically mute when headphones are connected.
5. Maintenance
5.1 Cleaning
- Wipe the radio with a soft, dry, lint-free cloth.
- Do not use abrasive cleaners, waxes, or solvents as they may damage the surface.
- Avoid spraying liquids directly onto the device.
5.2 Battery Care
- The integrated Lithium-ion battery is replaceable. If battery life significantly decreases, consider replacing it with an official TechniSat replacement battery.
- For optimal battery life, avoid fully discharging the battery frequently.
- Store the device in a cool, dry place if not used for extended periods.
6. Troubleshooting
6.1 No Power / Device Not Turning On
- Ensure the power adapter is securely connected to both the radio and a working wall outlet.
- Check if the battery is correctly inserted and charged.
- Try pressing and holding the power button for a few seconds.
6.2 Poor Radio Reception
- Fully extend the telescopic antenna.
- Reposition the radio to a different location, away from potential interference sources (e.g., other electronic devices, thick walls).
- Perform a full scan for DAB+ and FM stations again.
6.3 Bluetooth Pairing Issues
- Ensure the radio is in Bluetooth pairing mode.
- Make sure Bluetooth is enabled on your external device (smartphone/tablet).
- Move your external device closer to the radio.
- If previously paired, try "forgetting" the device on your smartphone/tablet and re-pairing.
7. Specifications
| Feature | Detail |
|---|---|
| Brand | TechniSat |
| Model Number | 0000/3910 |
| Color | Neutral (Black/Silver) |
| Connectivity Technology | Bluetooth, Auxiliary |
| Special Features | Bluetooth Connectivity, DAB+/FM Tuner, Rechargeable Battery |
| Compatible Devices | Headphones |
| Battery Composition | Lithium-ion |
| Rechargeable Battery | Yes (1 included) |
| Product Dimensions (L x W x H) | 17.5 x 4.7 x 10.9 cm |
| Tuning Technology | DAB+, FM |
| Supported Radio Bands | DAB+, FM |
| Power Source | Battery Powered |
| Speaker Output | 1 W RMS Mono |
| Country of Origin | Germany |
8. Warranty and Support
8.1 Warranty Information
The TechniSat DIGITRADIO 2 comes with a 1-year availability of spare parts. For specific warranty terms and conditions, please refer to the warranty card included with your product or contact TechniSat customer service.
8.2 Customer Support
For technical assistance, troubleshooting, or service inquiries, please visit the official TechniSat website or contact their customer support department. Contact details can typically be found on the manufacturer's website or in the product packaging.


