
Introduction
This manual provides essential information for the assembly, use, and maintenance of your IKEA TJUSIG Hanger. Please read these instructions carefully before proceeding with assembly and retain them for future reference. The IKEA TJUSIG Hanger is designed to provide a practical and space-saving solution for organizing various items in your home.
Product Overview
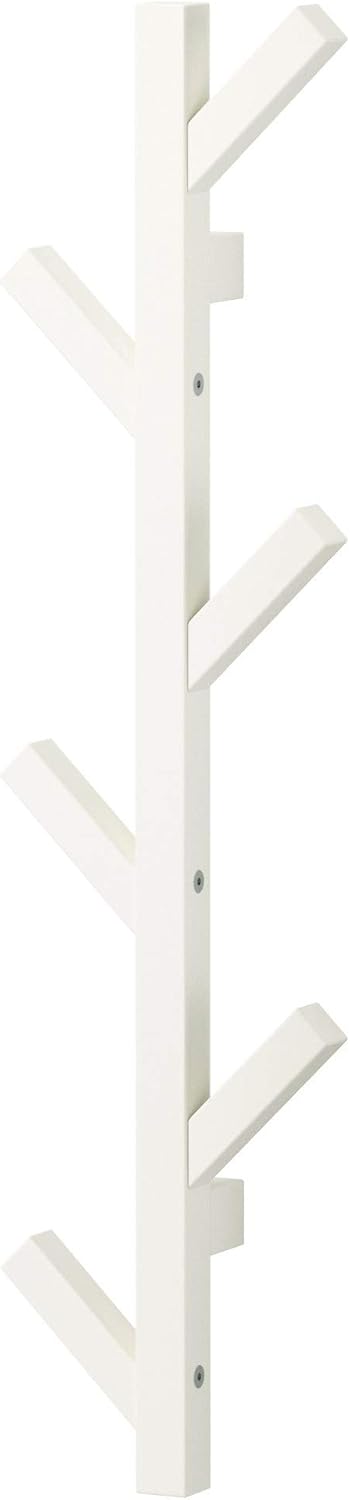
The IKEA TJUSIG Hanger is a versatile and durable storage accessory. Key features include:
- Durable Acrylic Material: Constructed from acrylic for long-lasting use and stability.
- Space-Saving Design: Its triangular shape is optimized to save space in closets or other storage areas.
- Multi-Purpose Use: Suitable for hanging clothes, scarves, bags, and other accessories.
- Easy Assembly: Designed for straightforward assembly with included hardware and instructions.

Setup and Assembly
The IKEA TJUSIG Hanger requires minor assembly. Please ensure all components are present before beginning.
- Unpack Components: Carefully remove all parts from the packaging. Verify that you have all necessary hardware and hanger sections. Refer to the included parts list for verification.
- Attach Hooks: Align the individual hooks with the pre-drilled holes on the main hanger body. Secure each hook using the provided screws. Ensure screws are tightened firmly but do not overtighten.
- Mounting (Optional): If wall-mounting, select a suitable location. Use appropriate wall anchors and screws (not included) for your wall type. Mark drilling points, drill pilot holes, and secure the hanger to the wall. Ensure it is level and stable.
- Final Check: Once assembled, gently test the stability of the hanger and the security of all attached hooks.
Operating Instructions
The IKEA TJUSIG Hanger is designed for straightforward use.
- Placement: Position the hanger in your desired location, such as a closet, entryway, or bedroom.
- Hanging Items: Utilize the various hooks to hang clothing items, scarves, handbags, or other accessories. Distribute weight evenly across the hooks to maintain stability.
- Weight Capacity: Avoid overloading the hanger beyond its intended capacity to prevent damage or instability.
Maintenance
Proper care will ensure the longevity of your IKEA TJUSIG Hanger.
- Cleaning: Wipe the hanger regularly with a soft, damp cloth. For stubborn marks, a mild soap solution can be used, followed by drying with a clean cloth.
- Avoid Harsh Chemicals: Do not use abrasive cleaners, solvents, or strong chemical agents, as these can damage the acrylic finish.
- Inspection: Periodically check all screws and connections to ensure they remain tight. Retighten if necessary.
Troubleshooting
If you encounter any issues with your IKEA TJUSIG Hanger, consider the following:
- Hanger feels unstable: Ensure all assembly screws are securely tightened. If wall-mounted, verify that the mounting hardware is appropriate for your wall type and installed correctly.
- Hooks are loose: Retighten the screws securing the hooks to the main body.
- Damage to surface: Avoid sharp objects or excessive force that could scratch or chip the acrylic material.
Specifications
| Brand | IKEA |
| Model | TJUSIG |
| Material | Acrylic |
| Color | White |
| Number of Pieces | 2 (as per product listing) |
| Shape | Triangular |
| Item Weight | 4.14 pounds |
| Package Dimensions | 29.8 x 3.2 x 2.4 inches |
Warranty and Support
For information regarding warranty coverage or product support, please refer to the official IKEA website or contact IKEA customer service directly. Keep your proof of purchase for any warranty claims.
For further assistance, visit: www.ikea.com


