1. Introduction
Thank you for purchasing the Mesqool Digital Alarm Clock CR1008. This manual provides detailed instructions to help you set up and operate your new alarm clock, ensuring you can utilize all its features effectively. This clock is designed for ease of use and includes features such as a large display, adjustable brightness, a multi-color night light, and convenient charging ports.
2. Key Features
- 7.5-inch Large Number Screen: Highly visible time display for easy reading from a distance.
- 5-Level Brightness Dimmer: Adjustable display brightness from very bright to very dim, allowing for comfortable viewing day or night.
- 7-Color Night Light: Integrated night light with 7 color options and adjustable brightness, perfect for ambient lighting.
- Dual USB Charging Ports: Includes one USB-A and one Type-C port for convenient charging of mobile devices.
- Adjustable Alarm Volume: Alarm volume can be set to low, medium, or high, with a maximum of 80 dB, suitable for heavy sleepers.
- Gradual Alarm Sound: Alarm starts softly and gradually increases in volume to provide a gentle wake-up experience.
- 9-Minute Snooze Function: Large, easy-to-press snooze button for an additional 9 minutes of sleep.
- 12H/24H Time Format: Slider switch to easily select between 12-hour and 24-hour time display formats.
- Battery Backup: Requires 2 AAA batteries (not included) to maintain time and alarm settings during a power outage.
- Daylight Saving Time (DST) Function: Convenient switch for adjusting to Daylight Saving Time.
3. Setup
3.1 Power Connection
The Mesqool Digital Alarm Clock CR1008 is a plug-in electric alarm clock. For all functions, including time display, alarm, and USB charging, the clock must be connected to a DC wall power outlet using the provided 5V 2A power adapter.
3.2 Battery Backup Installation
To ensure your time and alarm settings are retained during a power failure, install 2 AAA batteries (not included) into the battery compartment located on the back of the unit. The screen display will not turn on when operating solely on battery backup; batteries are for memory retention only.

Figure 1: Battery backup compartment and power connection. Note: AAA batteries are not included.
3.3 Initial Power On
Once plugged in, the clock display will illuminate. You may then proceed to set the time and alarm as described in the operating instructions.
4. Operating Instructions
4.1 Setting the Time
- Press the SET TIME button once. The hour digits will begin to flash.
- Use the HOUR button (left button on top) to adjust the hour.
- Press the SET TIME button again. The minute digits will flash.
- Use the MINUTE button (right button on top) to adjust the minutes.
- Press the SET TIME button a third time to confirm and exit time setting mode.
4.2 12H/24H Time Format Selection
Locate the TIME FORMAT slider switch on the back of the clock. Slide it to select either the 12-hour or 24-hour display format according to your preference.

Figure 2: Switching between 12H and 24H time formats.
4.3 Setting the Alarm
- Press the SET ALARM button once. The alarm hour digits will begin to flash.
- Use the HOUR button (left button on top) to adjust the alarm hour.
- Press the SET ALARM button again. The alarm minute digits will flash.
- Use the MINUTE button (right button on top) to adjust the alarm minutes.
- Press the SET ALARM button a third time to confirm and exit alarm setting mode.
- To activate or deactivate the alarm, use the ALARM ON/OFF switch located on the back of the clock.
4.4 Adjusting Alarm Volume
On the back of the clock, locate the ALARM VOLUME slider. Slide it to select your desired alarm volume: LOW, MED (Medium), or HIGH. The highest setting provides a loud alarm suitable for heavy sleepers.

Figure 3: Adjustable alarm volume levels.
4.5 Snooze Function
When the alarm sounds, press the large SNOOZE/LIGHT button on the top of the clock to temporarily silence the alarm for 9 minutes. The alarm will sound again after the snooze period. To turn off the alarm completely, press the ALARM PAUSE button on the back.

Figure 4: Utilizing the snooze function for extra rest.
4.6 Night Light Operation
Tap the large SNOOZE/LIGHT button on the top of the clock to cycle through 7 different night light colors. Continue tapping to change colors. To turn off the night light, cycle through all colors until it switches off, or press and hold the button.
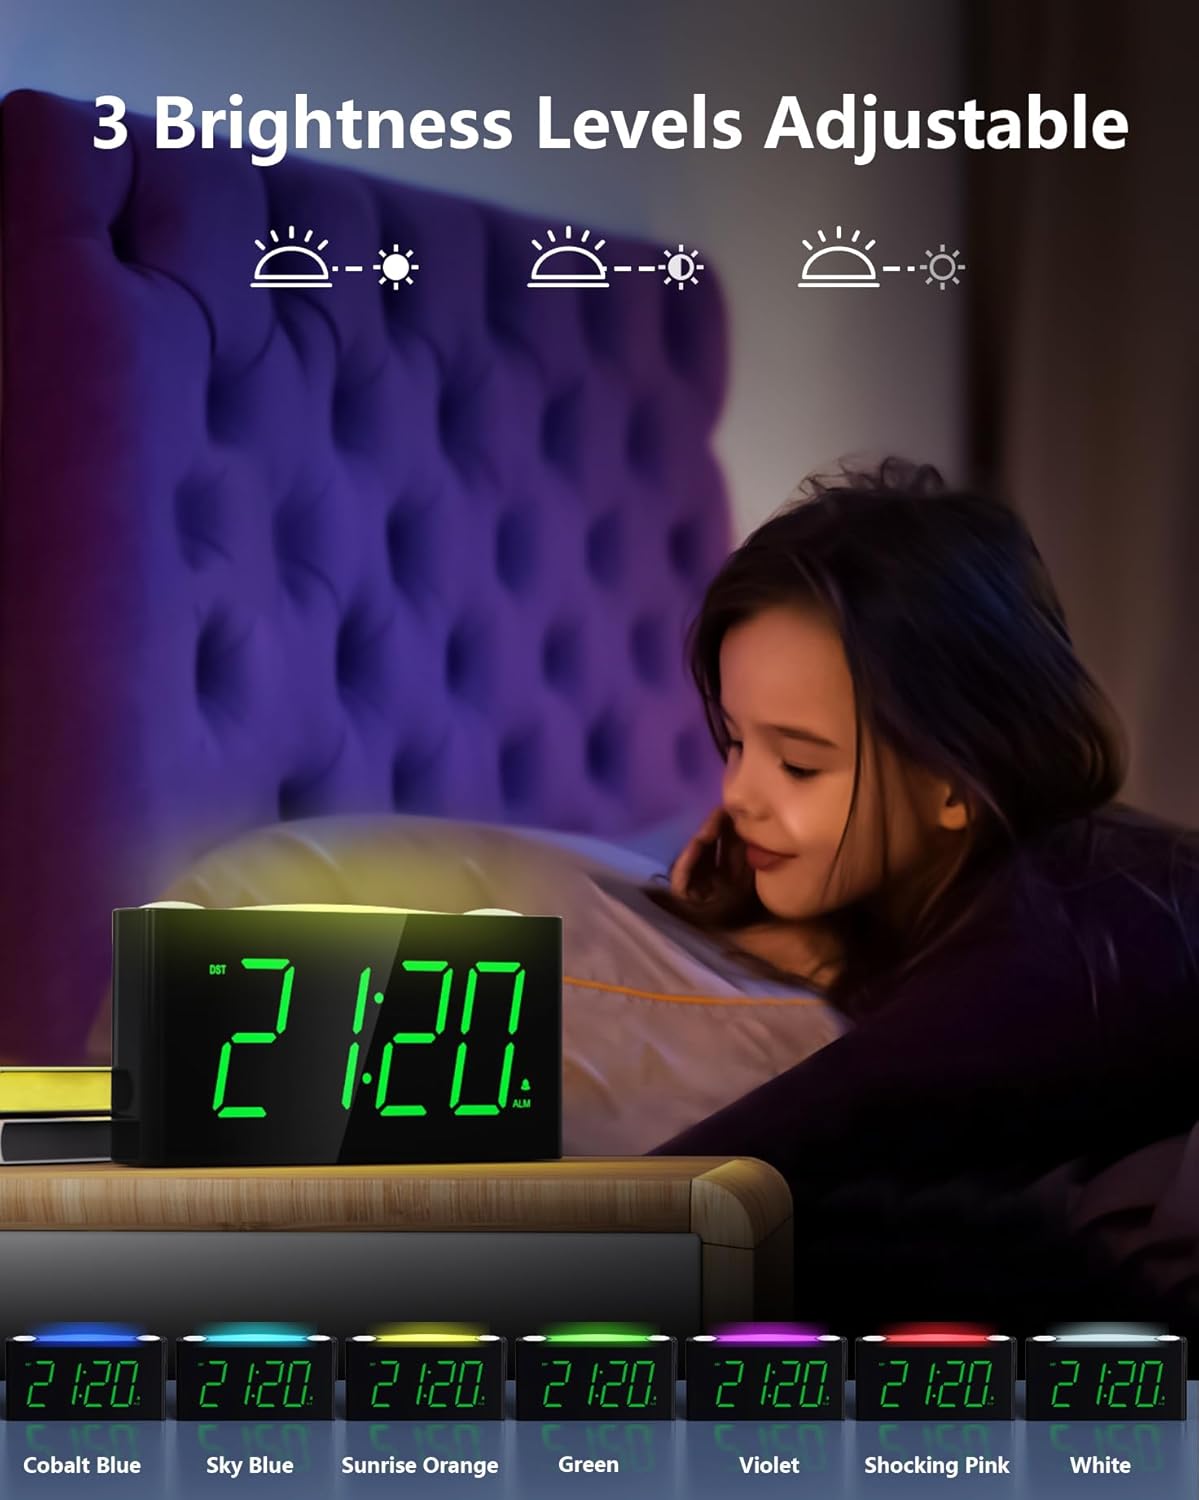
Figure 5: The 7-color night light feature.
Video 1: Demonstration of the 7-color night light and large LED display.
4.7 Adjusting Display Brightness (Dimmer)
On the back of the clock, locate the DIMMER slider. Slide it to adjust the brightness of the time display from its brightest to its dimmest setting. This allows you to customize the display visibility to your comfort level, especially for nighttime use.

Figure 6: Adjusting the 5-level display dimmer.
Video 2: Overview of clock features, including dimmer and USB ports.
4.8 Using USB Charging Ports
The clock is equipped with a standard USB-A port and a Type-C port on the back. These ports allow you to charge your mobile devices conveniently while the clock is plugged into a wall outlet. This helps reduce the number of power outlets needed in your bedroom.

Figure 7: USB and Type-C charging ports.
4.9 Daylight Saving Time (DST)
Locate the DST switch on the back of the clock. Slide it to activate or deactivate the Daylight Saving Time adjustment as needed.
Video 3: Detailed look at the clock's features, including time and alarm setting.
5. Maintenance
- Cleaning: Wipe the clock with a soft, dry cloth. Avoid using abrasive cleaners or solvents.
- Liquid Exposure: Do not expose the clock to water or other liquids.
- Placement: Place the clock on a stable, flat surface away from direct sunlight, heat sources, and excessive moisture.
- Battery Replacement: Replace AAA backup batteries annually or when the battery indicator suggests low power to ensure continuous memory retention.
6. Troubleshooting
- Clock Display is Off: Ensure the power adapter is securely plugged into both the clock and a working wall outlet. If using battery backup, remember the display does not illuminate; batteries only retain settings.
- Alarm Not Sounding: Check that the ALARM ON/OFF switch on the back is in the 'ON' position. Verify the alarm time is correctly set.
- USB Ports Not Charging: Confirm the clock is properly plugged into a wall outlet. Ensure your device's charging cable is functional and correctly connected to the USB or Type-C port.
- Display Too Bright/Dim: Adjust the DIMMER slider on the back of the clock to your preferred brightness level.
- Night Light Not Changing Colors: Tap the SNOOZE/LIGHT button repeatedly to cycle through all available colors. If it remains stuck, try unplugging and re-plugging the clock to reset it.
7. Specifications
| Feature | Detail |
|---|---|
| Brand | Mesqool |
| Model Number | CR1008 |
| Display Type | Digital LED |
| Display Color | Green Digits |
| Night Light Colors | 7 Options (Oyster White, Cobalt Blue, Sky Blue, Green, Beige, Shocking Pink, Violet) |
| Power Source | Corded Electric (5V 2A Power Adapter included) |
| Battery Backup | 2 AAA batteries required (not included) for time/alarm memory |
| USB Charging Ports | 1x USB-A, 1x Type-C (USB Charger: 5V 1000mA) |
| Product Dimensions | 6.46 inches (L) x 1.93 inches (W) x 3.39 inches (H) |
| Material | Acrylonitrile Butadiene Styrene (ABS) |
| Special Features | Adjustable Brightness, Adjustable Volume, Charging Port, Daylight Saving |
8. Warranty and Support
The Mesqool Digital Alarm Clock CR1008 comes with a one-year limited warranty. Additionally, Mesqool offers a 30-day money-back guarantee and 24-hour response support. For any inquiries or assistance, please contact support@mesqool.com.