1. Safety Instructions
Please read these safety instructions carefully before installing and using the appliance. Keep this manual for future reference.
- Electrical Safety: Ensure the oven is correctly earthed and connected to a suitable power supply. Do not use adapters or extension cords.
- Children and Vulnerable Persons: This appliance can be used by children aged 8 years and above and persons with reduced physical, sensory or mental capabilities or lack of experience and knowledge if they have been given supervision or instruction.
- Hot Surfaces: The oven and its accessible parts become hot during use. Care should be taken to avoid touching heating elements. Children less than 8 years of age shall be kept away unless continuously supervised.
- Cleaning: Do not use harsh abrasive cleaners or sharp metal scrapers to clean the oven door glass since they can scratch the surface, which may result in shattering of the glass.
- Installation: Installation and servicing must be carried out by a qualified technician in accordance with local safety regulations.
2. Product Overview
The Bauknecht BAR2 KP8V2 IN is an electric built-in oven designed for efficient cooking with a hot air function. Familiarize yourself with its components for optimal use.

Figure 2.1: Front view of the Bauknecht BAR2 KP8V2 IN electric built-in oven.
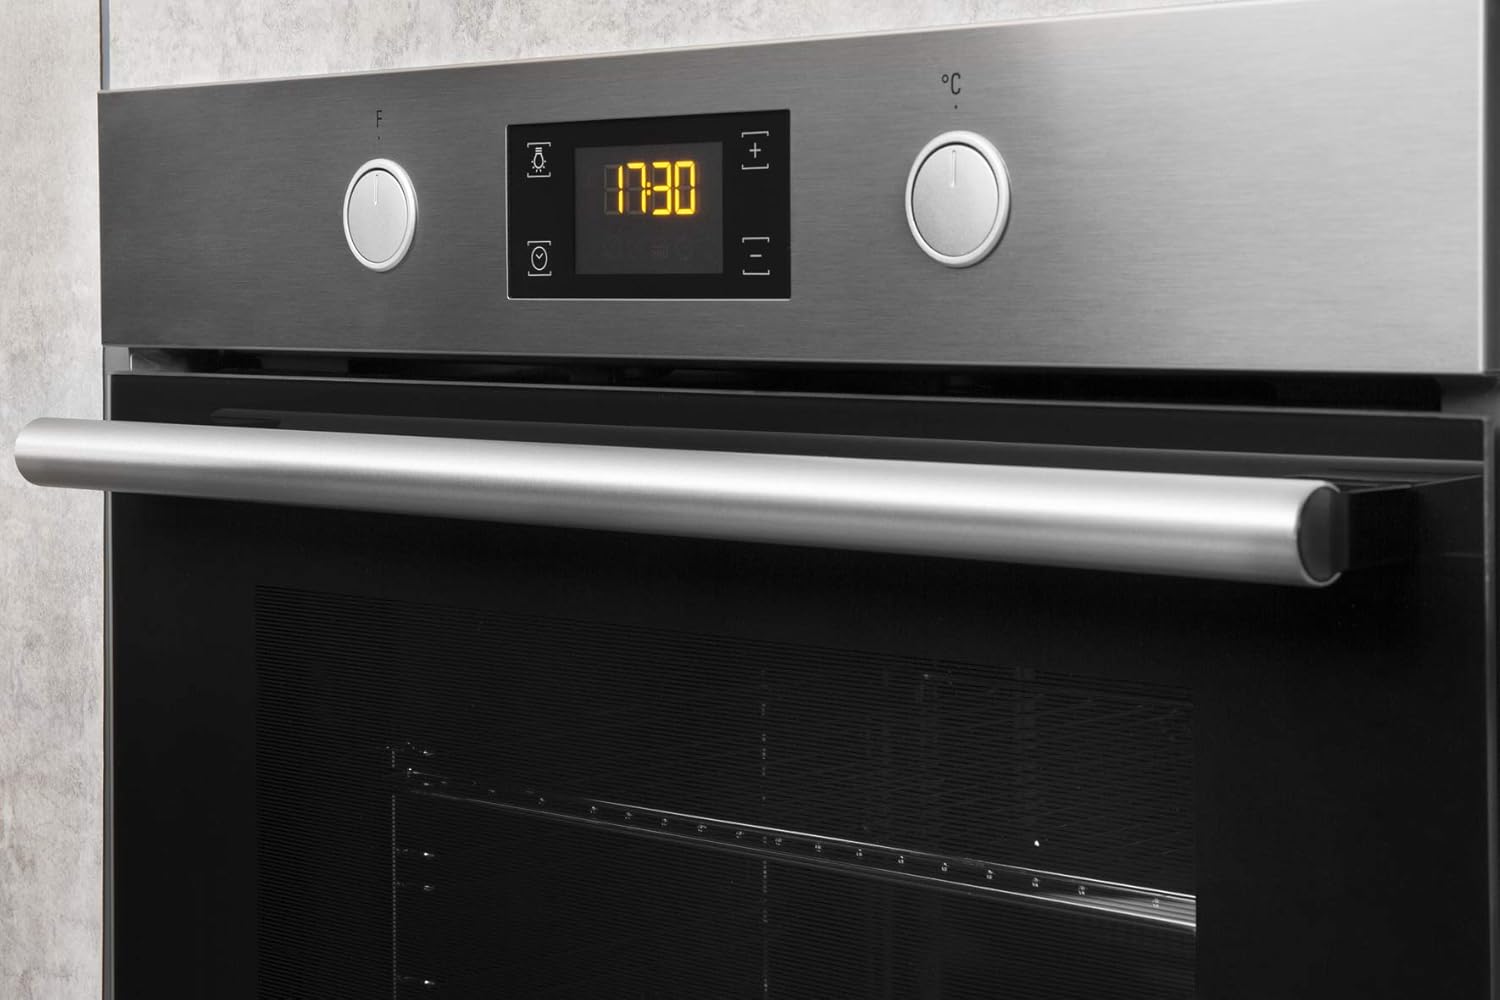
Figure 2.2: Close-up of the control panel with rotary knobs and digital display.

Figure 2.3: Oven interior with door open, showing rack and tray.
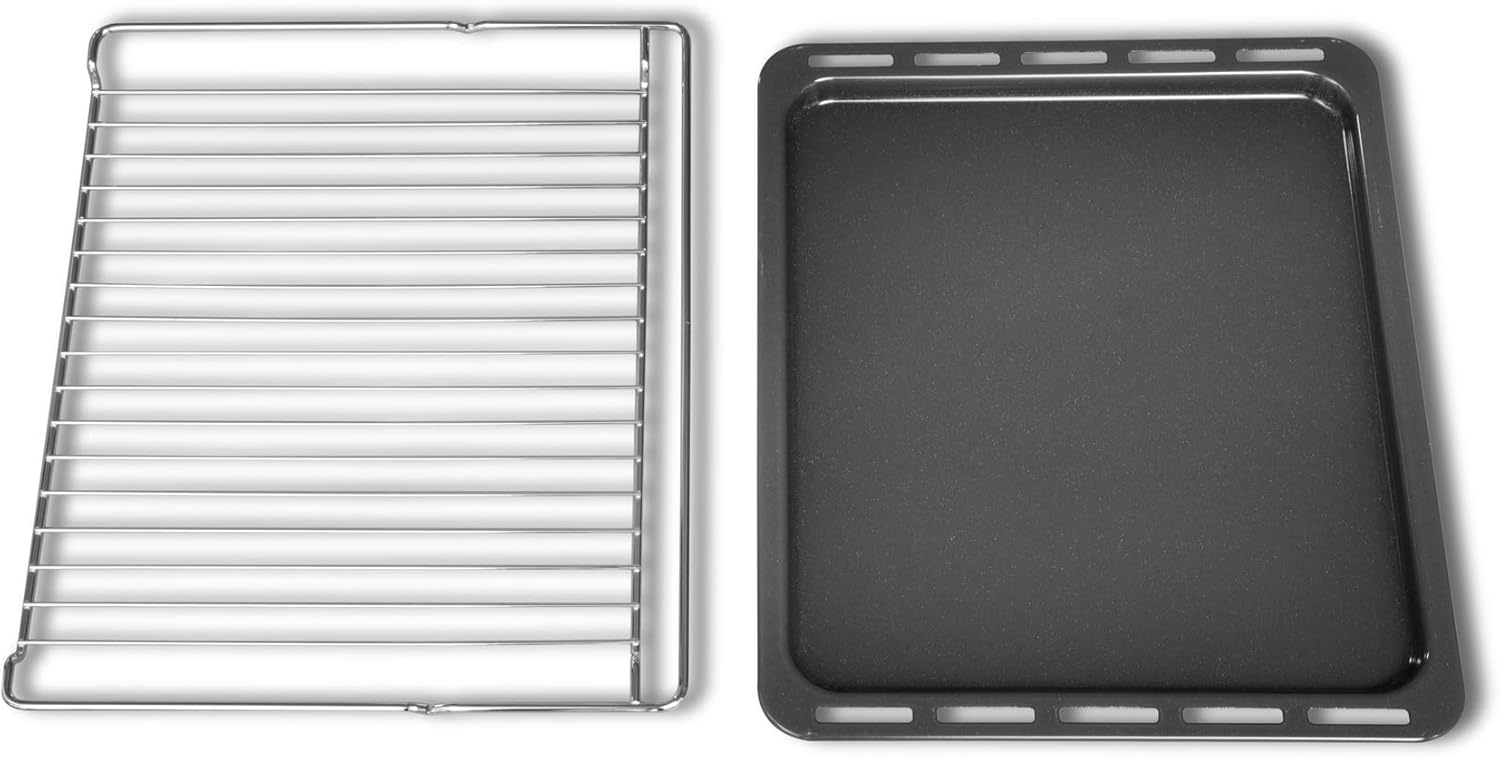
Figure 2.4: Standard wire oven rack and baking tray.

Figure 2.5: Assembled telescopic runners with a wire rack.
2.1. Control Panel
The control panel features two rotary knobs for function selection and temperature adjustment, along with a digital display for time and settings.
2.2. Oven Interior
The oven cavity is equipped with multiple rack positions and an internal light for visibility. The hot air function ensures even heat distribution.
3. Installation (Setup)
Proper installation is crucial for the safe and efficient operation of your oven. This appliance must be installed by a qualified technician.
3.1. Pre-installation Checks
- Ensure the cabinet opening dimensions match the oven specifications.
- Verify that the electrical supply meets the oven's requirements (220 Volts, 3.3 Watts).
- Remove all packaging materials and accessories from the oven cavity.
3.2. Mounting the Oven
The oven is designed for integrated installation into a kitchen cabinet. Refer to the diagram below for precise measurements and mounting points.

Figure 3.1: Installation dimensions and requirements.
- Carefully slide the oven into the cabinet opening.
- Secure the oven to the cabinet using the provided screws through the designated mounting holes.
3.3. Electrical Connection
Connect the oven to the main power supply. This connection must be performed by a qualified electrician. Ensure the power is off at the main circuit breaker before making any connections.
4. Operating Instructions
This section guides you through the basic operation of your Bauknecht oven.
4.1. First Use
- Before first use, clean the oven interior with a damp cloth.
- Heat the empty oven at maximum temperature for approximately 30 minutes to burn off any manufacturing residues. Ensure good ventilation during this process.
4.2. Setting the Time
Upon first connection or after a power outage, the display will flash. Use the control knobs to set the current time.
4.3. Selecting a Cooking Function
Turn the left rotary knob to select the desired cooking function (e.g., Hot Air, Conventional, Grill).
4.4. Setting the Temperature
Turn the right rotary knob to set the desired temperature for the selected function. The display will show the set temperature.
4.5. Using the Timer Function
The oven is equipped with a timer function. Consult the full manual for detailed instructions on setting cooking duration, end time, or a simple minute minder.
4.6. Preheating
For best results, preheat the oven to the desired temperature before placing food inside, especially for baking.
5. Cleaning and Maintenance
Regular cleaning and maintenance ensure the longevity and optimal performance of your oven.
5.1. General Cleaning
- Always disconnect the oven from the power supply before cleaning.
- Allow the oven to cool completely before cleaning.
- Use a soft cloth and mild detergent for external surfaces. Avoid abrasive cleaners.
5.2. Cleaning the Oven Interior
For stubborn stains, use a specialized oven cleaner, following the product instructions carefully. Ensure adequate ventilation.
5.3. Cleaning the Oven Door Glass
Clean the oven door glass with a soft cloth and non-abrasive cleaner. Do not use sharp objects that could scratch the glass.
5.4. Replacing the Oven Light
If the oven light needs replacement, ensure the oven is unplugged and cool. Unscrew the protective cover, replace the bulb with one of the same specifications, and reattach the cover.
6. Troubleshooting
Before contacting customer service, try the following solutions for common issues:
| Problem | Possible Cause | Solution |
|---|---|---|
| Oven does not heat | No power supply; incorrect settings | Check circuit breaker; ensure oven is plugged in; verify function and temperature settings. |
| Oven light not working | Bulb is faulty | Replace the oven light bulb (refer to Section 5.4). |
| Uneven cooking results | Incorrect rack position; oven not preheated | Use recommended rack position; always preheat the oven. |
If the problem persists after attempting these solutions, please contact Bauknecht customer support.
7. Technical Specifications
Detailed specifications for the Bauknecht BAR2 KP8V2 IN oven:
| Feature | Specification |
|---|---|
| Brand | Bauknecht |
| Model Number | BAR2 KP8V2 IN |
| Capacity | 71 Litres |
| Voltage | 220 Volts |
| Power | 3.3 Watts |
| Fuel Type | Electric |
| Installation Type | Integrated |
| Item Weight | 27.1 Kilograms |
| Timer Function | Yes |
| Door Orientation | Front |
8. Warranty and Support
For warranty information, product registration, or technical support, please refer to the warranty card included with your appliance or visit the official Bauknecht website. Keep your purchase receipt as proof of purchase.
Online Support: Visit www.bauknecht.com for FAQs, service requests, and contact details.


