
1. Introduction
This manual provides instructions for the safe and effective use of your NEDIS Audio Baby Monitor, model BAMO110AUWT. This wireless audio baby monitor allows you to monitor your child 24/7 through a secure connection. It is designed for easy setup without complex configuration, offering features that enhance parental monitoring comfort.
2. Safety Instructions
- Read all instructions before use and retain for future reference.
- Keep the baby monitor units and their power cords out of reach of children (at least 1 meter away from the crib).
- Do not place the baby unit inside the crib or playpen.
- Use only the provided power adapters.
- Do not expose the units to water or moisture. The product is Not Water Resistant (IP44 rating indicates protection against solid objects larger than 1mm and splashing water, but not immersion).
- Ensure proper ventilation; do not cover the units.
- This product is not a substitute for responsible adult supervision.
- Dispose of batteries responsibly according to local regulations.
3. Package Contents
- Baby Unit (Transmitter)
- Parent Unit (Receiver)
- Power Adapters (x2)
- User Manual

Image 1: NEDIS Audio Baby Monitor units and their retail packaging.
4. Product Overview
The NEDIS Audio Baby Monitor consists of two main units: the Baby Unit (transmitter) and the Parent Unit (receiver). Both units are designed for ease of use and portability.

Image 2: Front view of the Baby Unit (left) and Parent Unit (right) showing indicators and speaker/microphone areas.
Baby Unit (Transmitter)
- Microphone: Detects sounds from the baby's room.
- Power/Link Indicator: Shows power status and connection to the Parent Unit.
- Volume/Sensitivity Control: Adjusts microphone sensitivity.
- Power Input: For connecting the AC adapter.
Parent Unit (Receiver)
- Speaker: Outputs sounds from the baby's room.
- Power/Link Indicator: Shows power status and connection to the Baby Unit.
- Volume Control: Adjusts the listening volume.
- Talk Button: Activates two-way communication (intercom function).
- Low Battery Indicator: Alerts when batteries need recharging or replacement.
- Power Input: For connecting the AC adapter.
- Battery Compartment: For optional battery power.

Image 3: Side view of the Baby Unit and Parent Unit, highlighting the volume/sensitivity controls and power inputs.
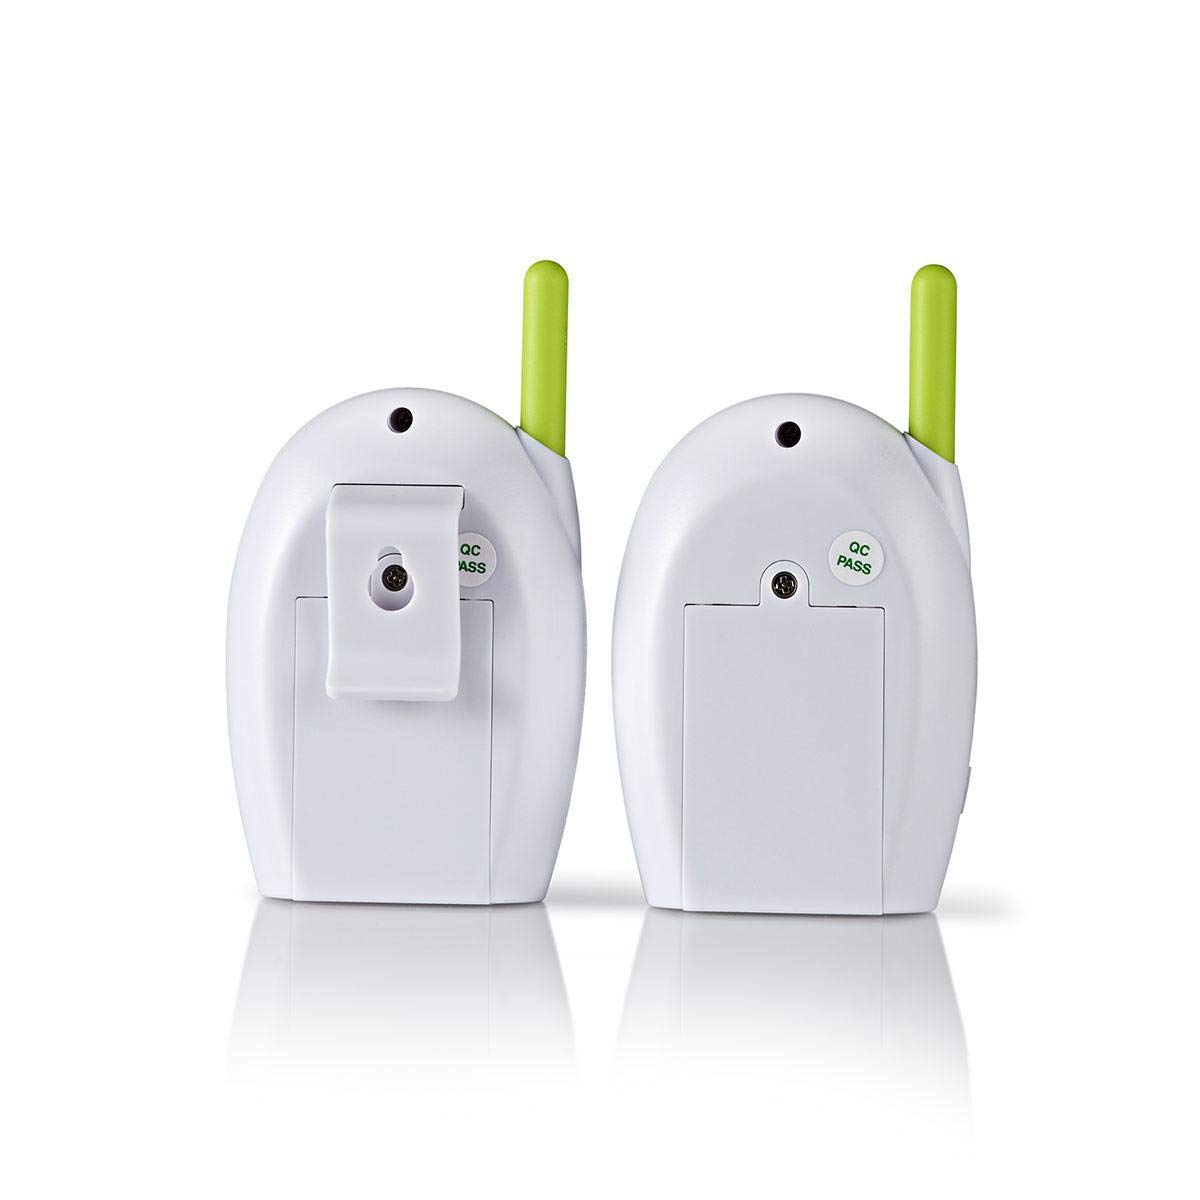
Image 4: Rear view of the Baby Unit and Parent Unit, showing the battery compartments and belt clip on the Parent Unit.
5. Setup
5.1 Powering the Units
Both the Baby Unit and Parent Unit can be powered by the included AC adapters or by optional batteries (not included).
Mains Power:
- Connect one end of the AC adapter to the Power Input port on the Baby Unit.
- Plug the other end of the AC adapter into a wall outlet.
- Repeat steps 1 and 2 for the Parent Unit.
- The Power/Link indicator on both units will illuminate, indicating they are powered on.
Battery Power (Optional):
For portable use, install 3x AAA batteries (not included) into the battery compartment of each unit. Ensure correct polarity. The units will automatically switch to battery power if the AC adapter is disconnected.
5.2 Placement of Units
- Baby Unit: Place the Baby Unit in the baby's room, at least 1 meter (3 feet) away from the baby's crib or playpen. Ensure it is on a flat, stable surface and not within reach of the child.
- Parent Unit: Keep the Parent Unit with you. The maximum range is 300 meters in open areas. Obstacles like walls and furniture will reduce the range.
- Avoid placing units near other electronic devices that may cause interference (e.g., cordless phones, Wi-Fi routers).
5.3 Pairing (Automatic)
The NEDIS Audio Baby Monitor uses FHSS (Frequency Hopping Spread Spectrum) technology for a secure connection. The units are pre-paired at the factory. Once both units are powered on and within range, they should automatically establish a connection. The Power/Link indicator will show a stable light when connected.
6. Operating Instructions
6.1 Monitoring Your Baby
- Ensure both the Baby Unit and Parent Unit are powered on and linked.
- Adjust the volume on the Parent Unit to a comfortable listening level using the volume control.
- Adjust the microphone sensitivity on the Baby Unit if you need to pick up softer sounds or reduce background noise.
6.2 Two-Way Communication (Intercom)
To speak to your baby through the Baby Unit:
- Press and hold the Talk Button on the Parent Unit.
- Speak clearly into the microphone on the Parent Unit.
- Release the Talk Button when you are finished speaking.
The Baby Unit will transmit your voice to the baby's room. While the Talk Button is held, you will not hear sounds from the baby's room.
6.3 Low Battery Alarm
If batteries are installed and running low, the Low Battery Indicator on the Parent Unit will illuminate or flash, and an audible alarm may sound. Recharge or replace the batteries immediately to ensure continuous monitoring.
7. Maintenance
- Cleaning: Wipe the units with a soft, dry cloth. Do not use abrasive cleaners or solvents.
- Storage: If storing the monitor for an extended period, remove any batteries from the units. Store in a cool, dry place.
- Battery Care: If using rechargeable batteries, follow the manufacturer's instructions for charging. Do not mix old and new batteries or different types of batteries.
8. Troubleshooting
| Problem | Possible Cause | Solution |
|---|---|---|
| No sound from Parent Unit. |
|
|
| Static or interference. |
|
|
| Low battery indicator is on. |
|
|
| Intercom function not working. |
|
|
9. Specifications
| Feature | Detail |
|---|---|
| Model Number | BAMO110AUWT |
| Brand | NEDIS |
| Connectivity Protocol | FHSS (Frequency Hopping Spread Spectrum) |
| Number of Channels | 2 |
| Talking Range Maximum | 300 metres (open field) |
| Power Supply | Battery Operated / Mains Power Supply (220 Volts) |
| Water Resistance Level | Not Water Resistant |
| Waterproof Rating | IP44 |
| Item Weight | 252 Grams |
| Colour | White |
10. Warranty and Support
For warranty information and technical support, please refer to the documentation included with your purchase or visit the official NEDIS website. Keep your proof of purchase for any warranty claims.
NEDIS is committed to providing quality products and customer satisfaction. If you encounter any issues not covered in this manual, please contact NEDIS customer service for assistance.


