
1. Introduction
The Godox LST80 LED Mini Portable Photography Studio Box is designed to provide a controlled lighting environment for product photography. This studio box features integrated LED lighting to ensure even illumination, minimize shadows, and enhance product details. Its portable design allows for easy setup and transport, making it suitable for various shooting locations.
This manual provides detailed instructions for the assembly, operation, and maintenance of your LST80 studio box. Please read it thoroughly before use to ensure proper functionality and longevity of the product.

Image 1.1: The Godox LST80 LED Mini Portable Photography Studio Box in its assembled state, showcasing its compact and enclosed design for optimal lighting control.
2. Safety Information
- Ensure all electrical connections are secure and meet local safety standards.
- Do not expose the studio box or its electrical components to water or excessive moisture.
- Avoid obstructing ventilation openings to prevent overheating of the LED lights.
- Keep out of reach of children.
- Use only the provided power adapter and cables.
3. Package Contents
Verify that all items listed below are present in your package:
- Godox LST80 Portable Photo Studio Box (main tent structure)
- Triple LED Light Source (integrated light strips)
- Diffuser Cloth
- Support Rods and Couplings (for frame assembly)
- Power Adapter and Dimmer Control
- Backgrounds (e.g., white, black)
- Carry Bag
4. Setup Instructions
Follow these steps to assemble your Godox LST80 studio box:
- Unpack Components: Carefully remove all parts from the carry bag and lay them out on a clean, flat surface.
- Assemble the Frame: Connect the support rods using the couplings to form the cubic frame structure. Ensure all connections are secure.
- Install Diffuser and LED Lights: Before fully enclosing the frame with the tent fabric, attach the inner white diffuser cloth. Then, position the LED light strips along the top or sides of the frame as desired. Ensure the wiring for the LED lights is routed correctly through the designated opening, typically at the top rear of the tent.
- Attach the Studio Box Fabric: Drape the main tent fabric over the assembled frame. Zip up the sides to fully enclose the structure.
- Connect Power: Plug the LED light strips into the dimmer control unit, then connect the dimmer control unit to the power adapter, and finally plug the power adapter into a suitable electrical outlet.
- Install Background: Select your desired background (e.g., white, black) and secure it inside the studio box. Note that the provided clips for backgrounds may require additional securing methods, such as tape, for heavier backgrounds.

Image 4.1: The internal frame structure of the studio box, showing the connected support rods forming the cubic shape.

Image 4.2: The studio box frame with the diffuser cloth and LED light strips in place, ready for the outer tent cover.
5. Operating Instructions
The Godox LST80 offers versatile shooting options and adjustable lighting for various product photography needs.
5.1 Adjusting LED Lighting
- The studio box features triple LED light sources with a color temperature of 5600K, providing soft, diffused light.
- Use the dimmer control unit to adjust the brightness of the LED lights to achieve the desired exposure and lighting effect for your product.
- The location of the light boards can be adjusted freely within the studio box to optimize illumination.
5.2 Shooting Methods
The LST80 studio box provides multiple access points for shooting from various angles:
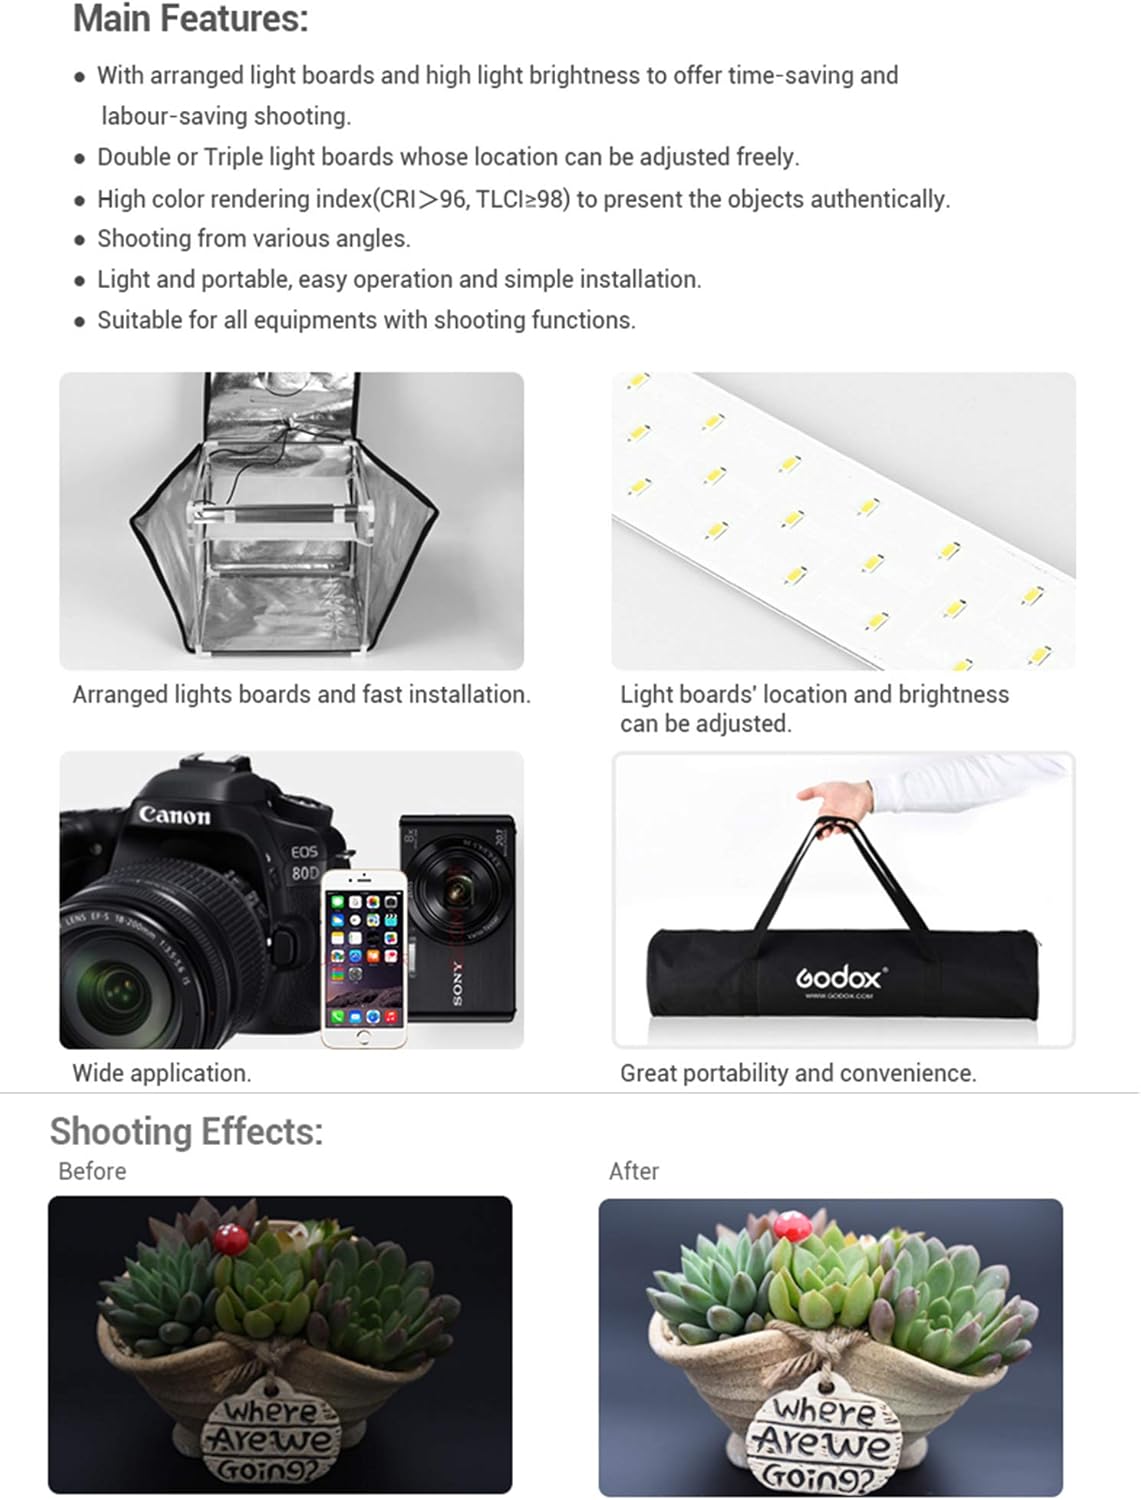
Image 5.1: This composite image illustrates different shooting methods: from the top opening, through the front upper window, the front lower window, the full front opening, and a general full shooting perspective.
- Shooting from the Top: Utilize the top opening for overhead shots, ideal for flat lay photography or capturing the top surface of products.
- Shooting from the Front: The front panel offers multiple access points:
- Upper Window: For eye-level or slightly elevated front shots.
- Lower Window: For low-angle front shots.
- Full Front Opening: For wide-angle shots or easier product placement and adjustment.

Image 5.2: A camera positioned to shoot through the top opening of the studio box.

Image 5.3: A camera positioned to shoot through the front opening of the studio box.
6. Maintenance
- Cleaning: Wipe the exterior fabric with a soft, damp cloth. For the interior, use a dry, lint-free cloth to remove dust. Avoid abrasive cleaners.
- Storage: When not in use, disassemble the studio box and store it in its provided carry bag in a dry, cool place to prevent damage and prolong its lifespan.
- LED Lights: The LED lights are designed for long-term use and generally do not require maintenance. If a light strip malfunctions, contact customer support.
7. Troubleshooting
| Problem | Possible Cause | Solution |
|---|---|---|
| LED lights do not turn on. | Power cable disconnected; dimmer unit off; faulty power adapter. | Check all power connections. Ensure the dimmer unit is turned on and brightness is adjusted. Test with another power source if possible. |
| Uneven lighting or harsh shadows. | Incorrect light strip positioning; diffuser not properly installed; product too close to light source. | Adjust the position of the LED light strips. Ensure the diffuser is correctly placed. Reposition the product within the studio box. |
| Backgrounds do not stay in place. | Provided clips are insufficient for background weight. | Use additional securing methods such as strong adhesive tape or alternative clamps to hold backgrounds firmly. |
| Zipper malfunction. | Zipper teeth separated or damaged. | Attempt to realign zipper teeth. If severely damaged, contact customer support for repair or replacement options. |
8. Specifications
- Model: LST80
- Dimensions (Assembled): Approximately 31.5"D x 31.5"W x 31.5"H (80cm x 80cm x 80cm)
- Item Weight: 7.7 pounds (3.5 kg)
- Light Source: Triple LED Light Strips
- Color Temperature: 5600K
- Material: PVC, Fabric
- Power: Dimmable
- Portability: Foldable design with carry bag
9. Warranty and Support
The Godox LST80 LED Mini Portable Photography Studio Box comes with a 1-year Godox warranty from the date of purchase, covering manufacturing defects and material flaws under normal use.
For technical support, warranty claims, or inquiries regarding your product, please contact Godox customer service through their official website or your retailer.
Please retain your proof of purchase for warranty validation.


