Introduction
The SereneLife SLSFE11 Digital Electronic Mechanical Lock Safe is designed to provide secure storage for your valuables. This heavy-duty safe features a robust steel construction, a digital electronic lock system, and a mechanical override for reliable access. It is suitable for home, office, or business use, offering protection for items such as documents, cash, jewelry, and firearms.
Please read this manual thoroughly before operating the safe to ensure proper setup and functionality.
What's in the Box
- Electronic Safe Box
- (2) Override Keys
- (4) 'AA' Batteries
- Mounting Bolts
- User Manual (this document)
Setup
1. Battery Installation
The digital panel requires four (4) 'AA' batteries for operation. These are included in the package.
- Locate the battery compartment on the inside of the safe door.
- Open the battery cover.
- Insert four 'AA' batteries, ensuring correct polarity (+/-).
- Close the battery cover securely.
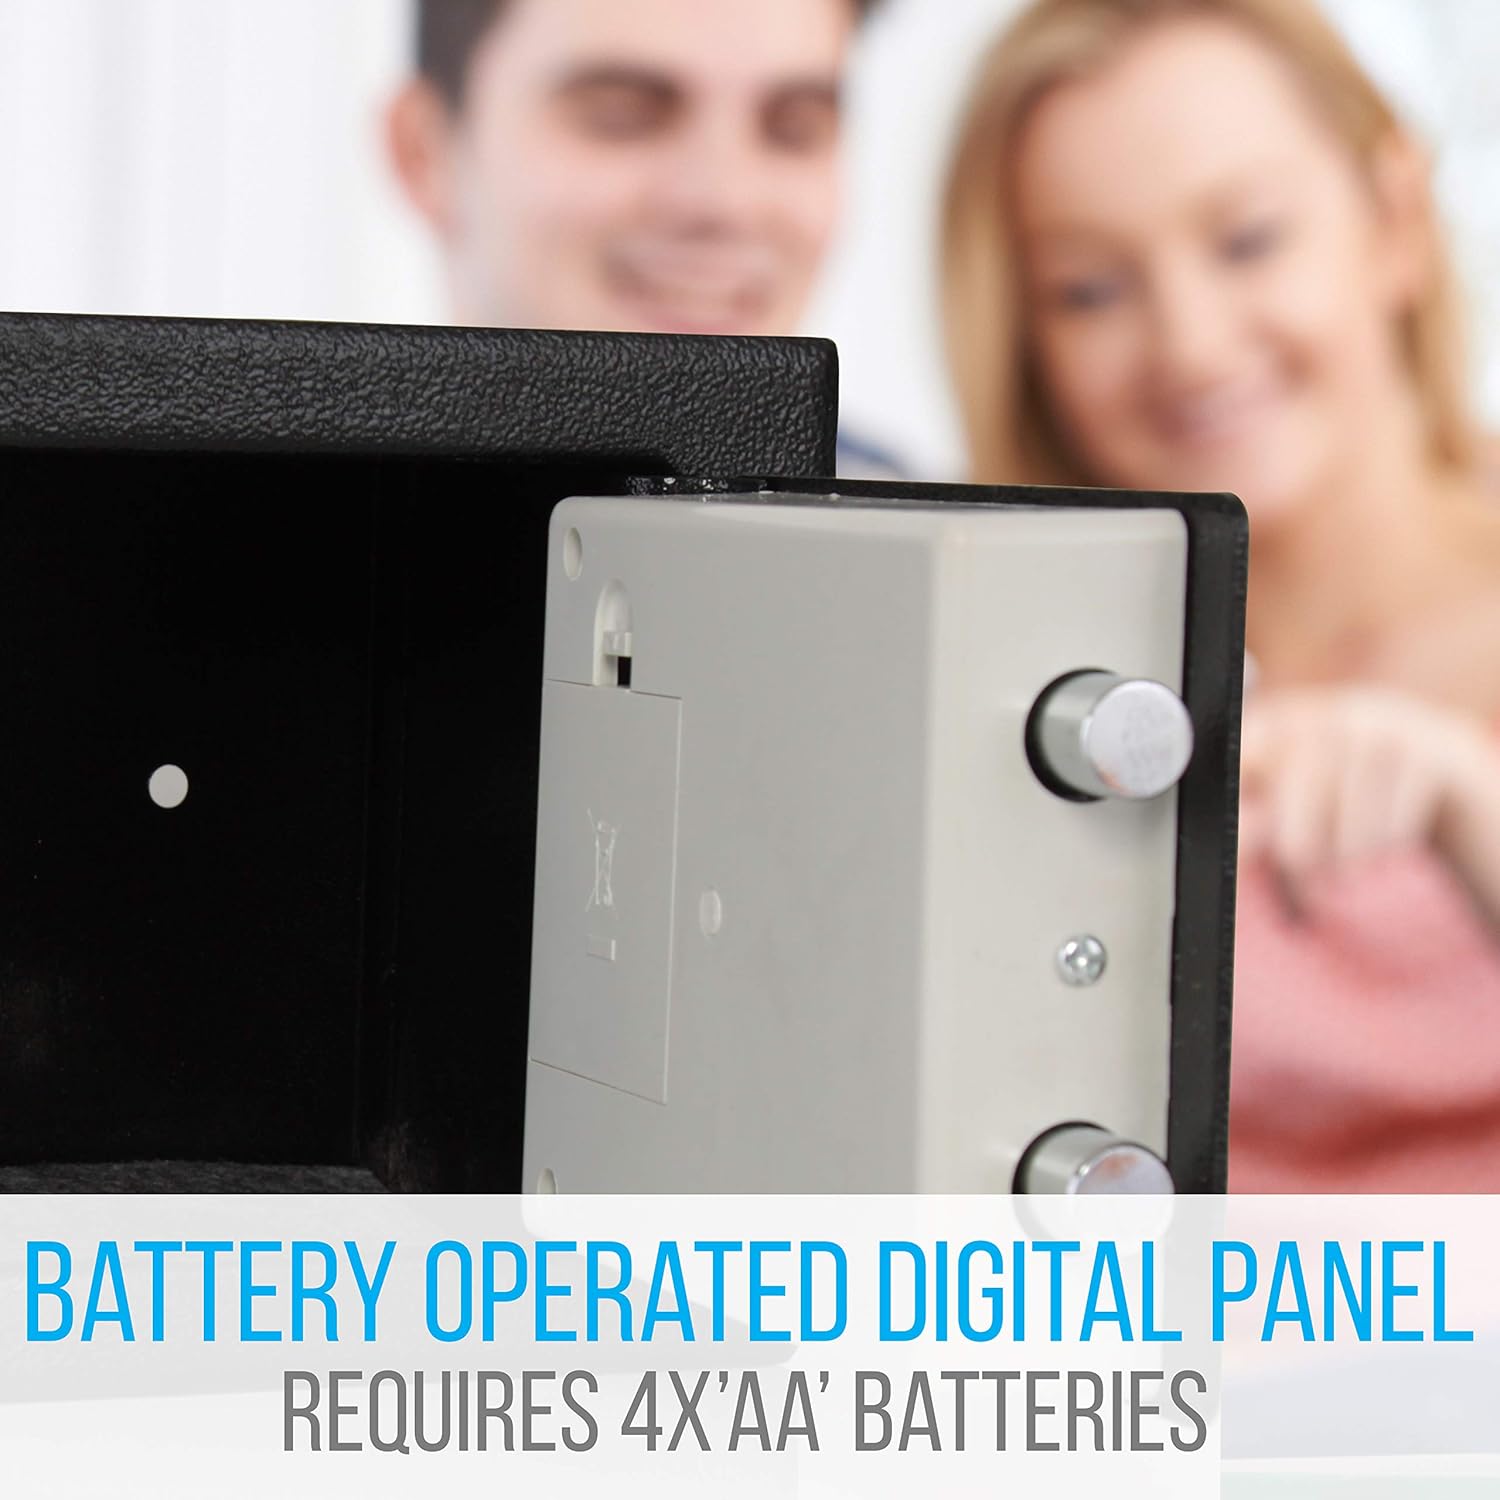
Figure 1: Battery compartment for the digital panel, requiring 4 'AA' batteries.
2. Initial Opening (Using Override Key)
Before setting your digital code, you will need to open the safe using the mechanical override key.
- Locate the keyhole cover on the digital keypad.
- Remove the keyhole cover.
- Insert one of the provided override keys into the keyhole.
- Turn the key clockwise while simultaneously turning the rotating knob clockwise to open the safe door.
- Once open, remove the key and store it in a secure location outside the safe.

Figure 2: Illustration of mechanical override and digital access methods.
Operating Instructions
1. Setting Your Personal Digital Code
It is highly recommended to set your personal digital code immediately after initial setup.
- With the safe door open, locate the red reset button on the inside of the door, near the hinge.
- Press the red reset button. You will hear a beep, and the yellow indicator light on the keypad will illuminate.
- Within 5 seconds, enter a new personal code (3 to 8 digits) on the keypad.
- Press the 'E' (Enter) button to confirm. You will hear a confirmation beep.
- Your new code is now set. Test the new code with the door open before closing it.
2. Opening the Safe with Your Digital Code
- Enter your personal digital code (3 to 8 digits) on the keypad.
- Press the 'E' (Enter) button. The green indicator light will illuminate, and you will hear a beep.
- Within 5 seconds, turn the rotating knob clockwise to open the safe door.

Figure 3: Digital keypad and rotating knob for safe access.
3. Closing and Locking the Safe
- Close the safe door.
- Turn the rotating knob counter-clockwise to engage the locking bolts.
- The safe is now locked.
4. Auto-Locking Function
If an incorrect code is entered three (3) consecutive times, the safe will enter an auto-lockout period. During this time, the keypad will be unresponsive. Wait for the lockout period to expire before attempting to enter the code again or use the mechanical override key.
Mechanical Override
The safe is equipped with a mechanical override system, allowing access even if the batteries are depleted or the digital code is forgotten.
- Remove the keyhole cover on the digital keypad.
- Insert one of the provided override keys into the keyhole.
- Turn the key clockwise while simultaneously turning the rotating knob clockwise to open the safe door.
- Once open, you can replace the batteries if needed or reset the digital code.

Figure 4: The safe with its door open, showing the locking mechanism.
Mounting Instructions
For enhanced security, the safe can be mounted to a wall or floor using the pre-drilled anchor holes.
- Choose a suitable location for mounting, ensuring it is a solid surface (e.g., wood stud, concrete).
- Open the safe door.
- Mark the drilling points through the pre-drilled holes on the back or bottom of the safe onto your chosen surface.
- Drill pilot holes into the wall or floor at the marked points.
- Align the safe with the drilled holes.
- Insert the provided mounting bolts through the safe's holes and into the pilot holes.
- Tighten the bolts securely to fasten the safe in place.
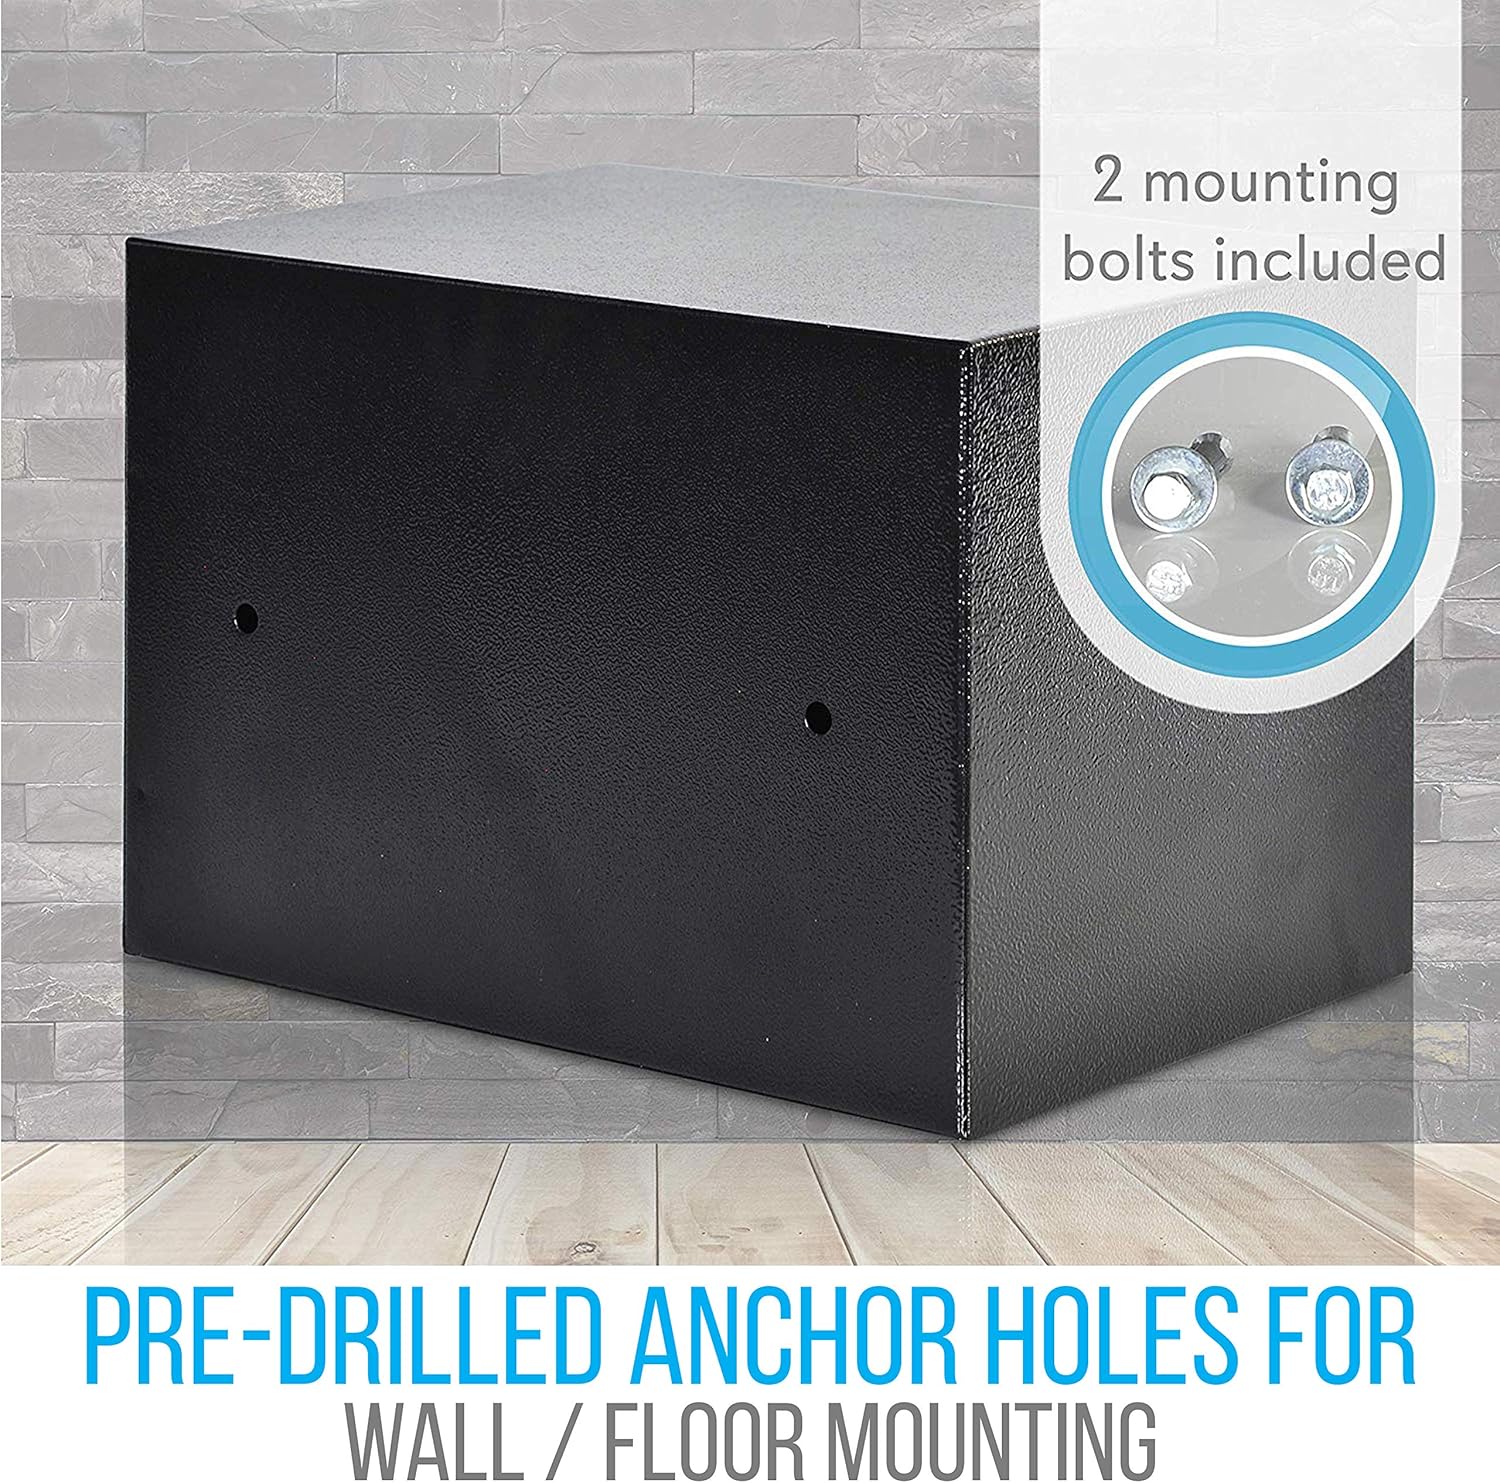
Figure 5: Pre-drilled anchor holes for wall or floor mounting, with included bolts.
Maintenance
- Battery Replacement: Replace the 'AA' batteries annually or when the low battery indicator light appears (usually a red light or weak beeps during operation). Always use new, high-quality alkaline batteries.
- Cleaning: Wipe the exterior of the safe with a soft, damp cloth. Avoid abrasive cleaners or solvents that could damage the finish or electronic components.
- Key Storage: Always store the override keys in a secure location away from the safe and out of reach of unauthorized individuals. Do not store them inside the safe.
Troubleshooting
| Problem | Possible Cause | Solution |
|---|---|---|
| Safe does not open with digital code. | Incorrect code entered; batteries are low or dead; keypad malfunction. | Re-enter code carefully. Replace batteries. Use mechanical override key. |
| Keypad is unresponsive. | Batteries are dead; safe is in auto-lockout mode after incorrect entries. | Replace batteries. Wait for lockout period to expire (typically a few minutes). |
| Cannot set a new code. | Reset button not pressed correctly; code entered too slowly; door not fully open. | Ensure door is fully open. Press reset button firmly. Enter new code and 'E' within 5 seconds. |
| Safe door does not close properly. | Obstruction in the door frame; locking bolts are extended. | Check for obstructions. Ensure locking bolts are retracted before closing. |
Specifications
- Model: SLSFE11
- Construction Material: Steel Plate Housing (3.0mm door, 1.0mm body)
- Lock Type: Digital Electronic Lock with Mechanical Override
- Security Code: Programmable Digital Pin-Code (3-8 digits)
- Power Source: 4 x 'AA' Batteries (for digital panel)
- Dimensions (L x W x H): 9.06'' x 9.06'' x 6.7'' (230mm x 230mm x 170mm)
- Item Weight: Approximately 5.52 lbs (2.5 kg)
- Mounting Type: Floor Mount, Wall Mount (pre-drilled holes)
- Special Features: Dual Security Steel Door Locking Bolt, Anti-Theft Alarm (auto-locking), Corrosion and Stain Resistant Powder Coat Finish

Figure 6: Product dimensions of the SereneLife SLSFE11 safe.
Warranty and Support
For warranty information or technical support, please refer to the manufacturer's official website or contact their customer service department. Keep your purchase receipt as proof of purchase.
Manufacturer: Sound Around
Brand: SereneLife


