1. Product Overview
This manual provides instructions for the S&R 125mm 8-hole orbital sander sanding discs. These discs are designed for various sanding applications on different materials, offering a range of grits from coarse to fine for effective material removal and surface finishing.
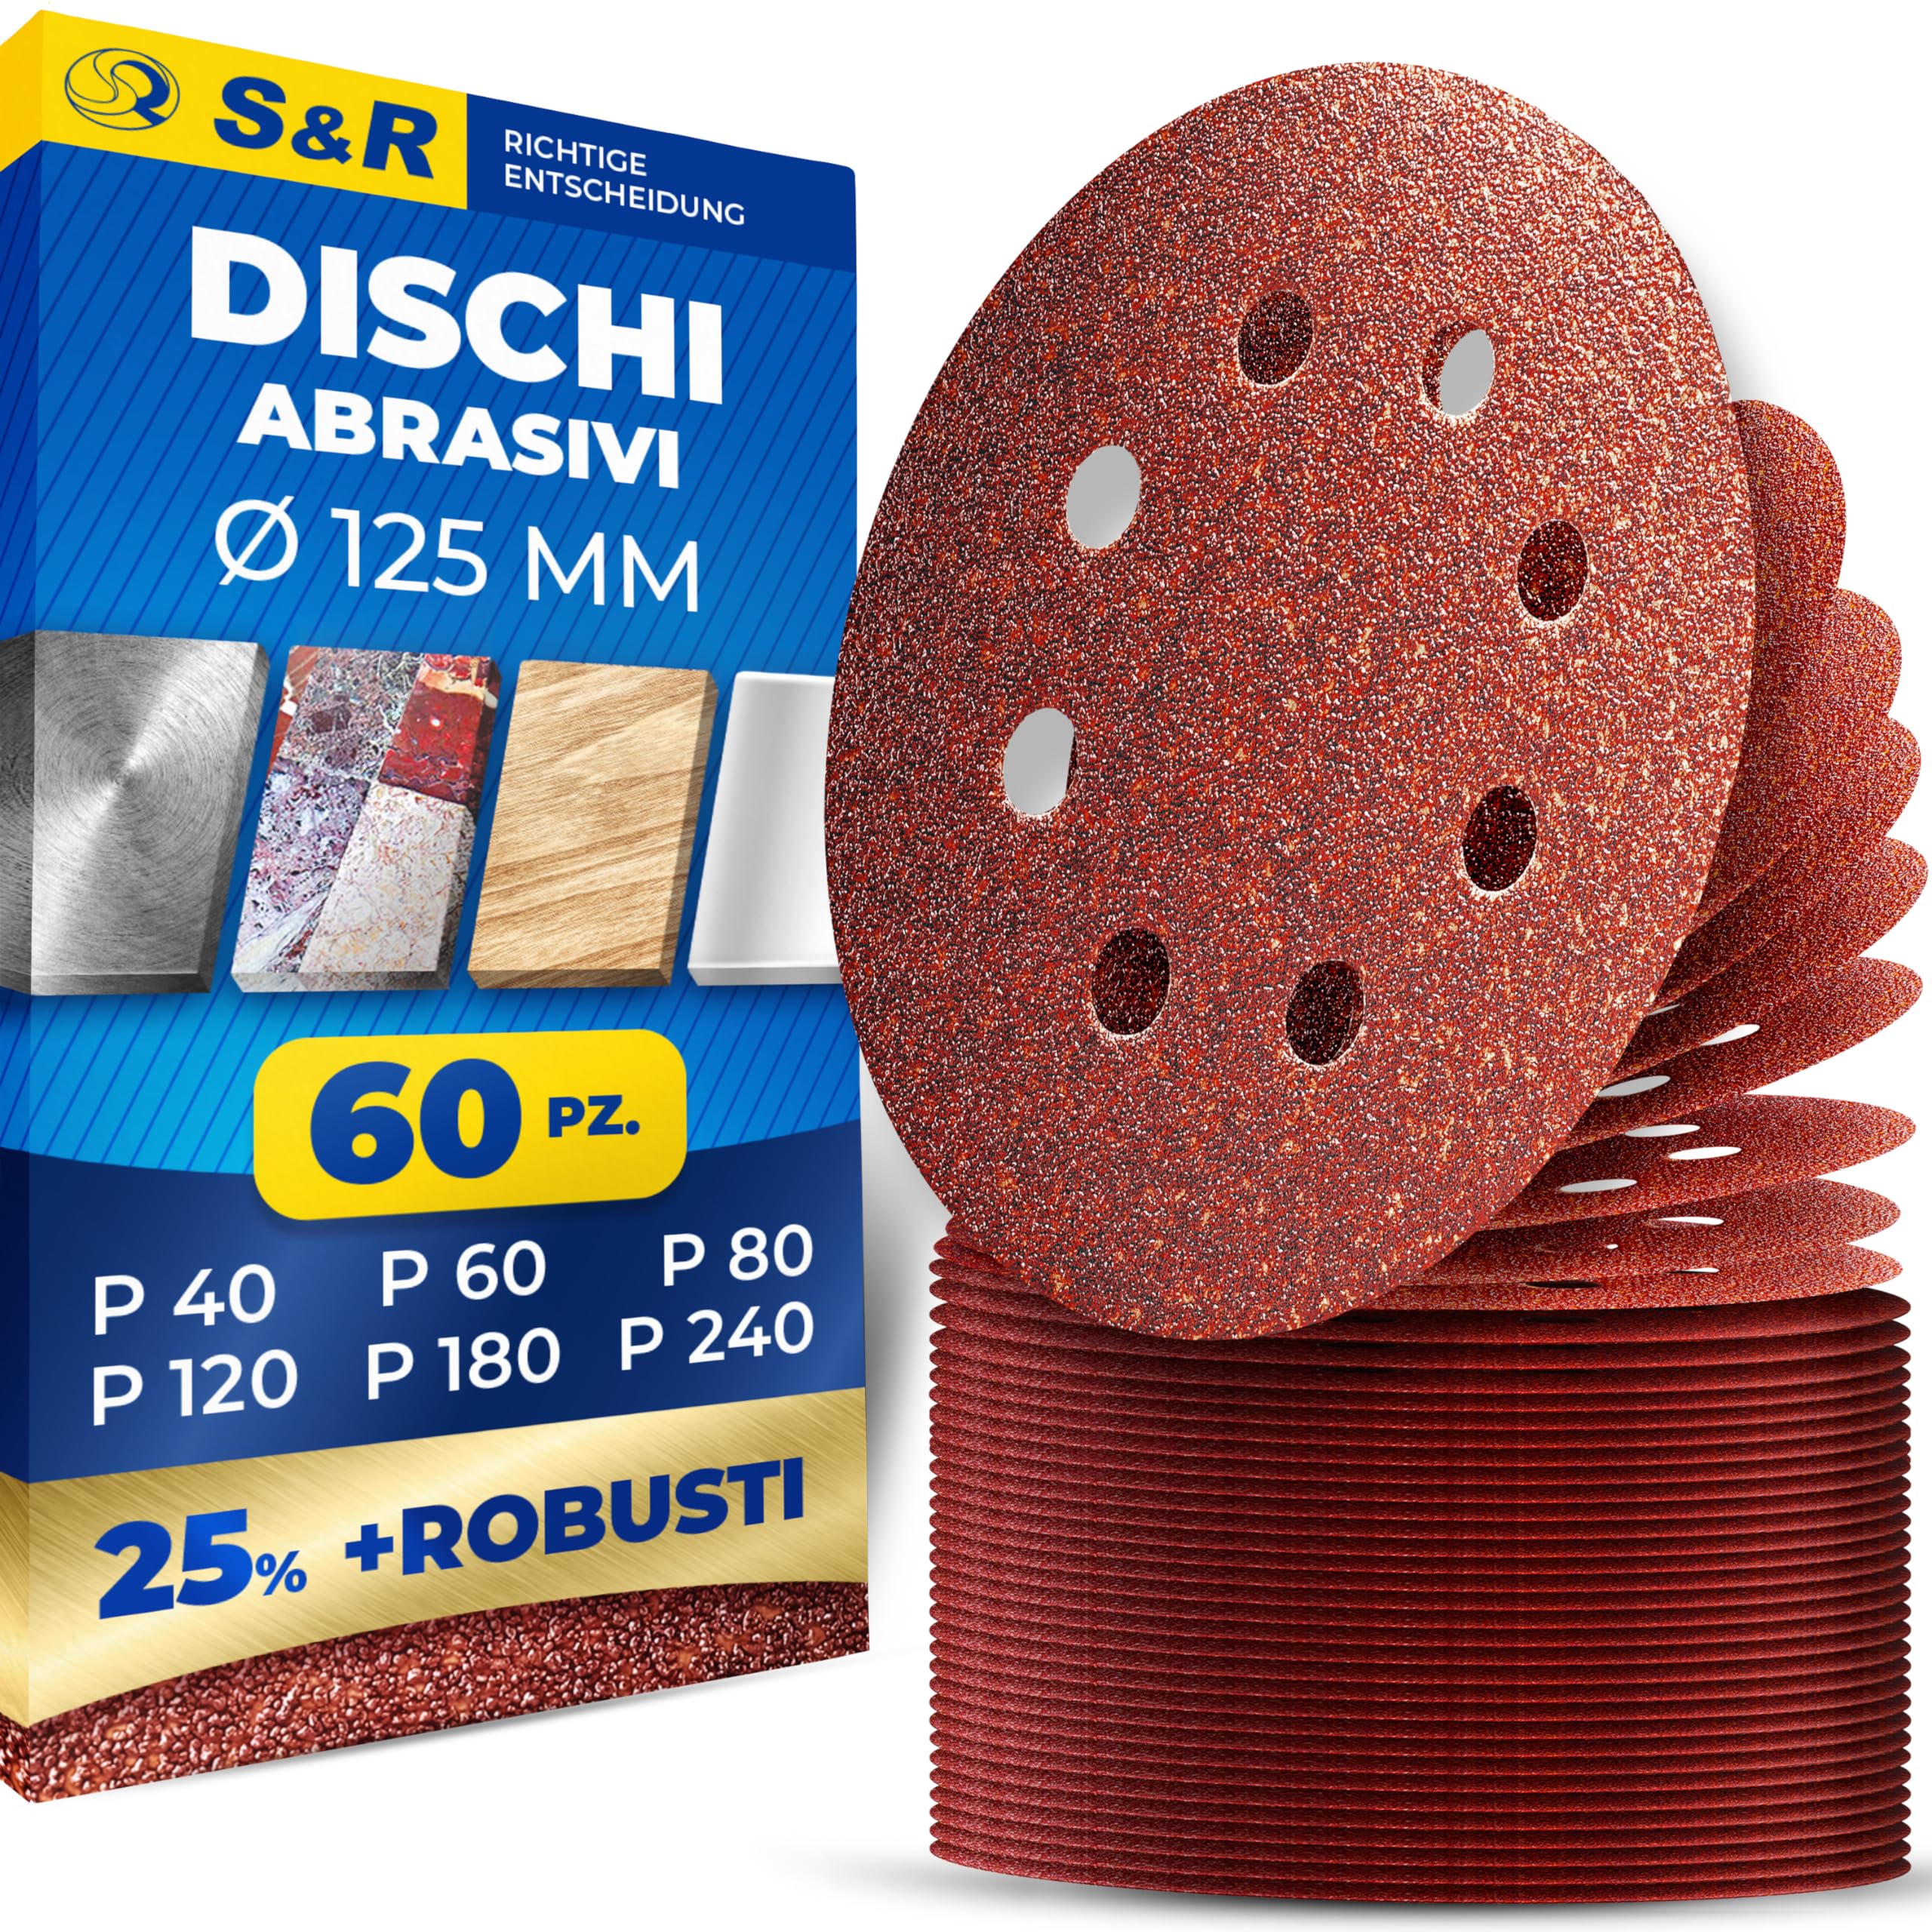
Image 1.1: Overview of S&R 125mm 8-hole sanding discs, showing a variety of grits from P40 to P240.
Key Features:
- Comprehensive Set: Includes 60 discs with 10 pieces each of P40, P60, P80, P120, P180, and P240 grits.
- 8-Hole Design: Ensures efficient dust extraction, maintaining a cleaner work surface and improving sanding efficiency.
- Hook and Loop Fastening: Allows for quick and easy disc changes on 125mm eccentric orbital sanders.
- Versatile Application: Suitable for sanding wood, metal, non-ferrous metals, steel, alloys, plastics, polymers, and stainless steel.
- Durable Material: Made with aluminum oxide grains on a fabric backing for effective material removal and longevity.
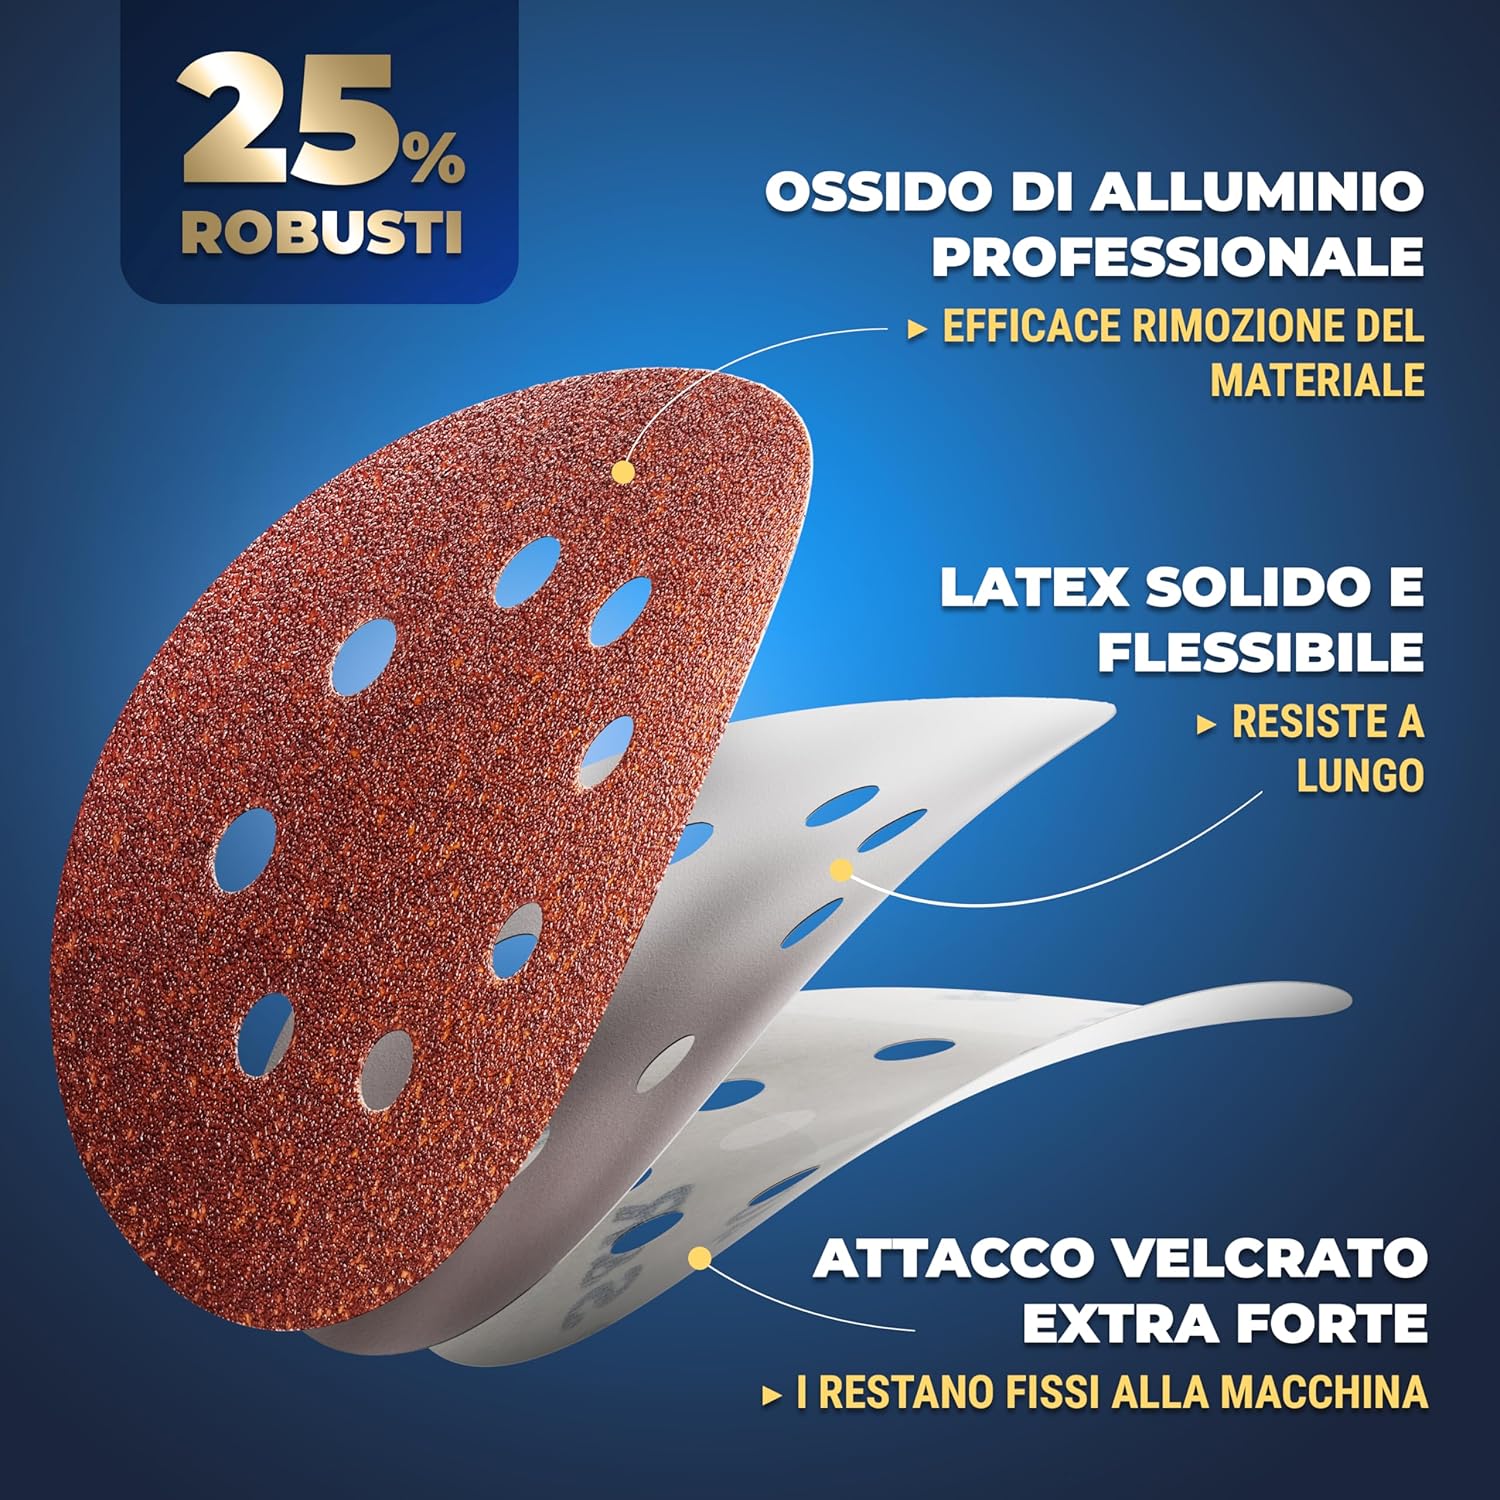
Image 1.2: Cross-section view of an S&R sanding disc, highlighting its robust construction with aluminum oxide, latex, and hook and loop backing.
2. Safety Information
Always prioritize safety when using abrasive tools.
- Eye Protection: Always wear safety glasses or goggles to protect against flying debris.
- Respiratory Protection: Use a dust mask or respirator, especially when sanding wood, paint, or other materials that produce fine dust.
- Hand Protection: Wear appropriate gloves to protect your hands from abrasions and vibrations.
- Work Area: Ensure your work area is well-ventilated and clear of obstructions.
- Tool Compatibility: Ensure the sanding discs are compatible with your orbital sander's diameter (125mm) and hole pattern (8-hole).
- Secure Workpiece: Always secure the workpiece to prevent movement during sanding.
3. Setup and Installation
Proper installation of the sanding disc is crucial for effective and safe operation.
- Prepare the Sander: Ensure your orbital sander is unplugged or its battery is removed before changing discs.
- Remove Old Disc (if applicable): Gently peel off any old sanding disc from the sander's backing pad.
- Clean Backing Pad: Inspect the sander's hook and loop backing pad for debris or wear. Clean it if necessary to ensure good adhesion for the new disc.
- Select Correct Grit: Choose the appropriate grit for your task (refer to Section 4: Operating Instructions).
- Attach New Disc: Align the 8 holes on the sanding disc with the holes on the sander's backing pad. Press the disc firmly onto the backing pad to ensure a secure attachment via the hook and loop system.
- Verify Attachment: Lightly tug on the edges of the disc to confirm it is securely fastened and will not detach during operation.

Image 3.1: Illustration of the quick and easy disc change process using the hook and loop fastening system on an orbital sander.
4. Operating Instructions
These sanding discs are designed for use with 125mm 8-hole orbital sanders. Follow these guidelines for optimal performance and results.
Grit Selection Guide:
| Grit (P) | Application | Purpose |
|---|---|---|
| P40, P60 | Coarse sanding, heavy material removal | Removing old paint/varnish, shaping wood, removing rust, initial rough sanding of plaster. |
| P80, P120 | Medium sanding, surface preparation | Smoothing rough surfaces, preparing for painting or staining, removing minor imperfections. |
| P180, P240 | Fine sanding, finishing | Achieving a smooth finish, final preparation before sealing or polishing. |

Image 4.1: Visual guide to grit sizes (P40, P60, P80, P120, P180, P240) and their recommended uses for sanding, smoothing, and finishing.
General Usage Tips:
- Start Coarse, Finish Fine: Begin with a coarser grit (e.g., P40 or P60) for significant material removal, then progressively move to finer grits (e.g., P120, P180, P240) to achieve a smooth finish.
- Even Pressure: Apply even, moderate pressure to the sander. Excessive pressure can reduce disc life and lead to uneven sanding.
- Keep Moving: Continuously move the sander over the workpiece in overlapping passes to avoid creating swirl marks or gouges.
- Dust Extraction: Utilize the 8-hole design by connecting your orbital sander to a dust collection system or vacuum cleaner for a cleaner work environment and extended disc life.
- Inspect Discs: Regularly check the sanding disc for wear, clogging, or damage. Replace worn discs promptly to maintain sanding efficiency and prevent damage to the workpiece.

Image 4.2: Demonstrates the versatility of the sanding discs for various materials like metal, wood, plastic, glass, and stone, and for tasks such as removing colors, varnishes, rust, and plaster.
5. Maintenance and Storage
Proper maintenance and storage will extend the life of your sanding discs and ensure consistent performance.
- Clean Discs: For light clogging, you can use a sanding disc cleaning stick or a stiff brush to remove accumulated dust and debris. This can temporarily extend the life of the disc.
- Inspect Backing Pad: Periodically check the hook and loop backing pad on your sander for wear or damage. A worn backing pad will not hold discs securely.
- Storage: Store unused sanding discs in a cool, dry place away from direct sunlight and humidity. Keep them flat to prevent warping.
- Disposal: Dispose of worn-out sanding discs according to local waste disposal regulations.
6. Troubleshooting
If you encounter issues during sanding, consider the following common problems and solutions:
- Poor Material Removal:
- Ensure you are using an appropriate grit for the task. Coarser grits remove material faster.
- Check if the disc is worn out or clogged. Replace if necessary.
- Sanding Marks/Swirls:
- Move the sander continuously and avoid dwelling in one spot.
- Ensure the disc is clean and not clogged.
- Progress through grits properly, not skipping too many grit levels.
- Disc Detaches During Use:
- Verify the disc was firmly pressed onto the backing pad during installation.
- Inspect the sander's hook and loop backing pad for wear. If the hooks are flattened, the pad may need replacement.
- Avoid excessive pressure during sanding.
- Excessive Dust:
- Ensure the 8-hole pattern of the disc aligns with the sander's dust extraction holes.
- Connect the sander to a dust collection system or shop vacuum.
- Empty the dust bag/canister regularly.
7. Specifications
| Brand | S&R |
| Model Number | 235.125.060 |
| Disc Diameter | 125 mm |
| Hole Pattern | 8-hole |
| Grit Sizes Included | P40, P60, P80, P120, P180, P240 |
| Quantity | 60 pieces (10 of each grit) |
| Material | Aluminum Oxide grains, Fabric backing |
| Fastening Type | Hook and Loop (Velcro) |
| Product Weight | 480 g |
| Thickness | 2 mm |
8. Warranty and Support
For any questions regarding the S&R 125mm orbital sander sanding discs, please contact S&R customer support.
- Manufacturer: S&R Industriewerkzeuge GmbH
- Support: Refer to the S&R official website or contact information provided with your purchase for warranty details and customer assistance.
- Online Store: Visit the S&R Store on Amazon for more products and information.


