
Introduction
This instruction manual provides detailed guidance for assembling your ENDARK T-Rex Head Wall Decor Papercraft Kit, model EN22A. Follow these steps carefully to construct your 3D paper trophy. This kit is designed for individuals who enjoy detailed craft projects and offers a rewarding experience upon completion.
Safety Information
- Flammability Warning: Paper is flammable. Keep the assembled figure away from open flames, hot lights, and other heat sources to prevent fire hazards.
- Sharp Edges: Cardboard edges can be sharp. Handle all pre-cut pieces with care during assembly to avoid cuts or injuries.
Package Contents
Please verify that all the following items are included in your package:
- 1 Set x T-Rex Head Pre-cut Papercraft Kit (includes pre-cut pieces made of thick pearlescent paper and a corrugated cardboard insole)
- 1 x Double-sided Sticker Sheet
- 1 x Instruction Manual (this document)

Image: The complete kit contents, including the instruction manual, double-sided tape, and the pre-cut paper sheets for the T-Rex head.
Tools Required (Not Included)
To complete the assembly, you will need the following additional tools:
- Craft Glue or additional Double-sided Tape (for secure adhesion)
- Stapler (optional, for added stability in certain areas)
Assembly Instructions
The assembly process for the ENDARK T-Rex Head Papercraft Kit is designed to be a challenging yet rewarding experience. It typically requires 4-7 hours to complete. Patience and attention to detail are crucial.
Preparation
- Identify Pieces: All paper pieces are pre-cut and numbered. Familiarize yourself with the different components.
- Understand Folding Lines: All folding lines are already perforated for easier and more precise folding. Carefully fold along these lines.
- Consult the Edge Relationship Table (ERT): The ERT lists all edges of your pattern as a joint between two paper parts. This table is essential for identifying which numbered edges connect to each other, especially for larger models with many parts.
Step-by-Step Assembly
- Fold All Pieces: Before applying adhesive, carefully fold all pre-cut pieces along their perforated lines. This helps in visualizing the 3D shape and ensures clean folds.
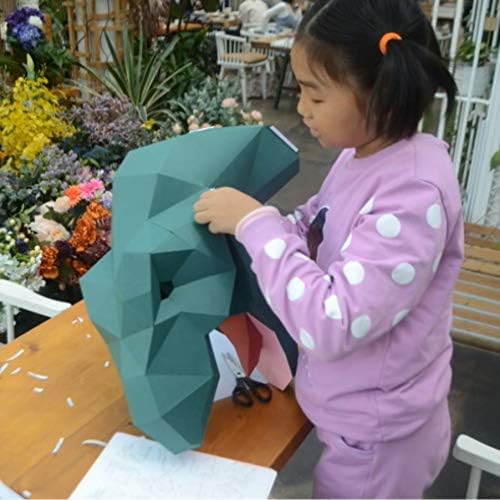
Image: A child carefully folding a papercraft piece, demonstrating the initial stage of assembly.
- Apply Adhesive: Using the provided double-sided stickers or your own craft glue, apply adhesive to the tabs of the paper pieces. Ensure even application for a strong bond.
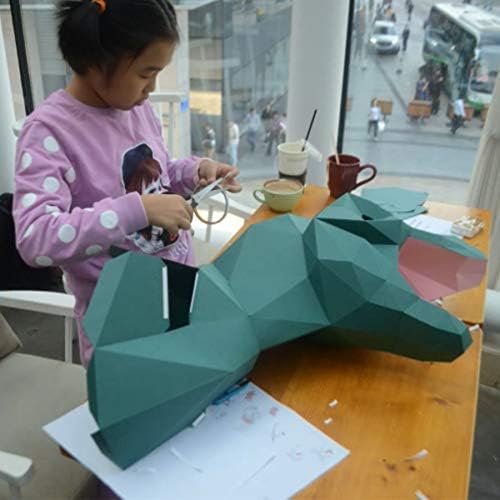
Image: A child working on the papercraft, likely in the process of applying adhesive or joining pieces.
- Join Pieces According to ERT: Match the numbered edges of the paper pieces as indicated in the Edge Relationship Table. Press firmly to ensure the adhesive creates a secure bond. Work systematically, joining smaller sections first before integrating them into larger parts of the T-Rex head.
- Utilize Stapler for Stability (Optional): For areas requiring extra reinforcement or where a stronger bond is desired, a stapler can be used. This is particularly useful for internal structures or larger joints.
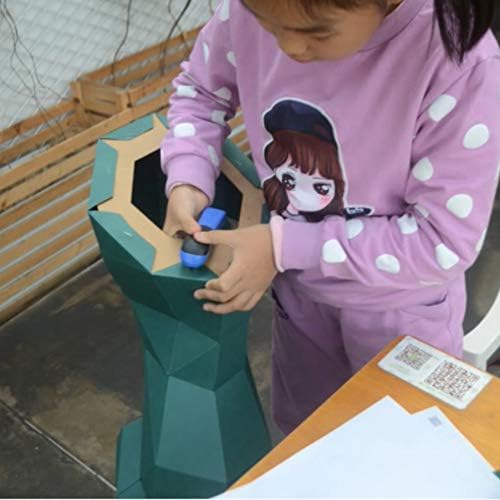
Image: A child using a stapler to secure parts of the papercraft, illustrating an optional step for added stability.
- Integrate Corrugated Cardboard Insole: Once the main structure is formed, integrate the corrugated cardboard insole for added sturdiness and shape retention.
- Final Assembly and Detailing: Continue joining all pieces until the T-Rex head is fully formed. Pay attention to details like the teeth and mouth area for a complete appearance.

Image: A fully assembled ENDARK T-Rex Head Wall Decor, showcasing the finished product.
- Mounting: Once complete, the T-Rex head is ready to be mounted as a wall decor. Ensure a secure mounting method appropriate for its weight and size.

Image: A child proudly holding the completed T-Rex head, ready for display or mounting.
Maintenance
To ensure the longevity and appearance of your ENDARK T-Rex Head Wall Decor:
- Dusting: Gently dust the surface with a soft, dry cloth or a feather duster to remove accumulated dust.
- Avoid Moisture: Keep the papercraft away from high humidity, water, or any liquids, as moisture can damage the paper and adhesive.
- Direct Sunlight: Prolonged exposure to direct sunlight may cause the paper to fade over time. Position the decor in an area with indirect light if possible.
- Handling: Handle the assembled piece with care to avoid bending or tearing the paper.
Troubleshooting
Here are solutions to common issues encountered during assembly:
- Difficulty Matching Edges: Refer closely to the Edge Relationship Table (ERT). If numbers are hard to read, use a magnifying glass or good lighting. Ensure you are matching the correct corresponding numbers.
- Pieces Not Sticking: Ensure enough adhesive is applied and that surfaces are clean and dry. Apply firm, consistent pressure for several seconds after joining pieces. Allow adequate drying time for glue.
- Wobbly Structure: Use a stapler in less visible areas for added reinforcement. Ensure the corrugated cardboard insole is properly integrated to provide internal support.
- Incorrect Folds: If a piece is folded incorrectly, gently unfold it and refold along the perforated line. If the paper is creased, try to smooth it out or consider if a minor imperfection will be noticeable in the final product.
Specifications
| Model Number | EN22A |
| Finished Dimensions (D x W x H) | 57 cm x 30 cm x 45 cm (22.44 in x 11.81 in x 17.71 in) |
| Package Dimensions | 27 cm x 20 cm x 1.8 cm |
| Item Weight (Package) | 272.16 g (9.6 Ounces) |
| Material | Thick Pearlescent Paper, Corrugated Cardboard Insole |
| Estimated Assembly Time | 4-7 hours |
| Theme | Animal (Tyrannosaurus Rex) |
| Recommended Use | DIY project, 3D puzzle, wall decor, gift |

Image: A diagram illustrating the finished dimensions (depth, width, height) of the assembled T-Rex head.
Warranty and Support
Information regarding product warranty and customer support was not provided in the available product data. For any inquiries, please refer to the retailer or manufacturer's official website.