
KitchenBoss G200
KitchenBoss Vacuum Sealer Machine G200-Red User Manual
Automatic Vacuum Sealing for Dry & Moist Foods
1. Introduction
Thank you for choosing the KitchenBoss G200-Red Vacuum Sealer Machine. This manual provides essential information for the safe and efficient operation of your new appliance. Please read it thoroughly before use and retain it for future reference.
2. Safety Information
- Always ensure the power cord is securely plugged into a grounded outlet.
- Do not immerse the appliance in water or any other liquid.
- Keep out of reach of children.
- Do not operate if the power cord or plug is damaged.
- Allow the sealing strip to cool down between uses to prevent overheating.
- Use only KitchenBoss vacuum sealer bags or rolls for optimal performance.
3. Package Contents
Verify that all items are present in your package:
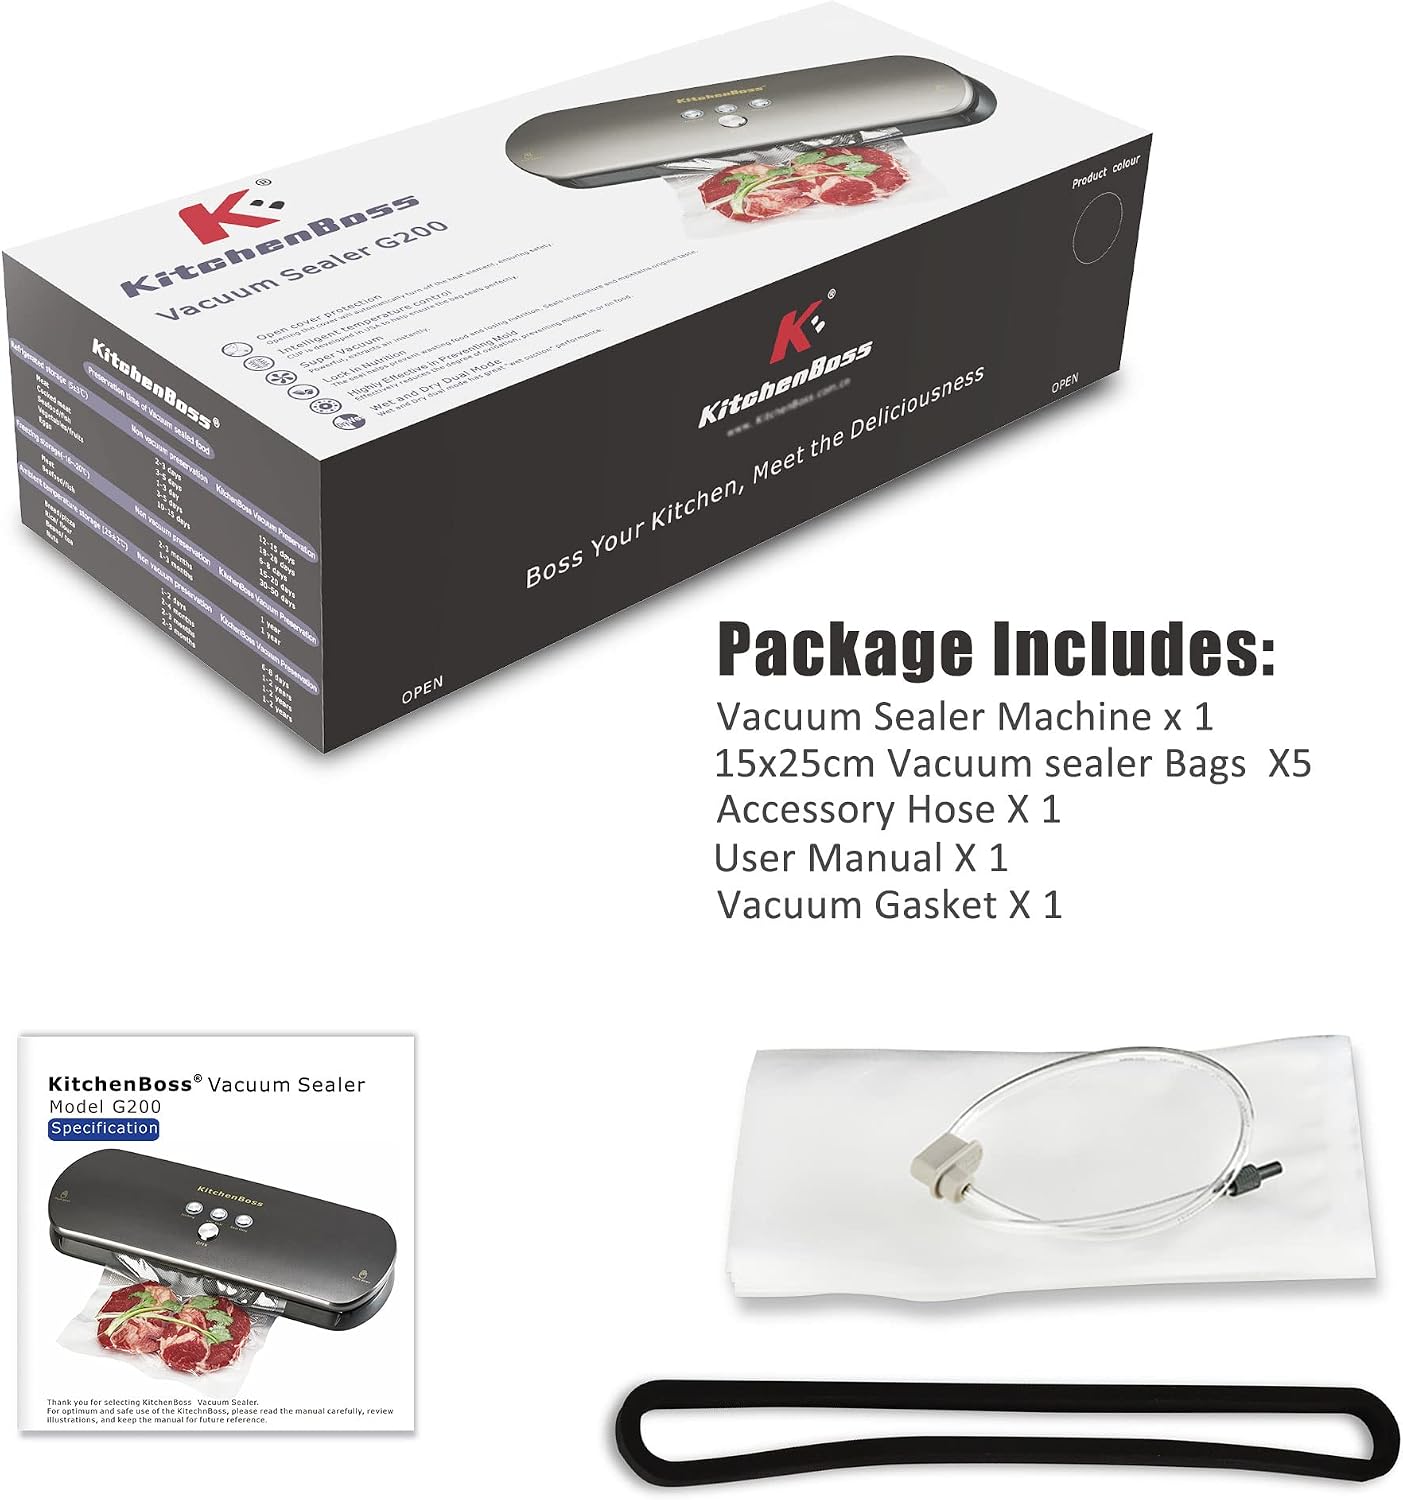
- Vacuum Sealer Machine x 1
- 15x25cm Vacuum Sealer Bags x 5
- Accessory Hose x 1
- User Manual x 1
- Vacuum Gasket x 1
4. Setup
Before first use, unpack all components and place the vacuum sealer on a flat, stable surface. Ensure there is enough space around the unit for proper ventilation.

The unit features a cable storage design on the back for convenient and tidy storage when not in use. Simply wrap the power cord around the designated area.
5. Operating Instructions
5.1. Basic Vacuum Sealing (VAC Seal)
This mode is ideal for most dry and moist foods, providing a strong vacuum and secure seal.
- Prepare the Bag: If using a vacuum roll, cut the desired length and seal one end using the 'Seal Only' function (see section 5.3). Ensure the bag is clean and dry inside the sealing area.
- Place Food in Bag: Place the food item into the vacuum bag, leaving at least 3 inches of space from the top edge for proper sealing.
- Position the Bag: Open the lid of the vacuum sealer. Place the open end of the bag into the vacuum chamber, ensuring it is within the dotted line and covers the vacuum extraction port.
- Close the Lid: Close the lid firmly by pressing down on both ends until you hear two distinct clicks, indicating it is securely locked.
- Start Vacuum Sealing: Press the VAC Seal button. The machine will automatically vacuum the air from the bag and then proceed to seal it. The indicator lights will show the progress.
- Release and Remove: Once the sealing process is complete and the indicator lights turn off, press the OPEN button to release the lid. Carefully remove the sealed bag.


5.2. Advanced Features
5.2.1. Inching Function (Manual Control)
The Inching function provides manual control over the vacuum process, which is ideal for delicate or fragile foods like bread, cookies, or chips that could be crushed by a full vacuum.

To use: Place the bag as described in section 5.1. Instead of pressing VAC Seal, press and hold the Inching button. Release the button when the desired vacuum level is reached, then immediately press the Seal Only button to seal the bag.
5.2.2. Seal Only Function
The Seal Only function allows you to seal bags without vacuuming. This is useful for creating custom-sized bags from a roll or for sealing bags of liquid or items that do not require vacuuming.

To use: Place the bag as described in section 5.1. Close the lid. Press the Seal Only button. The machine will heat and seal the bag without removing air.
5.2.3. External Container Vacuuming
The KitchenBoss G200-Red can also vacuum seal external containers using the included accessory hose. This is perfect for preserving items in vacuum canisters or wine bottles.


To use: Insert one end of the accessory hose into the extraction port on the vacuum sealer. Connect the other end to the vacuum port on your compatible container. Close the sealer lid. Press and hold the Inching button until the desired vacuum is achieved in the container. The machine will stop automatically when the vacuum is complete.
5.3. Operational Benefits
The KitchenBoss G200-Red offers superior vacuum power, reaching up to -60KPa, which helps to lock in nutrients and extend food freshness significantly compared to traditional storage methods.

It supports a wide range of food types and uses, from dry goods to moist foods, and even delicate items.

The extra-large sealing width of 12 inches accommodates a variety of bag sizes, making it versatile for different food items.

The machine's design also promotes bulk storage, which can lead to significant savings and fewer trips for groceries.

5.4. Product Demonstration Video
Video: Official demonstration of the KitchenBoss vacuum sealer machine, showcasing its features and ease of use.
6. Maintenance and Cleaning
Regular cleaning ensures the longevity and optimal performance of your vacuum sealer.

- Exterior Cleaning: Wipe the exterior of the machine with a soft, damp cloth. The piano lacquer surface is easy to clean. Do not use abrasive cleaners or solvents.
- Vacuum Chamber: Clean any food residue or moisture from the vacuum chamber and sealing strip using a damp cloth. Ensure these areas are completely dry before closing the lid or using the machine again.
- Gaskets: Periodically check the foam gaskets around the vacuum chamber for any damage or debris. Clean gently with a damp cloth.
7. Troubleshooting
If you encounter issues with your KitchenBoss Vacuum Sealer, refer to the table below for common problems and solutions.
| Problem | Possible Cause | Solution |
|---|---|---|
| Machine does not turn on | Not plugged in; Power outlet issue | Ensure power cord is fully inserted; Try a different outlet. |
| No vacuum or poor vacuum | Lid not properly closed; Bag not positioned correctly; Bag is wet or wrinkled; Gaskets are dirty or damaged. | Press down firmly on both sides of the lid until it clicks; Ensure bag opening is flat and within the vacuum chamber; Dry bag opening; Clean or replace gaskets. |
| Bag does not seal properly | Sealing strip is dirty or wet; Overheating; Bag material incompatible. | Clean and dry sealing strip; Allow machine to cool for 20-30 seconds between seals; Use KitchenBoss vacuum sealer bags. |
| Food crushed during vacuuming | Too much vacuum for delicate food. | Use the 'Inching' function for manual control over vacuum pressure. |
8. Specifications
| Feature | Detail |
|---|---|
| Brand | KitchenBoss |
| Model Number | G200 |
| Color | G200-Red |
| Material | Acrylonitrile Butadiene Styrene |
| Product Dimensions | 15 x 4.7 x 2.7 inches |
| Item Weight | 3.83 pounds |
| Power Source | Corded Electric |
| Operation Mode | Automatic |
| Wattage | 110 watts |
| Voltage | 120V |
| Max Vacuum Pressure | -60 KPa |
| Max Sealing Width | 12 inches |
9. Warranty and Support
KitchenBoss products are designed for durability and performance. For warranty information or technical support, please refer to the contact details provided with your product packaging or visit the official KitchenBoss store online.
You can visit the KitchenBoss Store for more information and product accessories.
Related documentsG200


Ask a question about this manual
Ask about setup, troubleshooting, compatibility, parts, safety, or missing instructions. Manuals+ will review the question and use this page’s manual context to help answer it.