1. Product Overview
The Kemper Multifunction Mini Torch (Model Kemper_1059KIT) is a versatile tool designed for various applications, including culinary tasks, soldering, and other DIY projects. This compact and easy-to-use torch is compatible with 227g gas cartridges, offering portability and convenience. Its design allows for inverted use, making it suitable for delicate tasks like caramelizing desserts (crème brûlée) and precise soldering.
The kit includes one multifunction mini torch and one 227-gram gas cartridge, ready for immediate use.
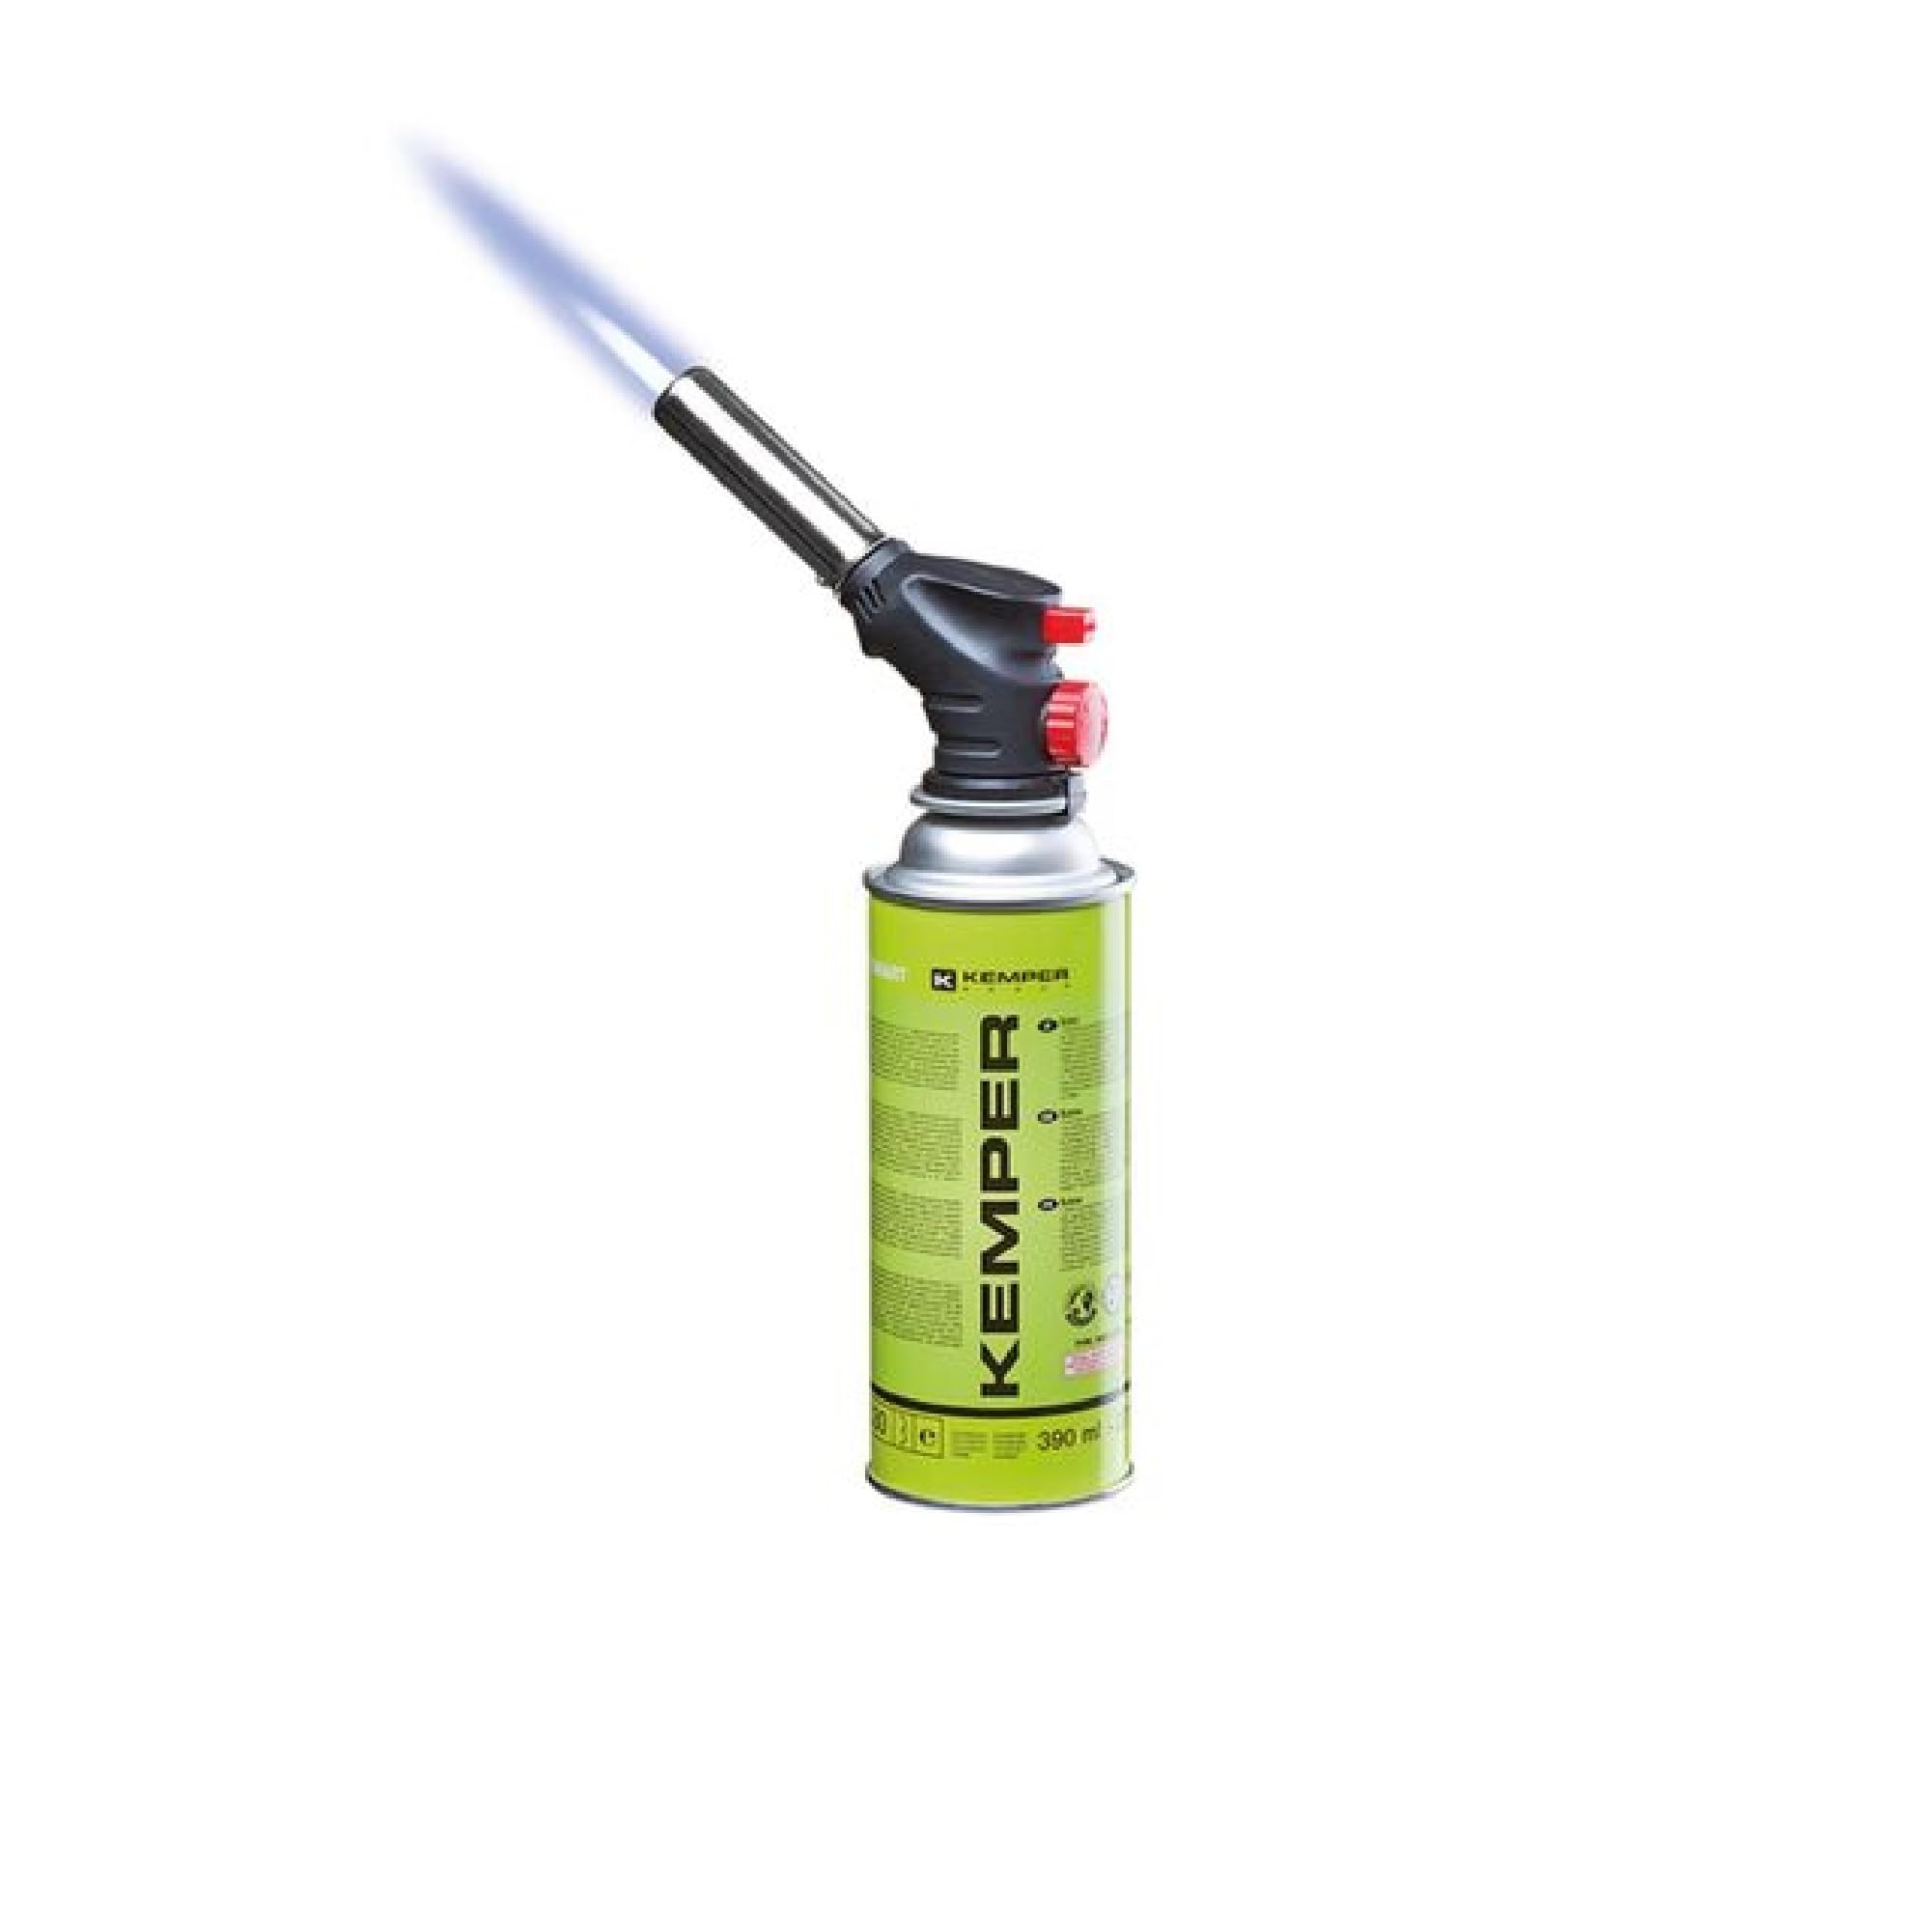
Figure 1: Kemper Multifunction Mini Torch and its retail packaging.
2. Safety Information
- Read all instructions before use.
- Use in a well-ventilated area.
- Keep out of reach of children.
- Do not expose to direct sunlight or temperatures exceeding 50°C (122°F).
- Keep away from open flames, hot surfaces, and ignition sources.
- Wear appropriate personal protective equipment, such as safety glasses and heat-resistant gloves, when operating the torch.
- Ensure the gas cartridge is securely attached before lighting.
- Do not puncture or incinerate gas cartridges.
- Allow the torch to cool completely before storing.
3. Setup
- Prepare the Gas Cartridge: Ensure the gas cartridge is upright and stable.
- Attach the Torch: Align the torch's connection point with the gas cartridge valve. Carefully screw the torch onto the cartridge until it is hand-tight. Do not overtighten. Ensure there are no gas leaks (a hissing sound or gas smell indicates a leak; if detected, immediately disconnect in a well-ventilated area and check the connection).
- Verify Connection: Once attached, the torch should be firmly seated on the cartridge.
Video 1: This video demonstrates the process of attaching the Kemper Multifunction Mini Torch to a gas cartridge, followed by lighting the torch and adjusting the flame. It also shows various applications such as soldering copper pipes, soldering a copper sheet, soldering a metal rod, bending a metal rod, and bending a metal strip.
4. Operating Instructions
4.1. Lighting the Torch
- Open Gas Valve: Slowly turn the gas control knob (usually located at the base of the torch) counter-clockwise to allow a small amount of gas to flow.
- Ignite: Press the ignition button (often red) to create a spark and light the gas. If the torch does not light immediately, close the gas valve, wait a few seconds, and repeat the process.
- Adjust Flame: Once lit, adjust the flame intensity by turning the gas control knob. Turn clockwise to decrease the flame and counter-clockwise to increase it.
4.2. Using the Torch
- Culinary Applications: For tasks like caramelizing crème brûlée, hold the torch a few inches away from the surface and move it steadily to achieve an even caramelization. The torch can be used inverted for convenience.
- Soldering: When soldering, ensure the materials are clean and properly fluxed. Apply heat evenly to the joint until it reaches the appropriate temperature for the solder to flow. Apply solder to the heated joint, not directly to the flame.
- Bending Metal: For bending metal, heat the specific area to be bent until it glows red (for steel) or becomes pliable (for other metals). Use appropriate tools to bend the heated material.
- General DIY: The torch can be used for various heating tasks, such as loosening rusted bolts, stripping paint, or igniting charcoal.
4.3. Shutting Down
To turn off the torch, turn the gas control knob fully clockwise until the flame extinguishes. Ensure the torch is completely off before setting it down or storing it.
5. Maintenance
- Cleaning: After each use, allow the torch to cool. Wipe the exterior with a clean, damp cloth. Do not use abrasive cleaners or solvents.
- Storage: Store the torch in a cool, dry place, away from direct sunlight and heat sources. Disconnect the gas cartridge if storing for an extended period.
- Inspection: Periodically inspect the torch for any signs of damage, wear, or gas leaks. Do not use if damaged.
6. Troubleshooting
- Torch does not light:
- Ensure the gas cartridge is properly attached and has gas.
- Check if the gas control knob is open.
- Verify the ignition button is functioning and producing a spark.
- Inconsistent flame:
- Ensure the gas cartridge is not running low.
- Check for any blockages in the nozzle.
- Gas leak detected:
- Immediately turn off the gas.
- Disconnect the cartridge in a well-ventilated area.
- Re-attach the torch, ensuring a tight seal. If the leak persists, do not use the torch and contact customer support.
7. Specifications
| Brand | K KEMPER GROUP |
| Model Number | Kemper_1059KIT |
| Product Type Name | Kemper double blister set with multifunction mini torch with 227 gram gas cartridge with valve |
| Manufacturer | Kemper Srl |
| Color | Multicolor |
| ASIN | B07G48FN5Z |
8. Warranty and Support
This product comes with No Warranty as per the manufacturer's specifications. For any product-related inquiries, technical assistance, or support, please contact the manufacturer, Kemper Srl, directly.


