1. Product Overview
The HBM Powerfile 260 Watt Electric Belt Sander is a versatile tool designed for precise sanding, deburring, and polishing tasks. Its narrow 13 x 457 mm abrasive belt, adjustable arm, and variable speed control make it ideal for working on various materials in confined or hard-to-reach areas. This manual provides essential information for safe and efficient operation.
2. Safety Instructions
Always read and understand all safety warnings and instructions before operating this tool.
- Wear Eye Protection: Always wear appropriate eye protection (safety glasses or goggles) to protect against flying debris.
- Maintain a Clean Work Area: Cluttered or dark areas invite accidents. Keep your work area well-lit and tidy.
- Secure Workpiece: Always clamp or otherwise secure the workpiece to prevent movement during operation.
- Disconnect Power: Disconnect the power plug from the power source before making any adjustments, changing accessories, or storing the tool.
- Avoid Accidental Starting: Ensure the switch is in the off-position before plugging in the tool.
- Use Correct Abrasive Belts: Only use abrasive belts of the correct size (13 x 457 mm) and type for the material being sanded.
- Do Not Force the Tool: Allow the tool to work at its own pace. Forcing it can lead to injury or damage to the tool.
- Maintain Tool with Care: Keep cutting tools sharp and clean. Follow instructions for lubricating and changing accessories.
- Store Tools Properly: When not in use, store tools in a dry, high, or locked-up place out of reach of children.
- Dust Extraction: Always use the provided dust extraction adapter to minimize dust exposure, especially when sanding wood or other materials that produce fine particles.
3. Components
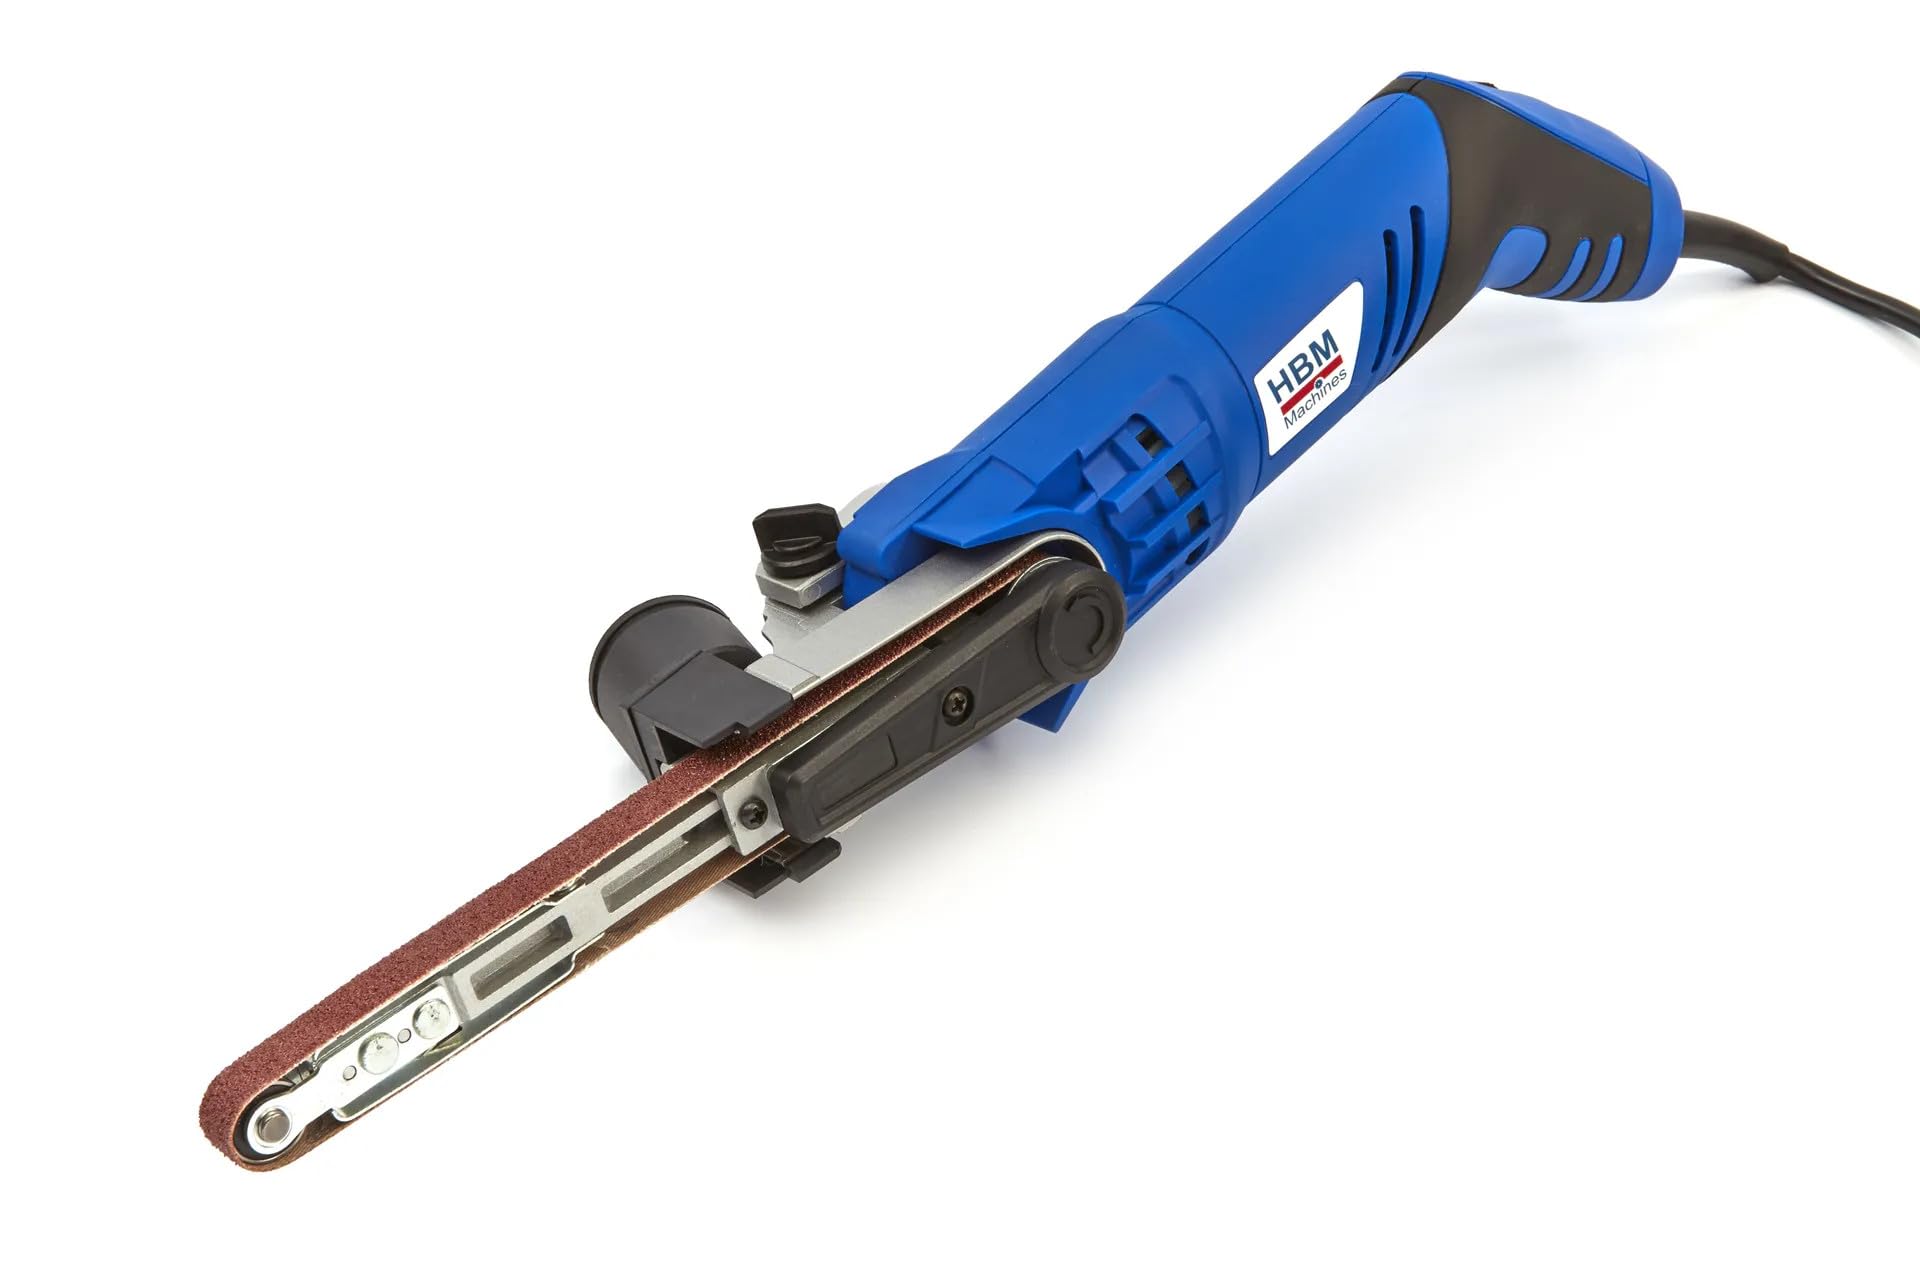
Image showing the HBM Powerfile 260 Watt Electric Belt Sander. Key components visible include the main body, the narrow sanding arm with abrasive belt, the dust extraction adapter, and the variable speed control dial.
- Abrasive Belt: The consumable sanding material.
- Sanding Arm: The narrow arm that holds and guides the abrasive belt.
- Adjustable Arm Lock: Mechanism to change and secure the angle of the sanding arm.
- Speed Control Dial: Allows adjustment of the belt speed for different applications and materials.
- ON/OFF Switch: Activates and deactivates the tool.
- Dust Extraction Port: Connection point for the dust extraction adapter.
- Power Cord: Connects the tool to the electrical supply.
4. Setup
4.1 Unpacking
Carefully remove the tool and all accessories from the packaging. Inspect for any damage that may have occurred during transit. Retain the packaging for future storage or transport.
4.2 Attaching Dust Extraction Adapter
- Locate the dust extraction port on the tool.
- Firmly push the provided dust extraction adapter onto the port until it is securely seated.
- Connect a suitable vacuum cleaner hose to the adapter for effective dust collection.
4.3 Installing/Changing Abrasive Belt
- Ensure the tool is unplugged from the power source.
- Locate the quick-tensioning system for the abrasive belt. This typically involves a lever or button that releases tension.
- Press or pull the tension release mechanism to loosen the belt.
- Remove the old abrasive belt (if applicable).
- Slide the new 13 x 457 mm abrasive belt onto the rollers, ensuring the directional arrow on the belt (if present) matches the rotation direction indicated on the tool.
- Release the tensioning mechanism to secure the new belt. Ensure the belt is centered on the rollers.
4.4 Adjusting Sanding Arm Angle
- Unplug the tool.
- Loosen the adjustable arm lock (usually a knob or lever near the base of the sanding arm).
- Adjust the sanding arm to the desired angle for your application.
- Tighten the adjustable arm lock firmly to secure the arm in position.
5. Operating Instructions
5.1 Power Connection
Connect the power cord to a suitable 230 Volt AC power outlet. Ensure the power outlet is properly grounded.
5.2 Selecting Speed
Use the speed control dial to select the appropriate belt speed for your material and task. Lower speeds are generally suitable for fine finishing or heat-sensitive materials, while higher speeds are for rapid material removal.
5.3 Starting and Stopping
- To Start: Push the ON/OFF switch to the 'ON' position.
- To Stop: Push the ON/OFF switch to the 'OFF' position.
5.4 Sanding Technique
- Hold the tool firmly with both hands.
- Apply the moving abrasive belt gently to the workpiece. Avoid excessive pressure, as this can reduce efficiency and damage the belt or workpiece.
- Move the sander smoothly and evenly across the surface. For best results, sand with the grain of the material.
- For intricate areas, utilize the narrow sanding arm and adjustable angle to reach tight spots.
- Regularly check the abrasive belt for wear and replace it when necessary.
6. Maintenance
Always ensure the tool is unplugged before performing any maintenance or cleaning.
- Cleaning: Regularly clean the tool's housing with a soft, damp cloth. Do not use harsh chemicals or solvents. Keep ventilation openings clear of dust and debris.
- Belt Inspection and Replacement: Inspect the abrasive belt before each use for wear, tears, or clogging. Replace worn belts promptly to ensure optimal performance and safety. Refer to Section 4.3 for belt replacement instructions.
- Carbon Brush Inspection: Periodically check the carbon brushes for wear. If they are worn down to their limit, have them replaced by a qualified service technician.
- Storage: Store the tool in a dry, secure location, away from moisture and extreme temperatures, and out of reach of children.
7. Troubleshooting
| Problem | Possible Cause | Solution |
|---|---|---|
| Tool does not start | No power supply; Faulty switch; Worn carbon brushes | Check power connection; Test outlet; Contact service for switch/brush replacement. |
| Poor sanding performance | Worn or clogged abrasive belt; Incorrect belt grit; Insufficient pressure | Replace abrasive belt; Use appropriate grit for task; Apply gentle, consistent pressure. |
| Belt slips or runs off track | Belt not tensioned correctly; Belt misaligned; Worn rollers | Re-tension belt; Adjust belt tracking (if applicable); Inspect rollers for wear. |
| Excessive vibration or noise | Damaged belt; Loose components; Internal fault | Replace belt; Check for loose screws; Discontinue use and contact service. |
| Overheating | Blocked ventilation; Overloading tool; Prolonged use | Clear ventilation slots; Reduce load; Allow tool to cool down. |
8. Specifications
- Model: 1260
- Brand: HBM
- Power: 260 Watts
- Voltage: 230 Volts
- Power Source: Electric Cable
- Belt Size: 13 x 457 mm
- Maximum Rotation Speed: 550 rpm
- Grain Description (Supplied Belt): Medium
- Product Dimensions (L x W x H): 48 x 7.5 x 6 cm
- Weight: 1 kg
9. Warranty and Support
For warranty information and technical support, please contact your retailer or the manufacturer directly. Keep your purchase receipt as proof of purchase. Information regarding spare parts availability is currently unavailable; please consult your retailer for assistance.


