Introduction
This manual provides detailed instructions for the setup, operation, and maintenance of your Harbor Breeze CHQ8BT7098T Ceiling Fan Remote. Please read this manual thoroughly before use to ensure proper functionality and to avoid potential issues.
Important Compatibility Note: This remote is not universal. It is designed to work with specific fan receiver models. Before purchasing or attempting to use this remote, verify its compatibility with your existing ceiling fan receiver. This remote unit does not include a reverse function for the fan.
Setup
1. Battery Installation
The remote requires one 9V battery (not included). To install the battery:
- Locate the battery compartment cover on the back of the remote control.
- Slide the cover off.
- Insert one 9V battery, ensuring the correct polarity (+ and -).
- Replace the battery compartment cover.
2. Dip Switch Configuration
For the remote to communicate with your ceiling fan receiver, the dip switches inside the remote must match the settings of your existing fan receiver. This is a critical step for proper operation.
- Open the battery compartment of the new remote control.
- Locate the series of small switches (dip switches) inside the compartment. There are typically 4 switches, offering 16 possible combinations.
- Access your ceiling fan's receiver (usually located in the fan's canopy, above the motor housing). Note the position of the dip switches on the receiver.
- Carefully adjust the dip switches on your new remote control to exactly match the pattern of the dip switches on your fan's receiver. For example, if the receiver's switches are UP-DOWN-UP-DOWN, set the remote's switches to UP-DOWN-UP-DOWN.
- Once the switches match, replace the battery compartment cover on the remote.
Note: If you do not have access to the original receiver's dip switch settings, you may need to try different combinations on the remote until it pairs with the fan. Patience is required for this process.
Operating Instructions
The Harbor Breeze CHQ8BT7098T remote features a simple interface for controlling your ceiling fan and light.
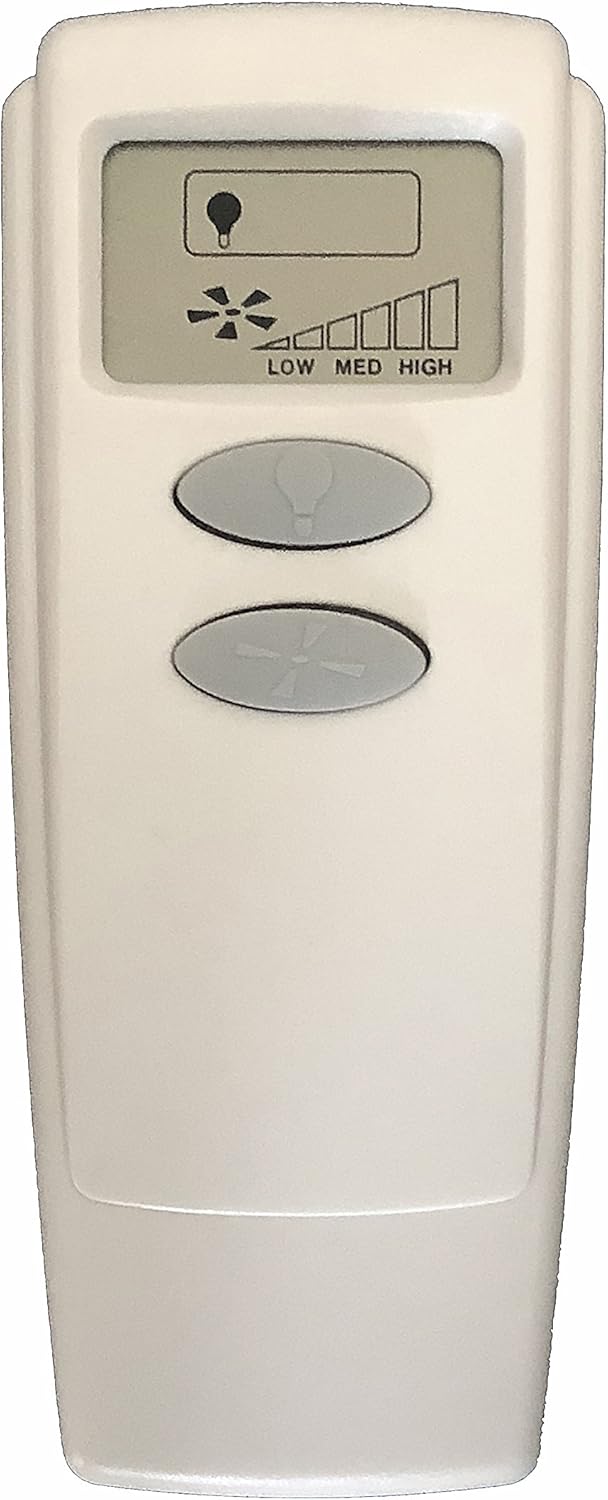
Image: Front view of the Harbor Breeze CHQ8BT7098T Ceiling Fan Remote. It features an LCD screen at the top displaying a light bulb icon and fan speed bars (LOW, MED, HIGH). Below the screen are two oval-shaped buttons: the top button has a light bulb icon, and the bottom button has a fan blade icon.
- Light Control Button: The top oval button with the light bulb icon controls the ceiling fan's light.
- Press once to turn the light ON or OFF.
- Press and hold to dim or brighten the light (if your fan's light kit supports dimming).
- Fan Speed Control Button: The bottom oval button with the fan blade icon controls the fan's speed.
- Press repeatedly to cycle through fan speeds: OFF → LOW → MEDIUM → HIGH → OFF.
- The LCD screen will display the current fan speed (LOW, MED, HIGH) using a bar indicator.
Note: This remote does not support a reverse function for the fan blades.
Maintenance
Battery Replacement
Replace the 9V battery when the remote's performance diminishes or the LCD display becomes faint. Follow the battery installation steps outlined in the "Setup" section.
Cleaning
Wipe the remote control with a soft, dry cloth. Do not use abrasive cleaners or allow moisture to enter the remote.
Troubleshooting
| Problem | Possible Cause | Solution |
|---|---|---|
| Remote not responding / Fan not working |
|
|
| Light does not turn off completely or dims unexpectedly |
|
|
| Fan speed control is erratic |
|
|
Specifications
- Model Number: CHQ8BT7098T
- Brand: Harbor Breeze
- Manufacturer: Rhine
- Part Number: RR7099T
- Battery Requirement: 1 x 9V battery (not included)
- Connectivity Technology: Infrared (IR)
- Controller Type: Button Control
- Special Feature: Ergonomic design
- Compatibility: Specific fan receivers (not universal)
- Reverse Function: Not available


