1. Introduction
Thank you for choosing the Geko G81513 JS100 Water Booster Pump. This manual provides essential information for the safe installation, operation, and maintenance of your new pump. Please read this manual thoroughly before attempting to install or operate the pump. Keep this manual in a safe place for future reference.
The Geko G81513 JS100 is designed to boost water pressure in domestic and light commercial applications, ensuring a consistent and reliable water supply.
2. Safety Instructions
WARNING: Failure to follow these safety instructions could result in electric shock, fire, serious injury, or property damage.
- Always disconnect the power supply before performing any maintenance or installation work on the pump.
- Ensure the electrical installation complies with all local and national regulations. The pump must be properly grounded.
- Do not operate the pump with damaged electrical cables or plugs.
- This pump is designed for pumping clean water only. Do not use it for flammable, corrosive, or explosive liquids.
- Protect the pump from frost. Freezing water can cause severe damage.
- Ensure adequate ventilation around the pump to prevent overheating.
- Keep children and unauthorized persons away from the operating pump.
3. Package Contents
Please check the contents of your package upon receipt. If any parts are missing or damaged, contact your supplier immediately.
- Geko G81513 JS100 Water Booster Pump
- User Manual (this document)
- Necessary fittings (may vary by package)
4. Setup and Installation
Proper installation is crucial for the efficient and safe operation of your pump.
4.1 Placement
- Install the pump on a firm, level surface to minimize vibration and noise.
- Ensure the pump is in a dry, well-ventilated area, protected from direct sunlight, rain, and frost.
- Allow sufficient space around the pump for maintenance and airflow.
4.2 Plumbing Connections
- Connect the suction pipe to the pump's inlet and the discharge pipe to the outlet. Use appropriate thread sealant to ensure watertight connections.
- Install a non-return valve on the suction side if the water source is below the pump level to prevent backflow and maintain prime.
- Ensure all pipes are adequately supported to prevent strain on the pump connections.
4.3 Electrical Connection
- Connect the pump to a grounded electrical outlet with the correct voltage and frequency as specified on the pump's rating plate.
- If an extension cord is necessary, ensure it is rated for outdoor use, is of adequate gauge, and is as short as possible.
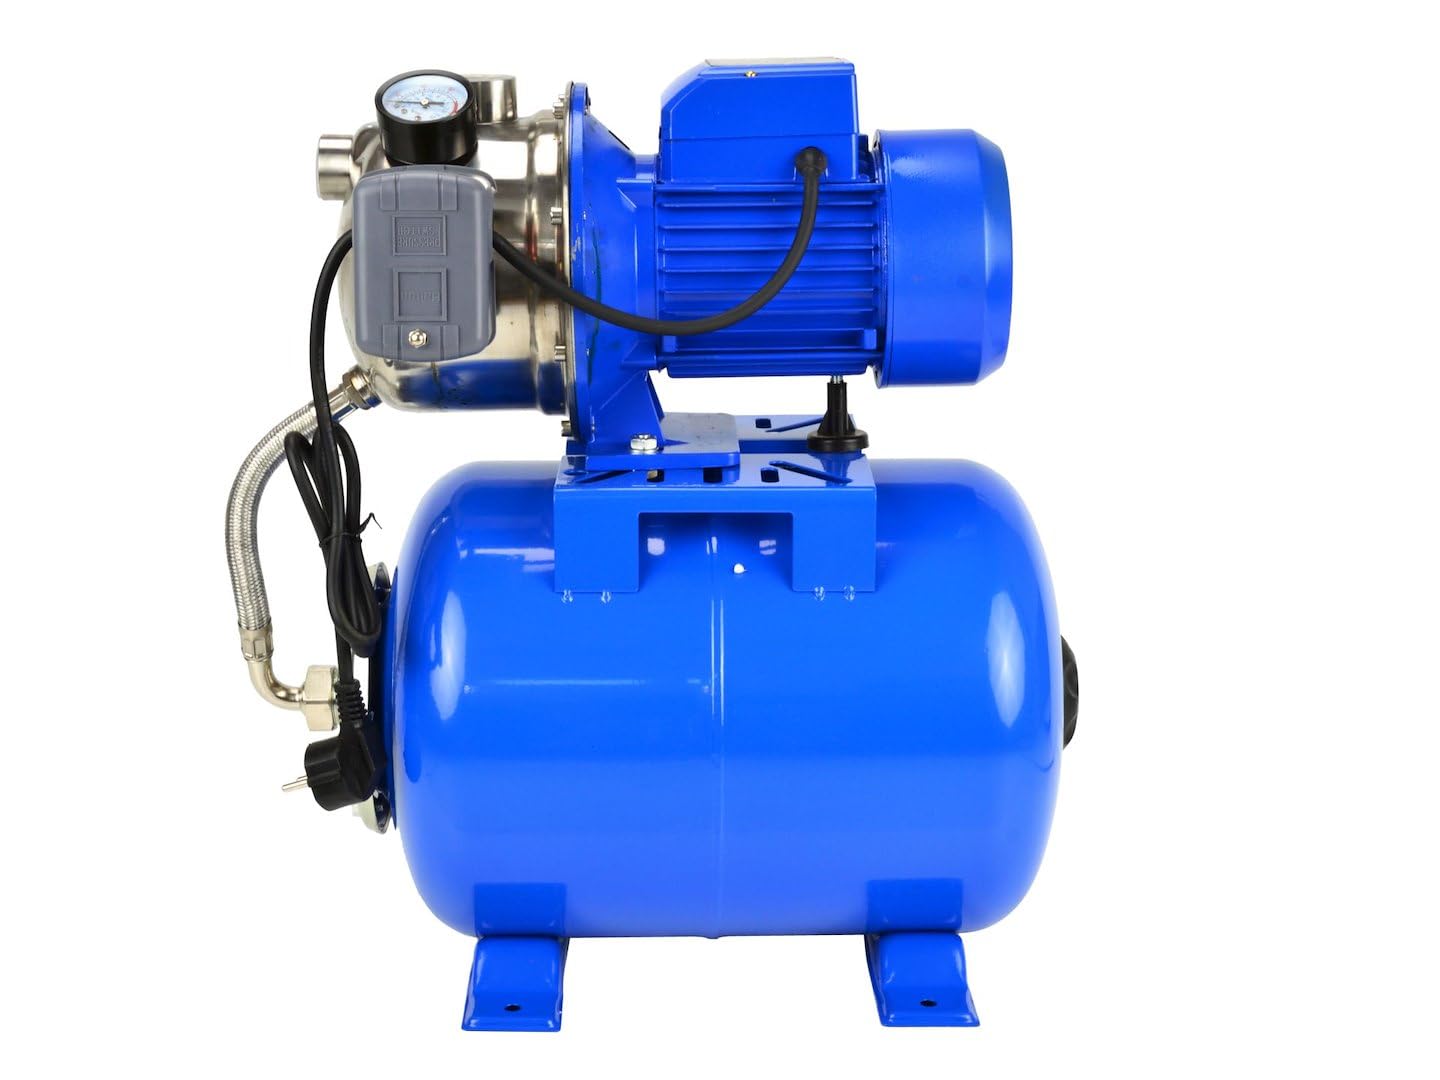
Image 1: The Geko G81513 JS100 Water Booster Pump. This image shows the overall design of the pump, including its motor housing, pressure tank, and inlet/outlet connections, providing a visual reference for installation.
5. Operating Instructions
5.1 Priming the Pump
Before first use, the pump must be primed to ensure it is filled with water and can create suction.
- Ensure all plumbing connections are secure and watertight.
- Open the priming plug (usually located on top of the pump housing).
- Slowly fill the pump housing with clean water until it overflows from the priming hole.
- Replace and tighten the priming plug.
- Open a tap on the discharge side to allow air to escape during startup.
5.2 Starting the Pump
- Plug the pump into the electrical outlet. The pump should start automatically if the pressure switch is set to activate.
- Observe the water flow from the open tap. Once a steady stream of water without air bubbles is achieved, close the tap.
- The pump will build pressure and then shut off automatically.
5.3 Shutting Down the Pump
To temporarily shut down the pump, simply unplug it from the electrical outlet. For extended periods of non-use, especially during cold weather, follow the maintenance instructions for winterization.
6. Maintenance
Regular maintenance ensures the longevity and optimal performance of your Geko G81513 JS100 pump.
6.1 Routine Checks
- Periodically check all connections for leaks. Tighten as necessary.
- Inspect the electrical cable for any signs of damage. Replace if damaged.
- Ensure the pump is free from debris and that ventilation openings are clear.
6.2 Winterization
If the pump will be exposed to freezing temperatures, it must be drained to prevent damage.
- Disconnect the pump from the power supply.
- Open the drain plug (usually located at the bottom of the pump housing) and allow all water to drain out.
- Disconnect the suction and discharge pipes to ensure complete drainage.
- Store the pump in a dry, frost-free location.
7. Troubleshooting
This section provides solutions to common problems you might encounter with your pump.
| Problem | Possible Cause | Solution |
|---|---|---|
| Pump does not start | No power supply Motor overload Jammed impeller | Check power connection and circuit breaker Allow motor to cool; check for obstructions Disconnect power and clear impeller |
| Pump runs but no water flow | Pump not primed Air leak in suction line Low water level in source | Re-prime the pump Check all suction connections for leaks Ensure adequate water supply |
| Low pressure or intermittent flow | Partially clogged impeller Air in the system Pressure tank issues | Disconnect power and clean impeller Re-prime the pump; check for leaks Consult a qualified technician |
| Pump leaks | Loose connections Damaged seals | Tighten all pipe connections Contact customer support for seal replacement |
If you are unable to resolve the issue using this guide, please contact customer support or a qualified technician.
8. Specifications
| Feature | Specification |
|---|---|
| Model | G81513 JS100 |
| Manufacturer | Firma Handlowa GEKO |
| Package Dimensions | 35 x 35 x 15 cm |
| Item Weight | 13.12 Kilograms |
| Quantity of Items | 1 |
| Spare Parts Availability | Information unavailable |
9. Warranty and Support
The Geko G81513 JS100 Water Booster Pump comes with a standard manufacturer's warranty against defects in materials and workmanship. Please refer to your purchase documentation for specific warranty terms and duration.
For technical support, spare parts, or warranty claims, please contact your retailer or the manufacturer directly. Keep your proof of purchase handy when contacting support.
Contact information for Geko support is typically found on the product packaging or the manufacturer's official website.


