
1. Safety Information
Please read and understand all safety instructions before using this product. Failure to follow these instructions may result in electric shock, fire, or serious injury.
- Electrical Safety: This device is rated for 125V, 60Hz, 1875W, 15A Resistive & General Purpose, 5A Tungsten. Do not exceed these ratings.
- Outdoor Use: This timer is designed for outdoor use and is weatherproof. However, for optimal performance and safety, install the unit vertically at least 2 feet (60 cm) above ground. Avoid submerging the unit in water or exposing it to direct, high-pressure water streams.
- Grounding: Ensure the timer is plugged into a grounded outlet. The three-prong plug is for safety and should not be modified.
- Children and Pets: Keep the device out of reach of children and pets.
- Maintenance: Do not attempt to open or repair the unit. Refer all servicing to qualified personnel.
- ETL Listed: This product is ETL listed and conforms to UL Std No. 60730-1, 60730-2-1, ensuring safety and reliability.
2. Product Overview
The BN-LINK Outdoor Light Timer (Model: BNC-60/U129L) is a versatile plug-in controller designed to automate your outdoor lighting and electrical devices. It features a smart photocell sensor for dusk-to-dawn operation and multiple countdown timer options.
Key Features:
- Raintight & Weatherproof: Suitable for outdoor environments, protecting against rain and weather conditions.
- Photocell Sensor: Automatically detects dusk/darkness to activate connected devices.
- Multiple Timer Modes: Offers Dusk-to-Dawn, 2-hour, 4-hour, 6-hour, and 8-hour countdown options after dusk.
- Three Grounded Outlets: Provides three outlets that operate simultaneously, allowing connection of multiple devices.
- Flexible Cord: Equipped with a 6-inch cord for convenient placement.
- ETL Listed: Certified for safety and quality standards.
Components:
- Power Button: Used to manually turn the unit on/off and cycle through timer modes.
- Mode Indicator Lights: LEDs indicating the currently selected timer mode (OFF, ON, Dusk-to-Dawn, 2H, 4H, 6H, 8H).
- Photocell Sensor: Light-sensitive component that detects ambient light levels.
- Grounded Outlets (x3): Standard three-prong outlets for connecting devices.
- Power Plug: Three-prong plug for connecting to a wall outlet.


3. Setup
Follow these steps to set up your BN-LINK Outdoor Light Timer:
- Choose a Location: Select an outdoor location that is protected from direct heavy rain and where the photocell sensor will receive natural light.
- Mounting: For optimal weather resistance, mount the timer vertically at least 2 feet (60 cm) above the ground. Use the integrated hanging hole on the back of the unit to secure it with a screw (not included).
- Plug In the Timer: Insert the timer's power plug into a grounded 125V AC outdoor outlet.
- Connect Devices: Plug your outdoor lights or other electrical devices into the three grounded outlets on the timer. Ensure the total wattage does not exceed 1875W.

4. Operating Instructions
The timer features a single power button to cycle through its various operating modes. Each press of the button will advance to the next mode, indicated by the corresponding LED light.
- Initial State: When first plugged in, the timer will be in the 'OFF' state.
- Manual ON/OFF: Press the power button once to turn the unit 'ON' (indicated by the 'ON' LED). Press it again to turn it 'OFF'.
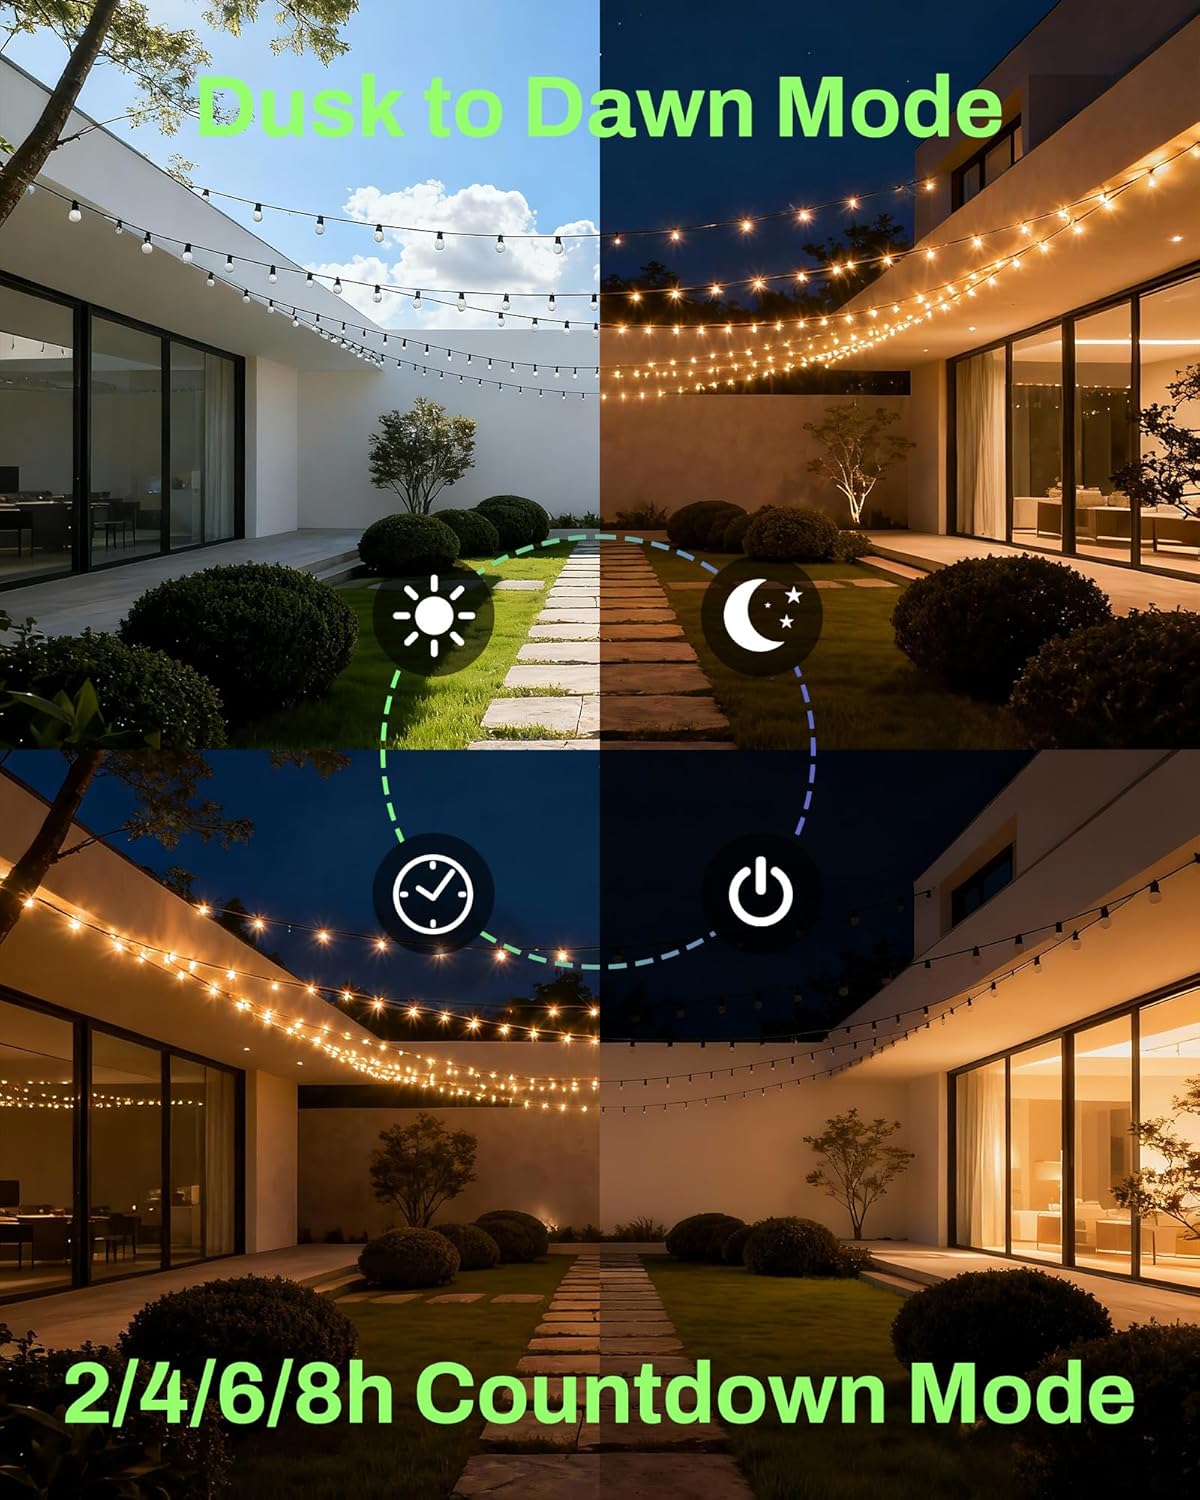
- Dusk-to-Dawn Mode: To activate this mode, press the power button until the 'Dusk-to-Dawn' LED illuminates. In this mode, the connected devices will automatically turn on when the photocell sensor detects darkness and turn off when it detects light (dawn).
- Countdown Timer Modes: To use a countdown timer, press the power button until the desired duration LED (2H, 4H, 6H, or 8H) illuminates. In these modes, the connected devices will automatically turn on at dusk and remain on for the selected duration (2, 4, 6, or 8 hours), then turn off. This cycle repeats daily.
Note: The photocell sensor must be exposed to ambient light for the Dusk-to-Dawn and Countdown modes to function correctly. Avoid placing the timer in shaded areas or where artificial light sources might interfere with the sensor.


5. Maintenance
Proper maintenance ensures the longevity and safe operation of your timer.
- Cleaning: Periodically wipe the exterior of the timer with a soft, damp cloth. Do not use harsh chemicals or abrasive cleaners. Ensure the photocell sensor is clean and free of obstructions.
- Inspection: Regularly inspect the power cord and plug for any signs of damage. If any damage is found, discontinue use and replace the unit.
- Storage: When not in use for extended periods, unplug the timer and store it in a cool, dry place away from direct sunlight and extreme temperatures.
6. Troubleshooting
If you encounter issues with your BN-LINK Outdoor Light Timer, refer to the following common problems and solutions:
| Problem | Possible Cause | Solution |
|---|---|---|
| Timer not turning on. | No power to the outlet; unit is in 'OFF' mode; faulty unit. | Check the power source; press the power button to cycle to 'ON' or a timer mode; contact support if unit is faulty. |
| Lights not turning on at dusk. | Photocell sensor obstructed or exposed to artificial light; incorrect mode selected. | Ensure photocell is clear and in natural darkness; select 'Dusk-to-Dawn' or a 'Countdown' mode. |
| Lights stay on too long/short. | Incorrect countdown mode selected. | Cycle through modes to select the desired 2H, 4H, 6H, or 8H countdown. |
| Connected devices not working. | Device is faulty; timer is overloaded. | Test the device directly in a working outlet; ensure total wattage does not exceed 1875W. |
7. Specifications
| Feature | Detail |
|---|---|
| Model Number | BNC-60/U129L |
| Operation Mode | ON-OFF-ON (Dusk-to-Dawn, 2H, 4H, 6H, 8H Countdown) |
| Current Rating | 15 Amps |
| Operating Voltage | 125 Volts |
| Max Output Power | 1875 Watts |
| Frequency | 60 Hz |
| Outlets | 3 Grounded Outlets |
| Cord Length | 6 inches (approx.) |
| Product Dimensions | 4 x 5 x 2 inches |
| Weight | 8 ounces |
| Certifications | ETL Listed (Conforms to UL Std No. 60730-1, 60730-2-1) |
| Material | Plastic |
8. Warranty & Support
BN-LINK products are designed and manufactured to the highest quality standards. For warranty information or technical support, please contact BN-LINK customer service. Keep your purchase receipt as proof of purchase.
Contact Information: Please refer to the BN-LINK official website or the product packaging for the most up-to-date contact details for customer support.


