
1. Introduction
Thank you for choosing the RecPro RV Microwave with Trim Kit, Model RPM-1. This 1.0 cubic foot, 900W microwave is designed for recreational vehicle use, offering convenient cooking and reheating capabilities. It includes a trim kit for a seamless built-in appearance and is engineered as a direct replacement for many Greystone and High Pointe RV microwaves.
Key features include 30-second instant start, 8 express cook options, and a child safety lock. This manual provides essential information for safe installation, operation, and maintenance of your new appliance.
2. Safety Information
Please read all instructions carefully before using the microwave oven to prevent personal injury or property damage. Keep this manual for future reference.
- Electrical Safety: Ensure the microwave is properly grounded. Do not operate if the power cord or plug is damaged.
- Proper Use: Do not attempt to operate the oven with the door open or if the door seals are damaged. Do not heat sealed containers, as they may explode.
- Materials: Only use microwave-safe cookware. Metal should not be used in the microwave, as it can cause arcing.
- Supervision: Close supervision is necessary when the microwave is used by or near children.
- Flammable Materials: Do not store or use flammable materials near the microwave.
- Ventilation: Ensure adequate ventilation around the microwave as specified in the installation instructions.
3. Product Overview
The RecPro RPM-1 RV Microwave is a compact yet powerful appliance designed to integrate seamlessly into your RV kitchen. It features a stainless steel finish and a user-friendly control panel.
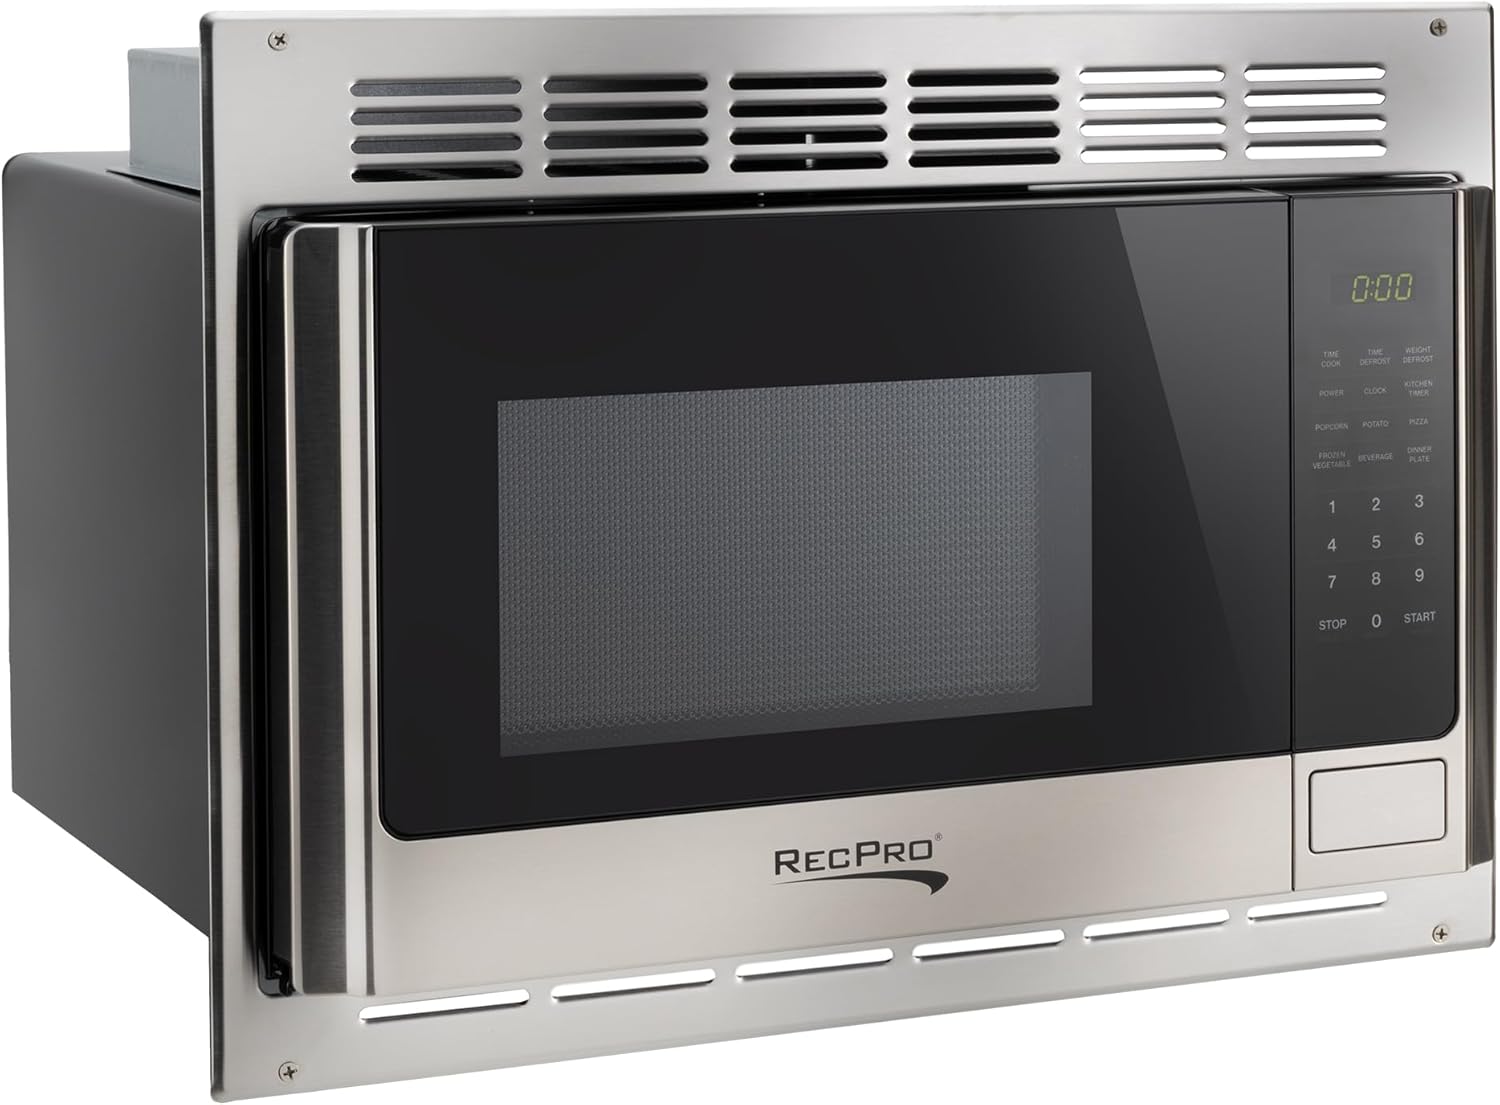
Image: Front view of the RecPro RV Microwave with its stainless steel trim kit.
The microwave offers 1.0 cubic feet of cooking capacity, suitable for various dishes and containers. Its 900 watts of cooking power ensure efficient heating.

Image: Interior view of the microwave showing the glass turntable.
The control panel includes 8 express cook options for common food items, simplifying meal preparation. A 30-second instant start button provides quick heating.

Image: Graphic highlighting the stainless steel trim kit and the 8 express cooking options on the control panel.
4. Specifications
Below are the technical specifications for the RecPro RPM-1 RV Microwave:
| Feature | Specification |
|---|---|
| Model Number | RPM-1 |
| Capacity | 1.0 Cubic Feet |
| Wattage (Output) | 900 Watts |
| Energy Use (Input) | 1350 Watts |
| Voltage | 120 Volts |
| Installation Type | Built-In |
| Color | Stainless Steel |
| Material | Stainless Steel, Metal (Inner) |
| Product Dimensions (D x W x H) | 14.75 x 20.5 x 15 inches |
| Item Weight | 0.01 Ounces (Note: This weight seems incorrect, refer to packaging for actual shipping weight) |
| Special Features | Child Safety Lock, Defrost, Digital Control, Express Cook, Turntable |

Image: Diagram showing the external dimensions of the RecPro RV Microwave (RPM-1-SS).
5. Installation
The RecPro RV Microwave is designed for built-in installation and comes with a matching trim kit to provide a finished look. It is intended as a direct replacement for many Greystone and High Pointe RV microwaves.

Image: The RecPro RV Microwave with trim kit installed above a range in an RV kitchen.
- Preparation: Ensure the cabinet opening meets the specified dimensions for the microwave and trim kit.
- Electrical Connection: Connect the microwave to a properly grounded 120V electrical outlet.
- Mounting: Secure the microwave within the cabinet opening using appropriate mounting hardware (not included).
- Trim Kit Installation: Install the included trim kit around the microwave for a flush, integrated appearance.
For detailed installation steps, refer to the separate installation guide provided with your product. Professional installation is recommended if you are unsure about any steps.

Image: Graphic indicating the RecPro RV Microwave is a direct replacement for Greystone and High Pointe models.
6. Operation
Operating your RecPro RV Microwave is straightforward. The control panel provides various functions for cooking and reheating.

Image: Close-up of a hand interacting with the microwave's digital control panel.
- Setting Cook Time: Enter the desired cooking time using the number pad.
- Power Levels: Adjust the power level for different cooking needs. Refer to the cooking guide for recommended power levels.
- Express Cook Options: Use the dedicated buttons for instant cooking of popular items: Popcorn, Potato, Pizza, Beverage, Soup, Dinner Plate, Fresh Vegetable, Frozen Vegetable.
- 30-Sec. Instant Start: Press the 'Start' button for an immediate 30-second cook cycle at full power. Pressing it repeatedly adds 30 seconds to the cooking time.
- Defrost Function: Select the defrost option and enter the weight or time for thawing frozen foods.
- Child Safety Lock: To activate, press and hold the 'Stop/Cancel' button for 3 seconds. The display will show 'LOC'. To deactivate, repeat the process.
- Clock/Timer: Set the current time or use the kitchen timer function for general timing needs.
7. Maintenance
Regular cleaning and maintenance will ensure the longevity and optimal performance of your microwave oven.
- Interior Cleaning: Wipe the interior with a damp cloth and mild detergent after each use. For stubborn stains, place a bowl of water with lemon slices inside and microwave for a few minutes, then wipe clean.
- Exterior Cleaning: Clean the exterior surfaces, including the control panel and trim kit, with a soft, damp cloth. Avoid abrasive cleaners or harsh chemicals that could damage the finish.
- Turntable Care: The glass turntable and its support ring can be removed for cleaning. Wash them in warm, soapy water or in the dishwasher. Ensure they are dry before placing them back in the microwave.
- Door Seals: Regularly inspect the door seals for any signs of damage or wear. Clean them gently to ensure a proper seal.
8. Troubleshooting
If you encounter issues with your microwave, refer to the following common troubleshooting tips:
- Microwave Not Starting: Check if the power cord is securely plugged in. Ensure the door is fully closed. Verify if a fuse has blown or a circuit breaker has tripped.
- Food Not Heating: Confirm that the cooking time and power level are set correctly. Ensure the door is properly latched.
- Unusual Noises: This could be due to the turntable not being correctly seated. Reposition the turntable and its support ring.
- Display Not Working: Check the power supply. If the issue persists, contact customer support.
- Child Lock Active: If the microwave is unresponsive, check if the child lock is engaged ('LOC' on display). Deactivate by pressing and holding 'Stop/Cancel' for 3 seconds.
For issues not resolved by these steps, please contact RecPro customer support.
9. Warranty and Support
For warranty information, please refer to the documentation included with your purchase or visit the official RecPro website. If you require technical assistance, replacement parts, or have any questions regarding your RecPro RV Microwave, please contact RecPro customer support through their official channels.
