1. Introduction
This manual provides essential information for the proper setup, operation, and maintenance of your Acer V247Y bmipx 23.8" Full HD IPS Monitor. Please read this manual thoroughly before using the product to ensure optimal performance and safety.
Package Contents
Verify that all items listed below are present in your package:
- Acer V247Y bmipx Monitor
- Monitor Stand (Base and Neck)
- Power Cord
- HDMI Cable
- DisplayPort Cable
- VGA Cable
- User Manual and Warranty Card
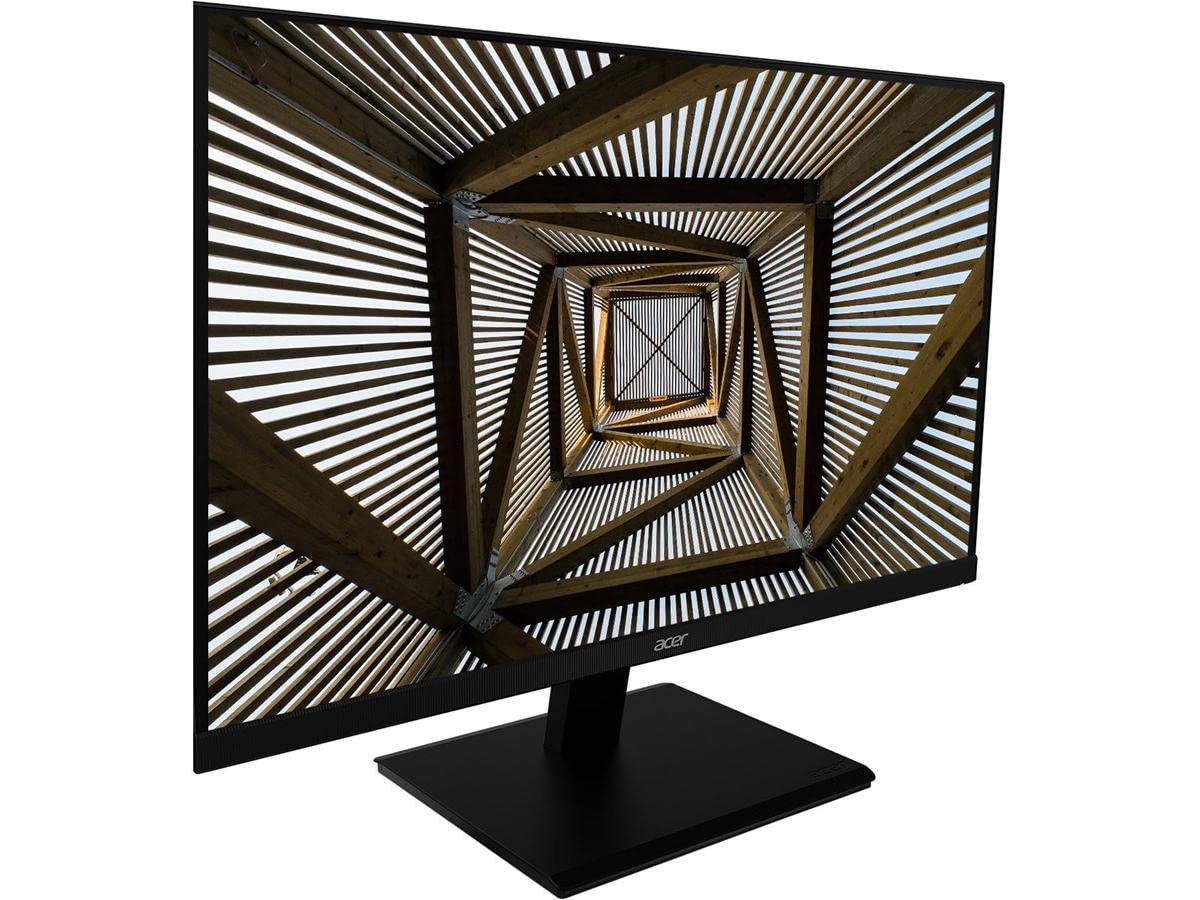
Image 1.1: Front view of the Acer V247Y bmipx 23.8 inch Full HD IPS Monitor.
2. Safety Information
Observe the following safety precautions to prevent damage to the monitor and ensure user safety:
- Place the monitor on a stable, flat surface to prevent it from falling.
- Ensure adequate ventilation around the monitor. Do not block ventilation openings.
- Use only the power cord and adapter supplied with the monitor.
- Do not expose the monitor to rain or moisture to avoid electric shock.
- Keep the monitor away from direct sunlight, heat sources, and extreme temperatures.
- Unplug the monitor from the power outlet before cleaning.
- Do not attempt to service the monitor yourself. Refer all servicing to qualified service personnel.
3. Setup
3.1 Assembling the Monitor Stand
- Carefully remove the monitor and stand components from the packaging.
- Attach the stand neck to the monitor panel by aligning the tabs and pushing until it clicks into place.
- Attach the stand base to the stand neck. Secure it with the captive screw located on the underside of the base.
- Place the assembled monitor on a stable desk or surface.
3.2 Connecting the Monitor
Your monitor supports DisplayPort, HDMI, and VGA connections. Cables for all three are included.
- Power Connection: Connect the power cord to the monitor's power input, then plug the other end into a grounded electrical outlet.
- Video Connection: Choose one of the following options:
- DisplayPort: Connect one end of the DisplayPort cable to the monitor's DisplayPort input and the other end to the DisplayPort output on your computer.
- HDMI: Connect one end of the HDMI cable to the monitor's HDMI input and the other end to the HDMI output on your computer.
- VGA: Connect one end of the VGA cable to the monitor's VGA input and the other end to the VGA output on your computer.
- Audio Connection (Optional): If using VGA and your computer has an audio output, connect an audio cable (not included) from your computer's audio output to the monitor's audio input. For DisplayPort and HDMI, audio is typically transmitted digitally through the video cable.
4. Operating Instructions
4.1 Powering On/Off
Press the power button, usually located on the bottom right bezel or rear of the monitor, to turn the monitor on or off. The power indicator light will illuminate when the monitor is on.
4.2 Using the On-Screen Display (OSD) Menu
The OSD menu allows you to adjust various display settings. Buttons for OSD navigation are typically located on the bottom right bezel or rear of the monitor.
- Press the Menu button to open the OSD.
- Use the navigation buttons (up/down, left/right, or joystick) to move through menu options.
- Press the Select/Enter button to confirm a selection or enter a sub-menu.
- Press the Exit button to close the OSD or go back to the previous menu.
4.3 OSD Menu Options
- Picture: Adjust brightness, contrast, sharpness, and gamma.
- Color: Select color temperature, sRGB mode, or custom color settings.
- Audio: Adjust volume for the built-in speakers (2 speakers, 2 Watts per speaker).
- Input: Manually select the input source (DisplayPort, HDMI, VGA).
- OSD: Adjust OSD timeout, language, and transparency.
- System: Access information about the monitor, reset settings, or enable/disable features.
5. Maintenance
5.1 Cleaning the Monitor
- Always unplug the monitor from the power outlet before cleaning.
- Use a soft, lint-free cloth lightly dampened with water or a non-abrasive screen cleaner.
- Do not spray cleaner directly onto the screen.
- Avoid using harsh chemicals, solvents, or abrasive materials.
5.2 Storage
If storing the monitor for an extended period, disconnect all cables, pack it in its original packaging if possible, and store it in a cool, dry place away from direct sunlight and extreme temperatures.
6. Troubleshooting
Refer to the table below for common issues and their solutions.
| Problem | Possible Cause | Solution |
|---|---|---|
| No power | Power cord not connected; Power outlet not working | Ensure power cord is securely connected to monitor and outlet; Test outlet with another device. |
| No image on screen | Video cable not connected; Incorrect input source selected; Computer in sleep mode | Check video cable connections; Select correct input source via OSD; Wake up computer. |
| Image is blurry or distorted | Incorrect resolution; Loose video cable | Set computer's display resolution to 1920x1080; Reconnect video cable securely. |
| No sound from speakers | Volume too low; Muted; Incorrect audio source; Audio cable not connected (for VGA) | Adjust volume in OSD and computer; Unmute audio; Ensure audio cable is connected for VGA. |
7. Specifications
Detailed technical specifications for the Acer V247Y bmipx monitor:
| Feature | Description |
|---|---|
| Model Name | V247Y bmipx |
| Screen Size | 23.8 inches (60.5 cm) |
| Panel Type | IPS (In-Plane Switching) |
| Resolution | Full HD (1920 x 1080) |
| Aspect Ratio | 16:9 |
| Response Time | 4ms |
| Brightness | Not specified (typical for IPS) |
| Contrast Ratio | 100,000,000:1 (Dynamic) |
| Viewing Angles | Not specified (typical for IPS: 178° H/V) |
| Connectivity | 1 x DisplayPort, 1 x HDMI, 1 x VGA |
| Speakers | 2 x 2 Watt speakers |
| Ergonomics | Tilt: -5 degrees to 25 degrees |
| Dimensions (LxWxH) | 21.3 x 7.7 x 16.7 inches (with stand) |
| Weight | 7.87 pounds (with stand) |
| Power Consumption | 120 Volts (Energy Star & EPEAT Gold compliant) |
8. Warranty and Support
8.1 Warranty Information
Acer monitors typically come with a limited warranty covering defects in materials and workmanship. Please refer to the warranty card included in your product package or visit the official Acer website for specific terms, conditions, and duration applicable to your region.
8.2 Customer Support
For technical assistance, troubleshooting beyond this manual, or warranty claims, please contact Acer customer support. You can find contact information, FAQs, and driver downloads on the official Acer support website.


