1. Introduction
This manual provides detailed instructions for installing the Repair Parts Plus LCD and Glass Touch Digitizer screen replacement kit. This kit is designed to address issues such as cracked glass, non-responsive touch, display problems, or dead pixels on compatible iPad models. Please read all instructions carefully before beginning the repair process.

Figure 1.1: Repair Parts Plus Screen Replacement Kit for iPad.
2. Compatibility
This screen replacement kit is compatible only with the following iPad models:
- iPad 5th Generation (2017): Models A1822, A1823
- iPad Air 1st Generation: Models A1474, A1475, A1476
To verify your iPad model number, check the back of your device. The model number begins with 'A' followed by four digits (e.g., A1822).

Figure 2.1: Locating your iPad model number. Ensure your model matches the compatible numbers listed.
3. Kit Contents
Your Repair Parts Plus screen replacement kit includes the following components:
- LCD Display Screen: A brand new, factory-tested LCD panel.
- Glass Touch Digitizer Screen: A brand new, factory-tested glass touch panel.
- Pre-installed Screen Frame Adhesive: Precision-cut, high-strength adhesive for secure sealing.
- Pre-installed Camera Bracket: For proper camera alignment.
- Premium Tool Kit:
- Adhesive Strips (Extra set)
- Easy Opening Tool
- Nylon Spudger
- Fine Tip Curved Tweezers
- Phillips Screwdriver (Magnetic)
- Pry Picks (4 units)
- Adhesive Removal Pad/Alcohol Swab Pad
- Cleaning Cloth
- Quick Start Guide: A written guide to assist with the repair process.

Figure 3.1: The LCD Display Screen included in the kit.
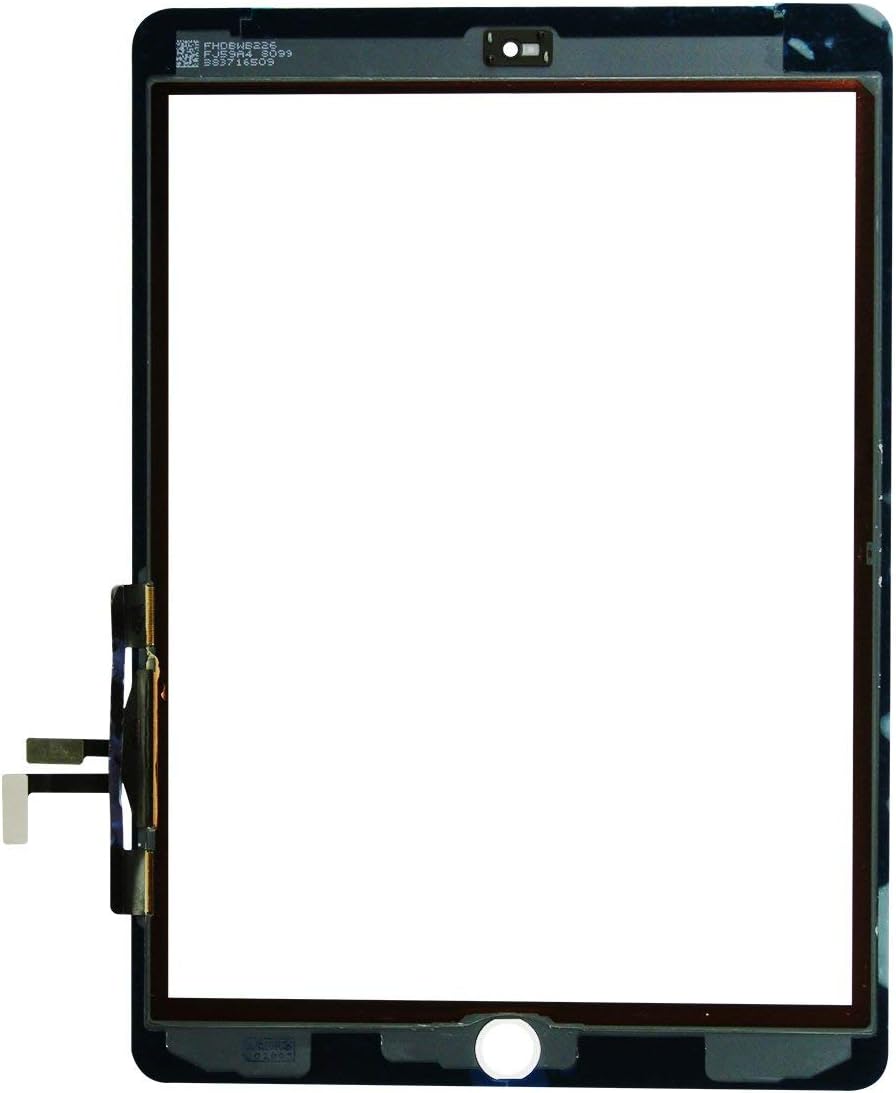
Figure 3.2: The Glass Touch Digitizer Screen with pre-installed components.

Figure 3.3: The Premium Tool Kit provided for the repair.
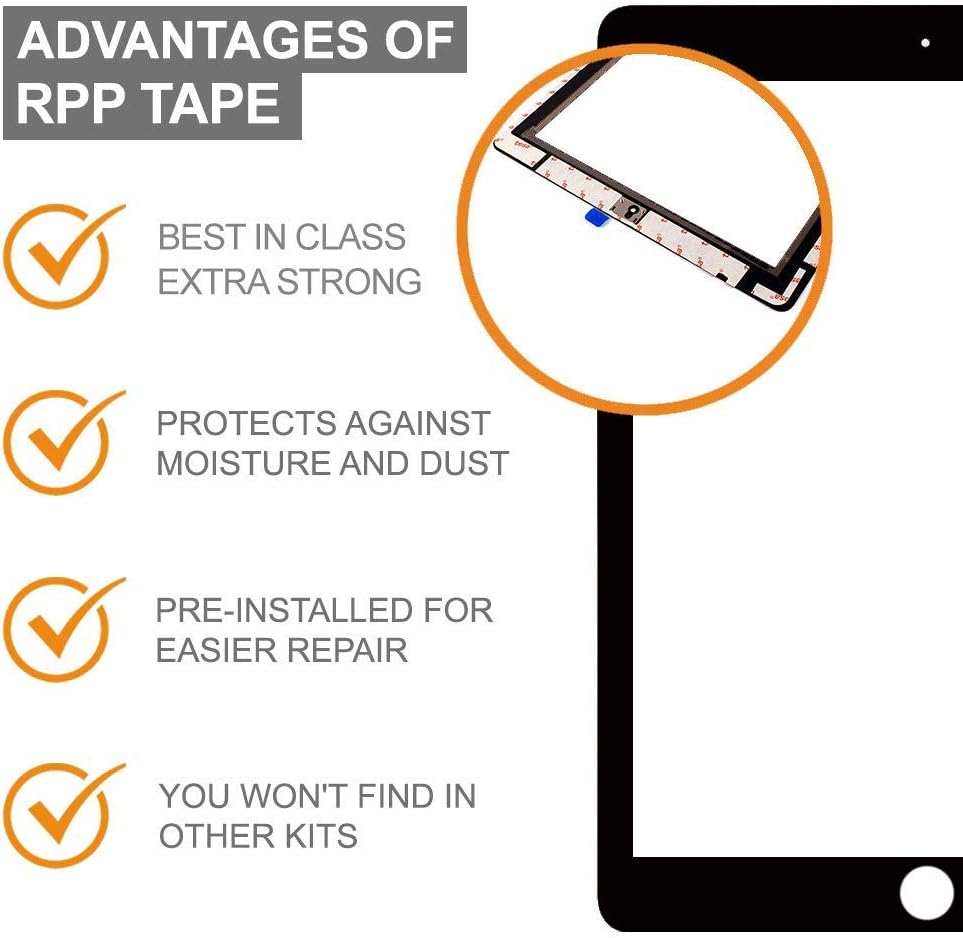
Figure 3.4: Benefits of the pre-installed RPP frame adhesive tape.

Figure 3.5: The included Quick Start Guide for repair assistance.
4. Installation Guide
Performing a screen replacement requires patience and attention to detail. It is highly recommended to watch a video tutorial for your specific iPad model before starting. A link to helpful video instructions is typically provided with the Quick Start Guide.
4.1. Preparation
- Power Off Device: Ensure your iPad is completely powered off before beginning.
- Backup Data: It is always recommended to back up your device data before any repair.
- Clear Workspace: Work in a clean, well-lit, and static-free environment.
- Gather Tools: Have all tools from your kit readily accessible.
- Soften Adhesive (Optional): For easier removal of the old screen, gently heat the edges of the screen with a hairdryer or heat gun to soften the adhesive.
4.2. Removing the Old Screen
- Carefully use the easy opening tool and pry picks to separate the old digitizer glass from the iPad frame. Apply gentle, consistent pressure.
- Once the digitizer is partially lifted, disconnect the digitizer flex cable and LCD flex cable from the logic board.
- Remove the old LCD screen and digitizer assembly.
- Thoroughly clean any remaining adhesive residue from the iPad frame using the adhesive removal pad/alcohol swab pad. Ensure the frame is smooth and free of debris.
4.3. Transferring the Home Button (Crucial Step)
The Home Button is NOT included with this kit. To retain Touch ID functionality, you MUST transfer your original home button from the old digitizer to the new one.
- Carefully detach the home button assembly from your old digitizer. This often involves removing small screws and a bracket.
- Attach the original home button assembly to the designated spot on your new digitizer. Ensure it is securely fastened.

Figure 4.1: Instructions for transferring the original Home Button to the new digitizer.
4.4. Installing the New Screen
- Connect LCD: Carefully connect the new LCD flex cable to the logic board.
- Connect Digitizer: Carefully connect the new digitizer flex cable to the logic board.
- Test Functionality: Before sealing the screen, power on your iPad to test the LCD display and touch functionality. Check for dead pixels, touch responsiveness across the entire screen, and proper display. If issues arise, power off and re-check all connections.
- Secure Screen: Once tested and confirmed working, remove the protective films from the pre-installed frame adhesive on the new digitizer.
- Carefully align the new screen assembly with the iPad frame and press firmly around the edges to secure it. Ensure even pressure to activate the adhesive.
- Use the extra adhesive strips if needed for additional security or if any part feels loose.
5. Important Notes and Warnings
- Professional Installation Recommended: While this kit provides tools and instructions, screen replacement can be complex. If you are unsure, seek professional assistance.
- Handle with Care: LCD and digitizer components are fragile. Avoid excessive force or bending.
- Do Not Use Sharp Objects: Never use sharp objects like razor blades or knives to pry open the device, as this can cause damage.
- Static Electricity: Take precautions against static electricity, which can damage electronic components.
- Home Button Functionality: As noted, Touch ID will only work with your original home button.
- Adhesive Curing: Allow sufficient time for the adhesive to cure (typically 24-48 hours) before heavy use. Gentle pressure can be applied during this time.
6. Maintenance
To ensure the longevity of your new screen:
- Cleaning: Use a soft, lint-free cloth, slightly dampened with water or a screen cleaner, to clean the screen. Avoid harsh chemicals.
- Protection: Consider using a screen protector and a protective case to prevent future damage.
- Avoid Pressure: Do not place heavy objects on the screen or apply excessive pressure.
7. Troubleshooting
If you encounter issues after installation, consider the following:
- No Display or Partial Display:
- Ensure the LCD flex cable is securely connected to the logic board.
- Check for any kinks or damage to the LCD flex cable.
- Touch Not Working or Erratic Touch:
- Ensure the digitizer flex cable is securely connected to the logic board.
- Check for any kinks or damage to the digitizer flex cable.
- Verify that no debris is trapped between the digitizer and the frame.
- Perform a hard reset of your iPad.
- Dead Pixels or Lines on Screen:
- This may indicate a faulty LCD. Re-check connections. If the issue persists, contact customer support.
- Home Button Not Working (No Touch ID):
- Confirm the original home button was transferred and its flex cable is properly connected.
- Remember, Touch ID only works with the original home button.
For further assistance, refer to the video instructions or contact Repair Parts Plus customer support.
8. Specifications
| Feature | Detail |
|---|---|
| Product Type | LCD and Glass Touch Digitizer Screen Replacement Kit |
| Compatibility | iPad 5th Gen (A1822, A1823), iPad Air 1st Gen (A1474, A1475, A1476) |
| Screen Size | 9.7 inches |
| Color | Black |
| Item Weight | Approximately 1.09 pounds (0.49 kg) |
| Package Dimensions | 11.93 x 9.17 x 2.36 inches (30.3 x 23.3 x 6.0 cm) |
| Manufacturer | Repair Parts Plus |
9. Warranty and Support
Repair Parts Plus products are backed by a 100% 30-Day Money Back Guarantee. If you experience any issues or have questions regarding your purchase or the installation process, please contact our friendly support staff. Our support team is based in the USA and ready to assist you.
For additional resources and support, you may visit the Repair Parts Plus Amazon Storefront.