Nespresso Aeroccino3
Nespresso Aeroccino3 Milk Frother Instruction Manual
Model: Aeroccino3 | Brand: Nespresso
1. Introduction
The Nespresso Aeroccino3 Milk Frother is designed to quickly and easily prepare hot or cold milk froth for your coffee beverages. Its compact design and simple one-touch operation make it a convenient addition to any kitchen, allowing you to create barista-quality drinks at home.
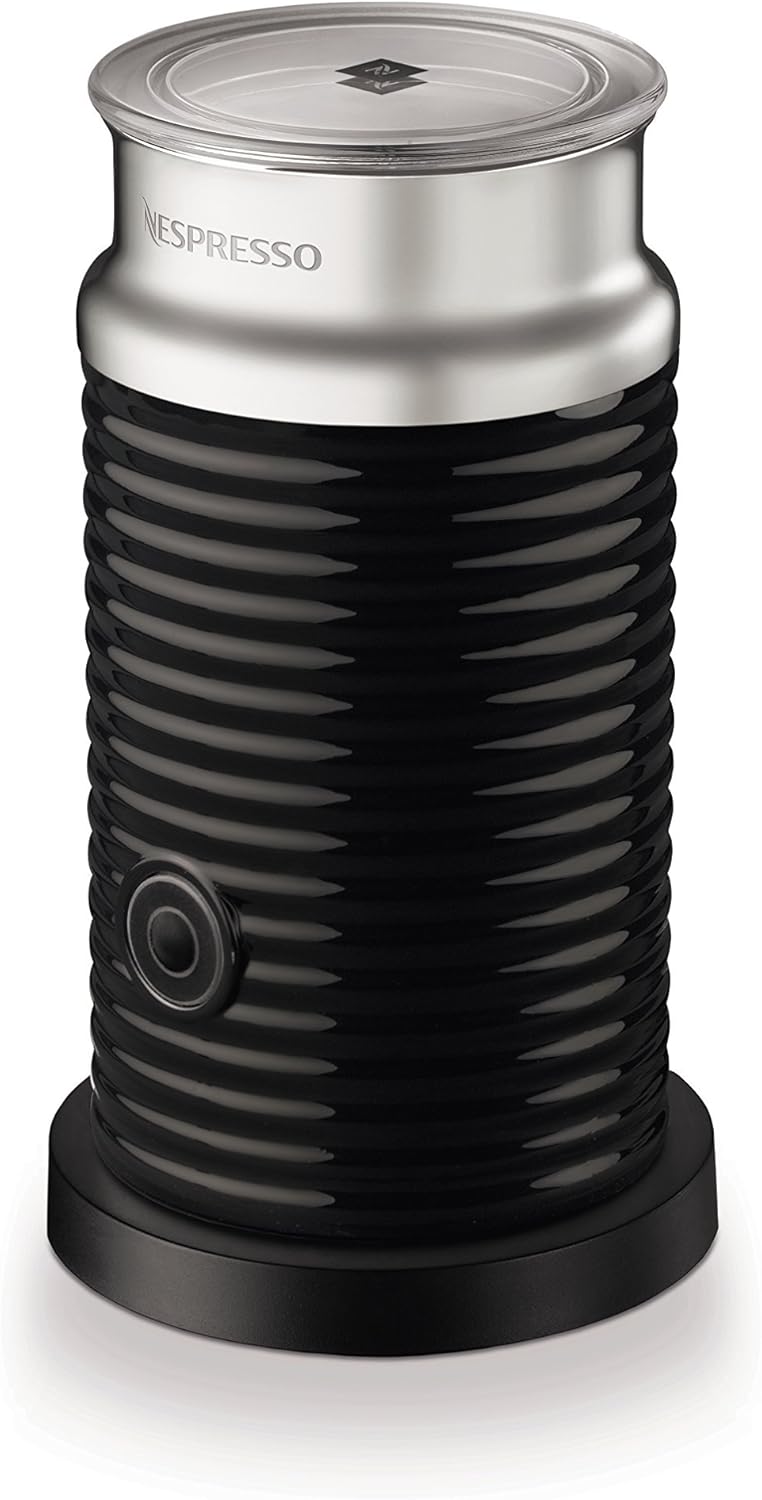
Image: The Nespresso Aeroccino3 Milk Frother, a sleek black cylindrical device with a silver top and a clear lid, resting on its black power base. A single button is visible on the front of the frother.
2. Safety Precautions
Please read all instructions carefully before using the Aeroccino3 Milk Frother. Failure to follow these safety guidelines may result in injury or damage to the appliance.
- Do not immerse the frother base or electrical components in water or any other liquid.
- Ensure the frother is placed on a stable, flat, and heat-resistant surface.
- Keep out of reach of children and pets.
- Use only with the provided power base.
- Do not operate the frother if the cord or plug is damaged.
- Only use fresh, cold milk. Cow's milk generally yields the best results. Alternative milks may vary in frothing performance.
- Do not use frozen milk, as it will not froth properly.
- Always ensure the underside of the frother jug is completely dry before placing it on the power base.
3. Product Overview
The Nespresso Aeroccino3 is constructed from durable stainless steel and black plastic, featuring a non-stick interior for easy cleaning.
Included Components:
- Aeroccino3 Jug: The main vessel for frothing milk, with a non-stick coating.
- Lid: A clear lid to cover the jug during operation.
- Whisk: A small magnetic whisk that spins to create froth. There are typically two types: one for frothing and one for heating milk without froth.
- Base: The electrical power base that heats and spins the whisk.
4. Setup
Before first use, rinse the frother jug and whisk with warm water. Ensure all parts are dry before assembly.
- Place the Whisk: Select the appropriate whisk for your desired result (froth or just heated milk) and place it securely on the small pin at the bottom of the frother jug. The whisk is magnetic and will snap into place.
- Connect Power: Plug the power base into a suitable electrical outlet.
- Position Frother: Place the Aeroccino3 jug onto the power base. Ensure it is seated correctly.
5. Operating Instructions
The Aeroccino3 features a simple one-touch operation for both hot and cold milk preparations.
Milk Filling Guidelines:
- Fill the frother with fresh, cold milk up to the indicated maximum fill lines inside the jug.
- For hot milk froth, do not exceed the lower maximum line (4.1 oz capacity).
- For hot milk without froth, do not exceed the upper maximum line (8.1 oz capacity).
Preparation Steps:
- Pour the desired amount of milk into the frother jug, observing the fill lines.
- Place the lid securely on the frother jug.
- For Hot Milk Froth or Hot Milk: Press the button on the front of the frother for approximately one second. The indicator light will turn red, signifying that heating and frothing (or just heating) is in progress.
- For Cold Milk Froth: Press and hold the button for approximately two seconds. The indicator light will turn blue, signifying that cold frothing is in progress.
- The frother will automatically shut off when the preparation is complete.
- Carefully remove the jug from the base and pour the frothed or heated milk into your coffee or beverage.
6. Cleaning and Maintenance
Proper cleaning ensures the longevity and performance of your Aeroccino3.
- Hand Wash Only: The frother jug is waterproof but not dishwasher safe. Clean it by placing it under running warm or hot water.
- Non-Abrasive Cleaning: Use a non-abrasive cloth or scourer to clean the interior and exterior of the jug. Avoid harsh chemicals or abrasive materials that could damage the non-stick coating.
- Whisk Cleaning: Remove the whisk from the bottom of the jug and rinse it thoroughly.
- Dry Thoroughly: After cleaning, ensure the underside of the milk frother jug is completely dry before positioning it back on the base of the device.
- Base Cleaning: Wipe the power base with a damp cloth. Do not submerge the base in water.
7. Troubleshooting
If you encounter issues with your Aeroccino3, refer to the common problems and solutions below:
| Problem | Possible Cause | Solution |
|---|---|---|
| Frother does not turn on. | No power, frother not properly seated on base. | Check power outlet. Ensure frother jug is correctly placed on the base and the underside is dry. |
| Milk is not frothing. | Incorrect milk type, milk quantity too high/low, whisk not properly installed. | Use fresh, cold cow's milk. Adjust milk quantity to within indicated lines. Ensure whisk is securely attached to the pin. |
| Milk is not heating. | Cold froth setting selected, frother malfunction. | Ensure you press the button for 1 second (red light for hot). If issue persists, contact support. |
| Frother stops prematurely. | Overfilling, internal sensor issue. | Do not overfill the milk. If it continues, contact support. |
8. Specifications
| Feature | Detail |
|---|---|
| Brand | Nespresso |
| Model | Aeroccino3 |
| Color | Black |
| Material | Nonstick (interior), Stainless Steel, Plastic |
| Product Dimensions | 3.9"W x 7.2"H |
| Capacity (Hot & Cold Froth) | 4.1 oz |
| Capacity (Hot Milk) | 8.1 oz |
| Product Care Instructions | Hand Wash Only |
| Number of Settings | 3 (Hot Froth, Hot Milk, Cold Froth) |
| Item Weight | 1.95 pounds |
9. Warranty and Support
The Nespresso Aeroccino3 Milk Frother comes with a one-year limited manufacturer's warranty. This warranty covers defects in materials and workmanship under normal use.
For warranty claims, technical assistance, or any other inquiries regarding your product, please contact Nespresso customer support directly. Refer to the contact information provided in your product packaging or on the official Nespresso website.
Please retain your proof of purchase for warranty purposes.
Ask a question about this manual
Ask about setup, troubleshooting, compatibility, parts, safety, or missing instructions. Manuals+ will review the question and use this page’s manual context to help answer it.