
sainlogic WS3500
Sainlogic WS3500 Professional WLAN Weather Station
User Manual
1. Introduction
The Sainlogic WS3500 is a professional 7-in-1 WLAN weather station designed to provide comprehensive weather data for your home and garden. This advanced system allows you to monitor various environmental conditions with precision and convenience. It features a brilliant, easy-to-read LCD color display and offers Wi-Fi connectivity to transmit your data wirelessly to the largest personal weather station network, WeatherUnderground.com.
The weather station measures key parameters including wind speed, wind direction, precipitation, outdoor temperature, humidity, sunlight, and UV radiation. The indoor console also provides temperature, humidity, and atmospheric pressure readings. Additionally, it calculates dew point, wind chill, and heat index, offering a complete overview of your local weather.
2. Package Contents
Please check the package contents carefully to ensure all components are present and undamaged.
- Main Console with Color Display
- 7-in-1 Outdoor Sensor Array (includes wind vane, anemometer, rain collector, temperature/humidity sensor, light/UV sensor)
- Mounting Pole and Hardware
- User Manual (this document)
- Power Adapter for Console

Image: The Sainlogic WS3500 main console and the integrated 7-in-1 outdoor sensor array.
3. Safety Information
Please read and understand all safety instructions before operating the device. Failure to follow these instructions may result in injury or damage to the product.
- Do not expose the console to extreme temperatures, direct sunlight, or high humidity.
- Ensure the outdoor sensor is mounted securely to prevent damage from strong winds.
- Use only the specified power adapter for the console.
- Do not mix old and new batteries, or different types of batteries.
- Keep the device out of reach of children.
- Do not attempt to disassemble or repair the unit yourself. Contact qualified personnel for service.
4. Setup Guide
4.1 Unpacking and Initial Inspection
Carefully remove all components from the packaging. Inspect each part for any signs of damage. If any part is damaged or missing, contact customer support immediately.
4.2 Battery Installation
The console requires a power adapter for continuous operation, but also supports battery backup. The outdoor sensor requires batteries for operation.
- For the Outdoor Sensor: Locate the battery compartment on the outdoor sensor array. Insert 3 x AA batteries (not included) according to the polarity markings. Close the battery compartment securely.
- For the Main Console: Insert 3 x AA batteries (not included) into the battery compartment on the back of the console. Connect the power adapter to the console and plug it into a wall outlet.
4.3 Outdoor Sensor Assembly and Mounting
Assemble the outdoor sensor array components as shown in the diagrams. Choose an open location for mounting the sensor, away from obstructions that could affect wind, rain, or sunlight readings. Ensure it is easily accessible for maintenance.

Image: Detailed view of the outdoor sensor components, including wind vane, anemometer, rain funnel, and solar panel.

Image: The outdoor sensor array mounted on a pole, highlighting the solar-powered fan for improved temperature measurement, high-speed wind meter, rain funnel, and optical sensor for wind direction.
- Attach the mounting pole to the outdoor sensor array.
- Secure the assembled sensor to a sturdy pole or railing using the provided mounting hardware. Ensure it is level for accurate rain collection.
- The optimal height for wind measurement is typically 10 meters (33 feet) above ground, but for home use, ensure it is clear of immediate obstructions.
4.4 Console Placement
Place the main console indoors, preferably in a central location, away from direct sunlight or heat sources that could affect its internal temperature and humidity readings. Ensure it is within the wireless range of the outdoor sensor.
4.5 Wi-Fi Configuration
To connect your weather station to the internet and services like WeatherUnderground, follow these steps:
- Ensure your console is powered on.
- Access the Wi-Fi setup mode on the console (refer to the console's specific menu options, usually by holding a 'SET' or 'Wi-Fi' button).
- Use a smartphone, tablet, or computer to connect to the weather station's temporary Wi-Fi hotspot (e.g., 'WeatherStation_XXXXXX').
- Open a web browser and navigate to the provided IP address (e.g., 192.168.1.1) to access the setup page.
- Select your home Wi-Fi network (SSID) and enter the password.
- Configure WeatherUnderground settings by entering your Station ID and Station Key.
- Save the settings. The console will then connect to your Wi-Fi network and begin uploading data.

Image: The weather station supports WLAN data transfer to the worldwide weather network, Weather Underground, accessible on mobile phones, tablets, or laptops for storing, comparing, and evaluating weather data.
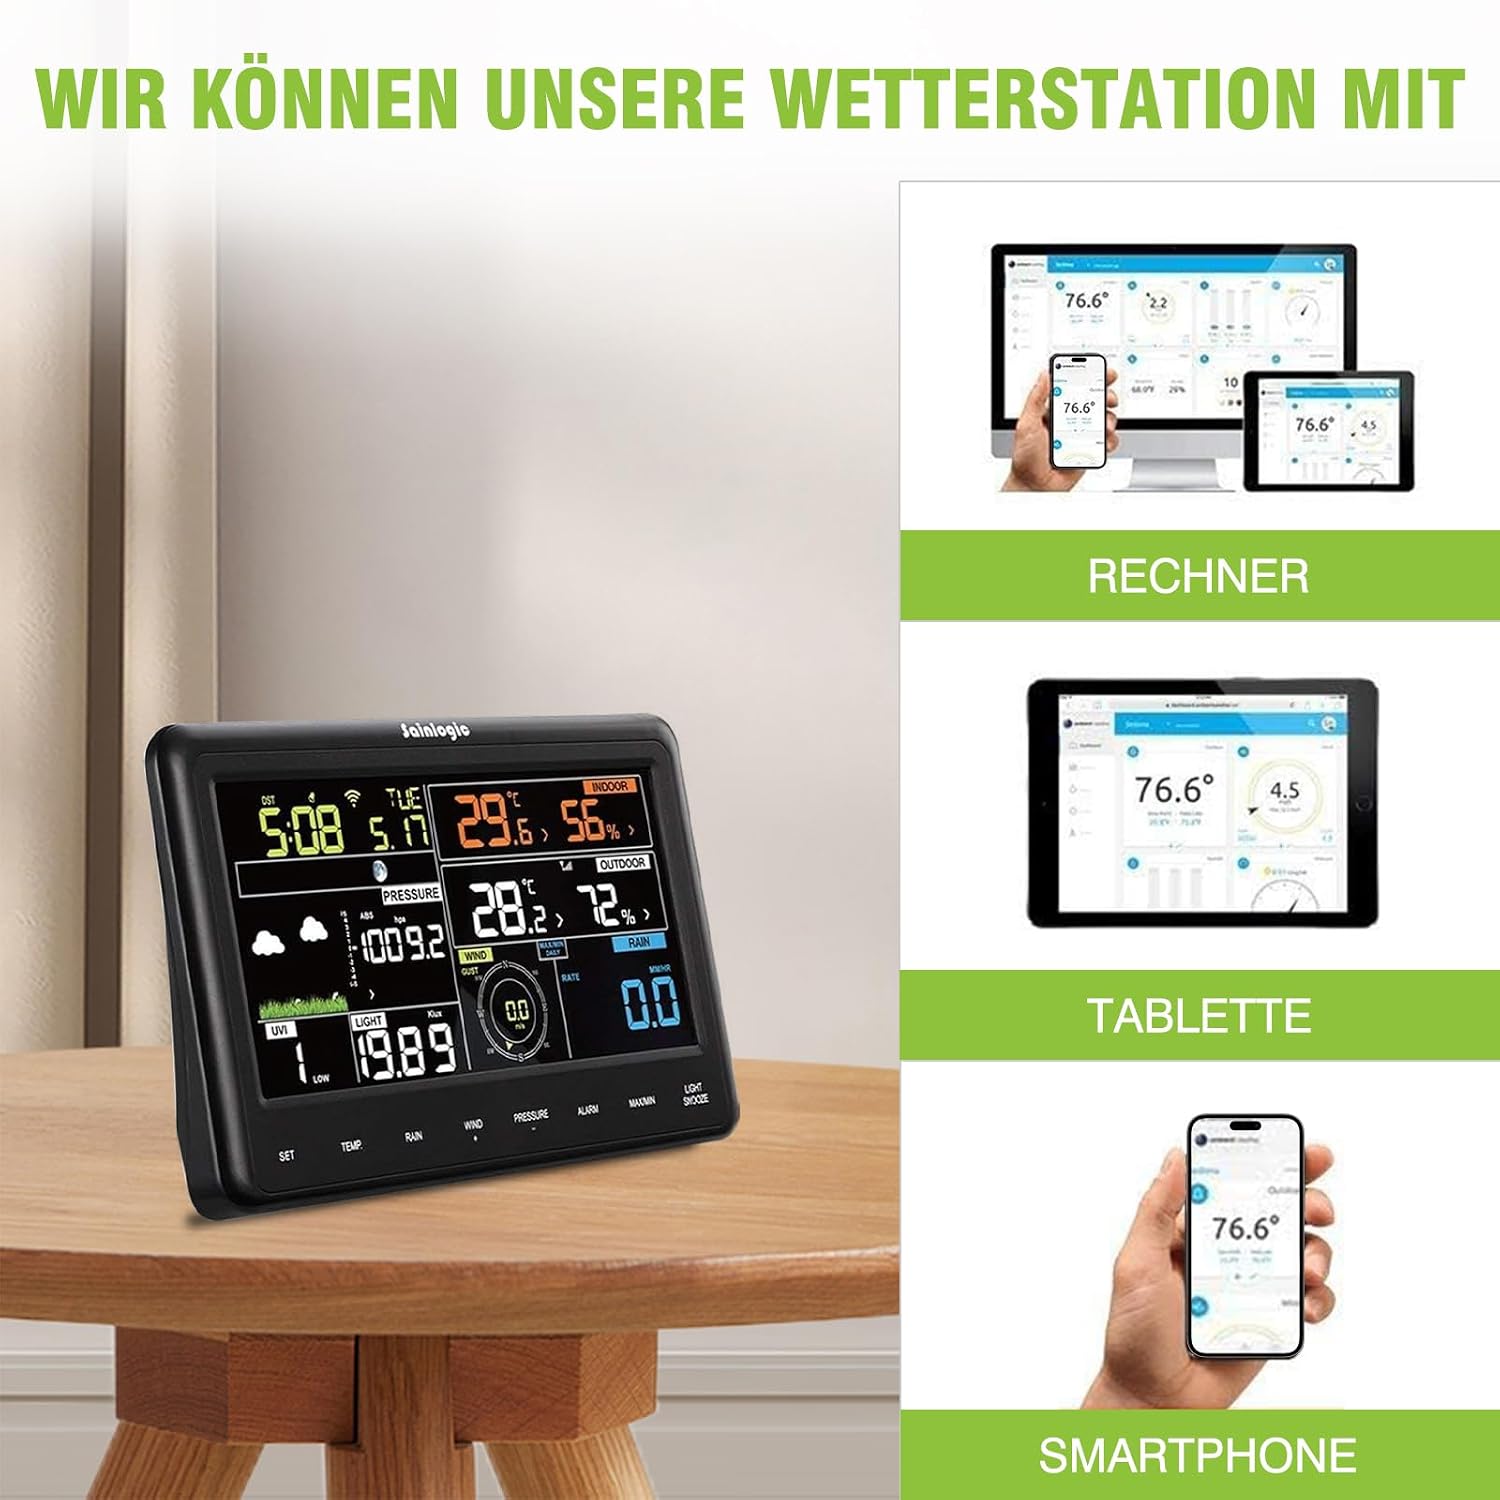
Image: The Sainlogic weather station console can be connected to and monitored via computer, tablet, and smartphone applications.
5. Operation
5.1 Display Overview
The color display provides a clear and comprehensive view of all current weather data. Key information is organized for easy readability.

Image: The console display showing indoor and outdoor temperature/humidity, atmospheric pressure, wind speed/gust, light intensity, UV index, and rainfall.

Image: The console display provides full real-time weather data, including humidity, barometric pressure, indoor temperature, outdoor temperature, wind, and calculated dew point.
- Time & Date: Displays current time and date.
- Indoor Data: Shows indoor temperature and humidity.
- Outdoor Data: Displays outdoor temperature and humidity.
- Pressure: Current atmospheric pressure.
- Wind: Current wind speed and gust, along with wind direction.
- Rain: Daily, weekly, monthly, or total rainfall.
- Light & UV: Sunlight intensity and UV index.
- Weather Forecast: Icon-based forecast for upcoming weather.
5.2 Button Functions
The console features several buttons for navigation and setting adjustments:
- SET: Enters setup mode or confirms settings.
- TEMP: Toggles between temperature units (°C/°F) or displays temperature history.
- RAIN: Toggles between different rainfall display modes (e.g., daily, weekly, total).
- WIND: Toggles between wind speed units (e.g., km/h, mph) or displays wind history.
- PRESSURE: Toggles between pressure units (hPa/inHg) or displays pressure history.
- ALARM: Sets or activates alarms for various weather conditions.
- MAX/MIN: Displays maximum and minimum recorded values for various parameters.
- LIGHT/SNOOZE: Adjusts backlight brightness or snoozes an active alarm.
5.3 Reading Weather Data
Once the outdoor sensor is connected and the console is powered on, weather data will automatically appear on the display. The console updates readings regularly. For historical data, use the MAX/MIN button or specific parameter buttons to cycle through recorded values.
5.4 Connecting to Online Services
After completing the Wi-Fi configuration (Section 4.5), your weather station will automatically upload data to WeatherUnderground.com. You can access your personal weather information from anywhere using a computer, tablet, or mobile phone via the WeatherUnderground website or app.
6. Maintenance
Regular maintenance ensures the longevity and accuracy of your weather station.
- Cleaning: Periodically clean the outdoor sensor array, especially the rain collector funnel and the anemometer cups, to prevent debris buildup. Use a soft, damp cloth for the console display.
- Battery Replacement: Replace batteries in the outdoor sensor and console (for backup) annually or when the low battery indicator appears.
- Sensor Check: Ensure the outdoor sensor is free from spiderwebs, leaves, or other obstructions that could impede its function. Check mounting stability periodically.
- Rain Gauge Calibration: If you suspect inaccurate rain readings, you can perform a manual calibration by slowly pouring a measured amount of water into the rain collector and comparing it to the console's reading.
7. Troubleshooting
If you encounter issues with your weather station, refer to the table below for common problems and solutions.
| Problem | Possible Cause | Solution |
|---|---|---|
| No outdoor data displayed. | Batteries in outdoor sensor are low or dead; sensor out of range; interference. | Replace batteries in outdoor sensor. Move console closer to sensor. Check for strong interference sources. Re-pair sensor with console (refer to console manual for pairing steps). |
| Incorrect temperature/humidity readings. | Sensor exposed to direct sunlight/heat source; sensor dirty. | Relocate sensor to a shaded area. Clean the sensor housing. |
| Inaccurate wind speed/direction. | Anemometer/wind vane obstructed or dirty; sensor not level. | Clear any obstructions. Clean the anemometer cups and wind vane. Ensure the sensor is mounted level. |
| Rainfall not registering or inaccurate. | Rain collector funnel blocked; sensor not level. | Clear debris from the rain collector. Ensure the sensor is mounted level. |
| Wi-Fi connection issues. | Incorrect Wi-Fi password; console too far from router; network changes. | Re-enter Wi-Fi password carefully. Move console closer to router. Re-run Wi-Fi setup if network settings changed. Ensure router is 2.4GHz compatible. |
8. Specifications
| Feature | Detail |
|---|---|
| Model Number | WS3500 |
| Brand | sainlogic |
| Product Dimensions (Console) | 12 x 5 x 7 cm; 500 g (approx.) |
| Connectivity Technology | Wi-Fi, Wireless (sensor to console) |
| Power Source | Battery (3 AA required for sensor, 3 AA for console backup), AC Adapter (for console) |
| Special Features | Wireless, Alarm, Lightweight, Color Display, WeatherUnderground Integration |
| Measurements | Temperature (Indoor/Outdoor), Humidity (Indoor/Outdoor), Atmospheric Pressure, Wind Speed, Wind Direction, Rainfall, Sunlight Intensity, UV Radiation, Dew Point, Wind Chill, Heat Index |
| Material | Acrylonitrile Butadiene Styrene (ABS) |
| Color | wit-16 (White) |
9. Warranty and Support
Sainlogic products are manufactured to high quality standards. For warranty information, technical support, or service inquiries, please refer to the contact information provided with your purchase or visit the official Sainlogic website. Please have your model number (WS3500) and purchase details ready when contacting support.
For the latest software updates and additional resources, please check the manufacturer's website.
Ask a question about this manual
Ask about setup, troubleshooting, compatibility, parts, safety, or missing instructions. Manuals+ will review the question and use this page’s manual context to help answer it.