
1. Introduction
This manual provides essential instructions for the proper installation and maintenance of your Eureka replacement vacuum cleaner belts. These belts are designed for specific Eureka upright vacuum cleaner models to ensure optimal performance and longevity. Please read this manual thoroughly before attempting any installation or maintenance procedures.
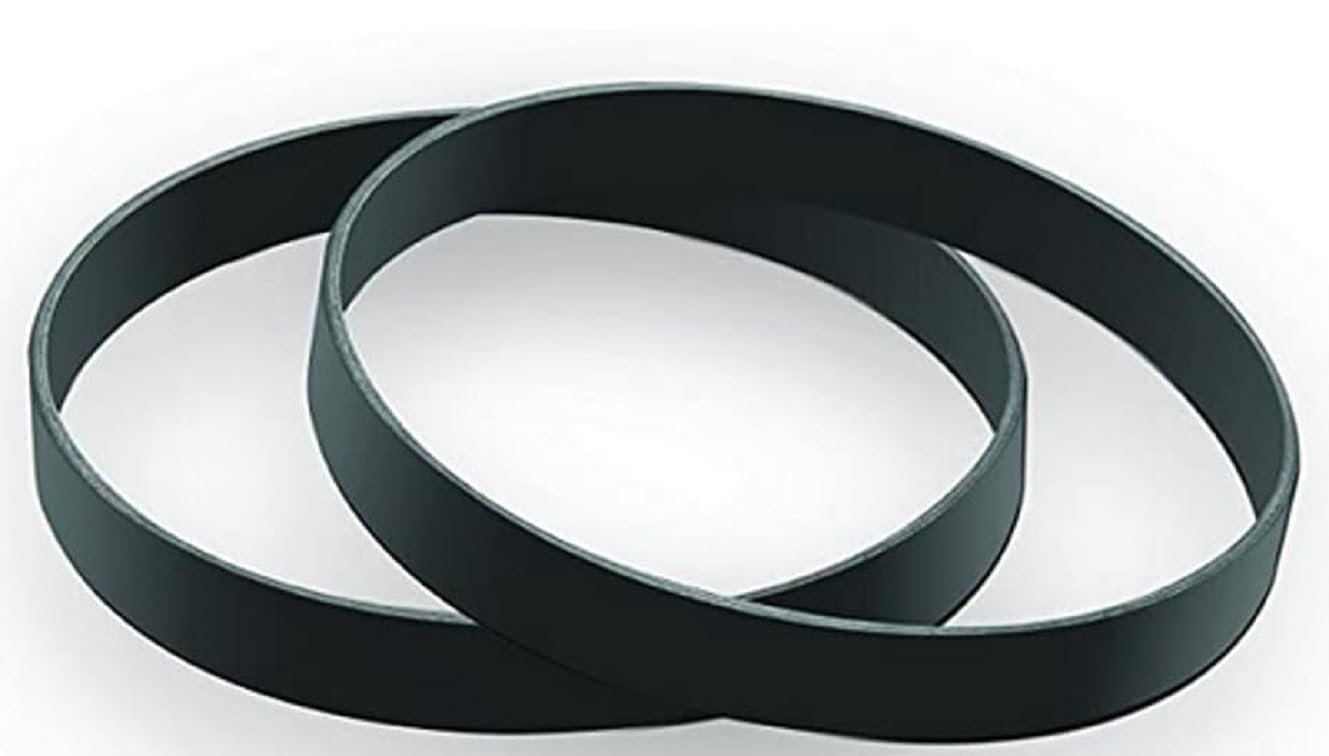
Image 1.1: Eureka Replacement Belts (Pack of 2)
2. Safety Information
- Always unplug the vacuum cleaner from the electrical outlet before performing any maintenance, cleaning, or belt replacement. Failure to do so can result in electric shock or injury.
- Wear appropriate personal protective equipment, such as gloves, to protect your hands during the replacement process.
- Ensure the vacuum cleaner is stable and on a flat surface before beginning work.
- Keep fingers and loose clothing away from moving parts, especially the brush roll, during installation.
- Dispose of old belts responsibly according to local regulations.
3. Installation Instructions
Follow these steps to replace the drive belt on your Eureka upright vacuum cleaner:
- Prepare the Vacuum: Unplug the vacuum cleaner from the wall outlet. Lay the vacuum flat on its front side, exposing the brush roll and bottom plate.
- Remove Bottom Plate: Locate and remove the screws securing the bottom plate (also known as the brush roll cover). Carefully lift off the plate and set it aside.
- Remove Brush Roll: Gently lift the brush roll out of its housing. The old belt will likely be around the brush roll or detached.
- Remove Old Belt: Carefully remove the old, broken, or worn belt from the motor shaft and the brush roll. Note how it was routed.
- Prepare New Belt: Before installing, it is recommended to gently stretch the new belt a few times. This can make installation easier and help prevent premature breakage due to initial tightness.
- Install New Belt: Loop the new belt around the motor shaft first. Then, stretch the belt around the brush roll. Ensure the belt is centered on both the motor shaft and the brush roll.
- Reinstall Brush Roll: Place the brush roll back into its housing, ensuring the belt remains properly seated on both the brush roll and the motor shaft. Rotate the brush roll manually a few times to confirm the belt is correctly aligned and moves freely.
- Reattach Bottom Plate: Align the bottom plate and secure it with the screws removed earlier. Do not overtighten.
- Test Vacuum: Plug the vacuum cleaner back into the outlet and test its operation. Listen for unusual noises and observe if the brush roll spins correctly.
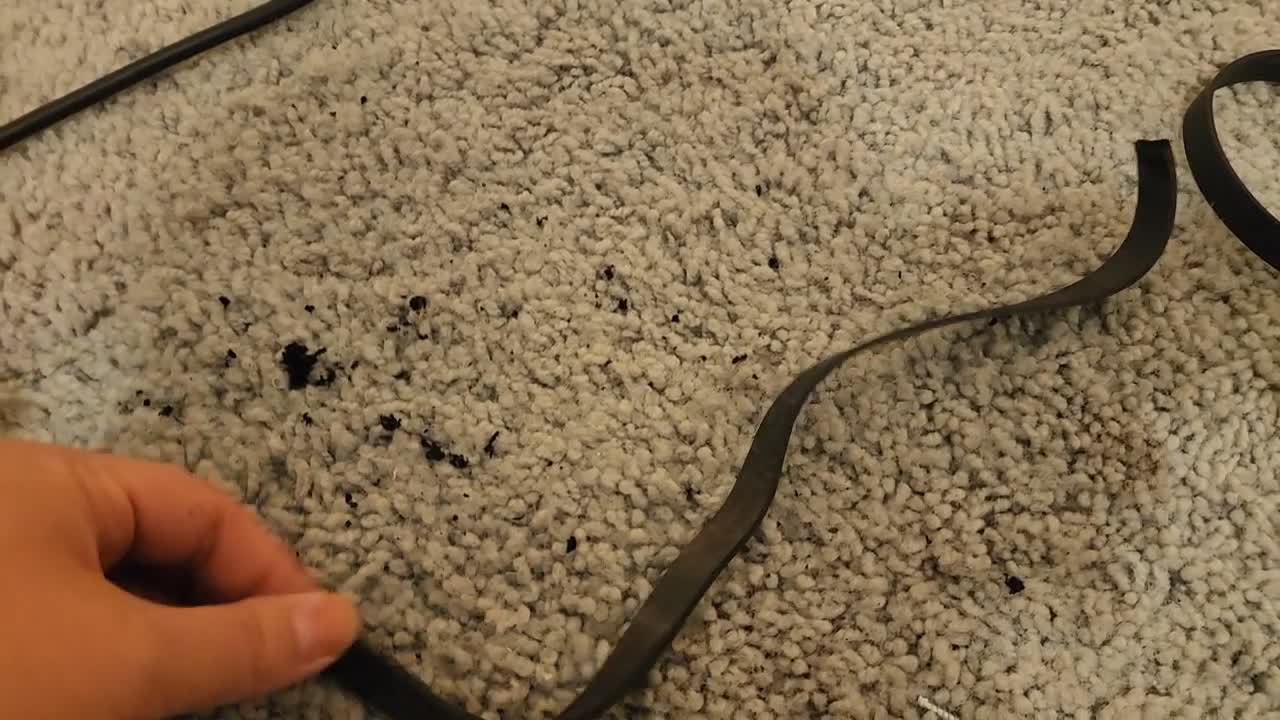
Image 3.1: Example of a broken vacuum belt, indicating need for replacement.
4. Operating Considerations After Belt Replacement
After installing a new belt, observe the vacuum's performance:
- Ensure the brush roll spins freely and consistently when the vacuum is powered on.
- Check for any unusual smells, such as burning rubber, which could indicate improper belt installation or an obstruction.
- Verify that the vacuum is effectively picking up debris, confirming proper brush roll rotation.
5. Maintenance
Regular maintenance of your vacuum belt ensures optimal cleaning performance and extends the life of your vacuum cleaner.
- Regular Inspection: Periodically inspect the belt for signs of wear, cracking, stretching, or fraying. A worn belt can reduce cleaning efficiency.
- Brush Roll Cleaning: Frequently remove hair, strings, and other debris wrapped around the brush roll. Accumulation can put stress on the belt and motor, leading to premature belt failure.
- Replacement Frequency: It is recommended to replace your vacuum belt every 3 to 6 months, or sooner if signs of wear are visible, to maintain peak performance.
6. Troubleshooting
| Problem | Possible Cause | Solution |
|---|---|---|
| Brush roll not spinning | Broken or stretched belt; obstruction in brush roll. | Replace the belt; remove any debris from the brush roll and its housing. |
| Burning rubber smell | Belt friction due to obstruction; belt improperly installed; worn belt. | Unplug immediately. Check brush roll for obstructions. Reinstall belt correctly. Replace belt if worn. |
| Reduced suction/cleaning performance | Stretched or slipping belt; worn brush roll bristles. | Replace the belt. Consider replacing the brush roll if bristles are significantly worn. |
| Belt breaks frequently | Brush roll obstruction; worn brush roll bearings; incorrect belt type. | Clear brush roll. Inspect brush roll bearings for smooth operation. Ensure you are using the correct Eureka replacement belt (Model E0205). |
7. Specifications
- Brand: Eureka
- Belt Model Number: E0205
- Compatible Vacuum Models: NEU181, NEU182A, NEU182B, NEU188A, NEU202, NEU280 Upright Vacuum Cleaners
- Included Components: 2 Replacement Belts
- Item Weight (approx.): 0.27 g (for the package)
- GTIN/UPC: 839724015638
8. Warranty Information
For specific warranty details regarding Eureka replacement parts, please refer to the documentation provided with your original vacuum cleaner purchase or visit the official Eureka website. Keep your proof of purchase for any warranty claims.
9. Customer Support
If you encounter issues not covered in this manual or require further assistance, please contact Eureka customer support. Contact information can typically be found on the official Eureka website or in the original vacuum cleaner manual.


