
1. Introduction
This instruction manual provides essential information for the installation, operation, and maintenance of the Hikvision DS-7604NI-K1/4P 4-Channel 4K PoE Network Video Recorder (NVR). Please read this manual thoroughly before using the product to ensure correct and safe operation. Keep this manual for future reference.
2. Safety Information
Observe the following safety precautions to prevent injury or damage to the device:
- Power Supply: Use only the power adapter specified for this device. Ensure the power voltage is stable and meets the device's requirements.
- Ventilation: Do not block ventilation openings. Ensure proper airflow to prevent overheating.
- Environment: Avoid exposing the device to extreme temperatures, humidity, dust, or corrosive environments. Do not place heavy objects on the device.
- Installation: Install the device on a stable surface. Avoid strong vibrations or impacts.
- Servicing: Do not attempt to disassemble or modify the device. Refer all servicing to qualified personnel.
3. Product Overview
The Hikvision DS-7604NI-K1/4P is a 4-channel Network Video Recorder designed for surveillance systems. It supports up to 4K resolution for live view, recording, and playback, and features Power-over-Ethernet (PoE) interfaces for direct connection and power supply to compatible IP cameras.
3.1 Package Contents
- Hikvision DS-7604NI-K1/4P NVR Unit
- Power Adapter
- USB Mouse
- Screws for HDD Installation
- Quick Start Guide
3.2 Front Panel
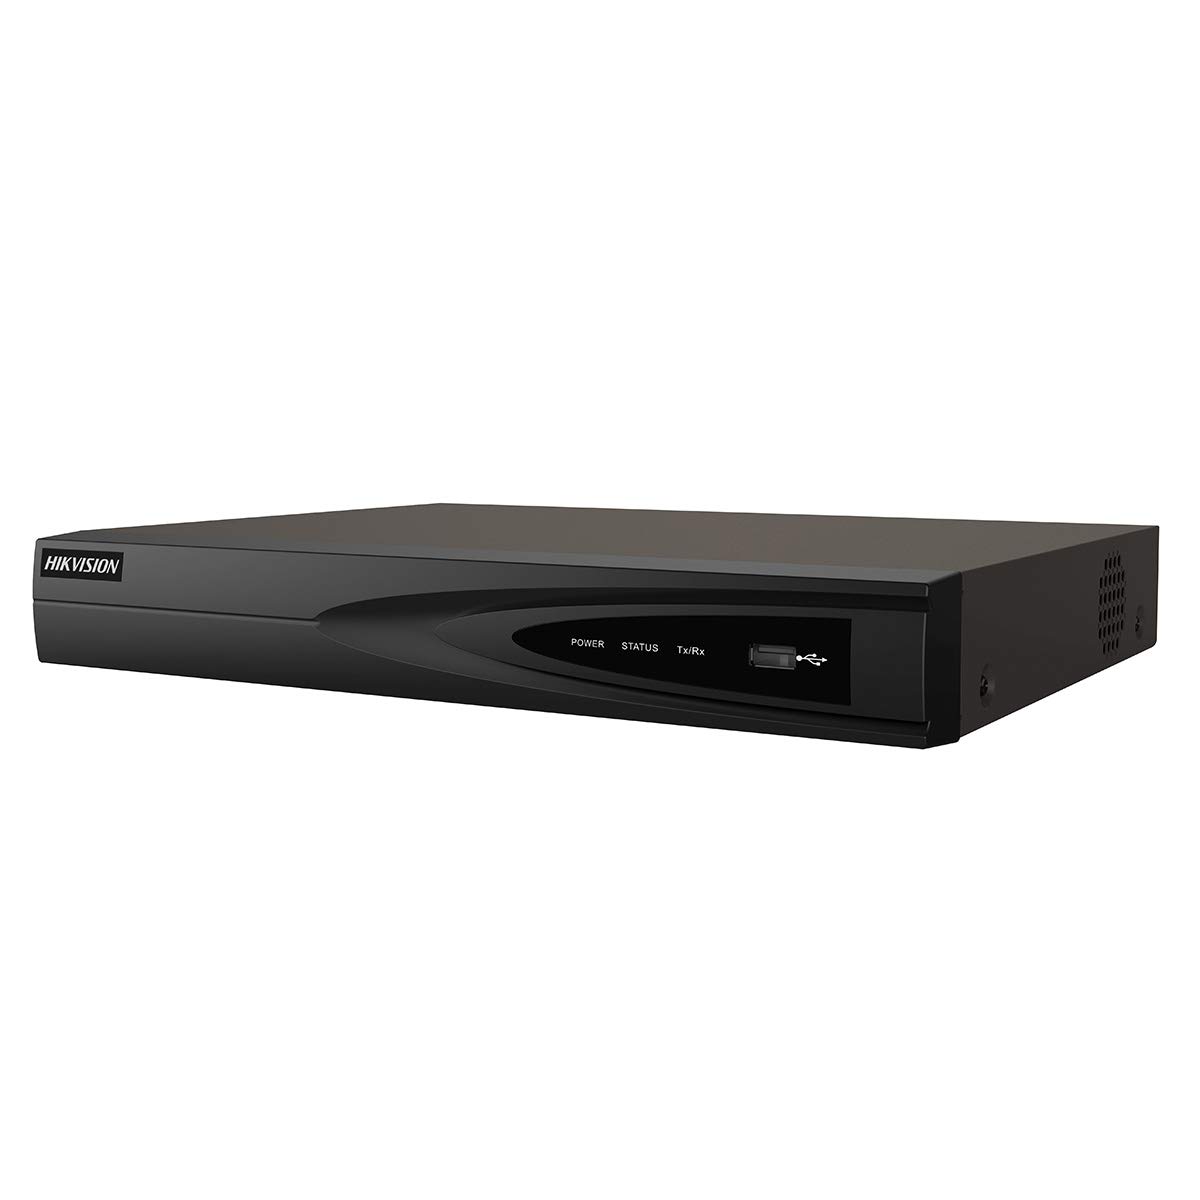
Image 1: Front view of the Hikvision DS-7604NI-K1/4P NVR. This image displays the front panel of the NVR, typically featuring status indicator lights and a USB port for peripheral connections.
3.3 Rear Panel
The rear panel includes various ports for connectivity:
- PoE Ports (x4): For connecting IP cameras and providing power.
- LAN Port: For network connection to a router or switch.
- HDMI Output: For connecting to a monitor or TV for high-definition video output.
- VGA Output: For connecting to a monitor for video output.
- USB Ports (x2 total, typically one front, one rear): For mouse, USB drive, or other peripherals.
- Audio Input (RCA): For connecting an external audio source.
- Power Input: For connecting the power adapter.
4. Setup
4.1 Hard Drive Installation (Optional)
The NVR supports one internal SATA hard drive for video storage (up to 6 TB). If a hard drive is not pre-installed, follow these steps:
- Unscrew and remove the NVR's top cover.
- Connect the SATA data cable and power cable to the hard drive.
- Align the hard drive with the mounting holes and secure it with the provided screws.
- Replace the NVR's top cover and secure it with screws.
4.2 Connecting Peripherals
- Monitor: Connect a monitor to the NVR's HDMI or VGA output port.
- Mouse: Connect the USB mouse to a USB port on the NVR.
- Network: Connect the NVR's LAN port to your router or network switch using an Ethernet cable.
- Cameras: Connect IP cameras to the NVR's PoE ports. The NVR will automatically power and detect compatible Hikvision PoE cameras.
4.3 Powering On and Initial Configuration
- Connect the power adapter to the NVR's power input and then to a power outlet.
- The NVR will power on automatically.
- Upon first boot, the NVR will guide you through an initialization wizard. Follow the on-screen prompts to set up a strong password, network settings, and hard drive formatting (if applicable).
- Ensure the hard drive is formatted before recording can begin.
5. Operation
5.1 Live View
After initial setup, the NVR will display the live video feed from connected cameras on the monitor. You can switch between single-camera view and multi-camera grid view using the on-screen controls or mouse.
5.2 Recording
The NVR supports various recording modes:
- Continuous Recording: Records video constantly.
- Motion Detection Recording: Records only when motion is detected in the camera's view.
- Scheduled Recording: Records based on a predefined schedule.
Configure recording settings via the NVR's menu interface (typically accessible by right-clicking on the live view screen and selecting 'Menu').
5.3 Playback
To review recorded footage:
- Access the 'Playback' menu from the NVR's main interface.
- Select the desired camera(s) and date/time range.
- Use the playback controls (play, pause, fast forward, rewind) to navigate through the footage.
5.4 Remote Access
For remote viewing and management, download the Hik-Connect app on your mobile device or use the Hik-Connect web portal. The NVR must be connected to the internet, and you will need to register the device with your Hik-Connect account. Refer to the Hik-Connect documentation for detailed instructions.
6. Maintenance
6.1 Firmware Updates
Periodically check the official Hikvision website for firmware updates. Updating the firmware can improve performance, add new features, and enhance security. Follow the instructions provided with the firmware update package carefully.
6.2 Hard Drive Management
Regularly check the health status of your hard drive through the NVR's menu. If the hard drive shows errors or is nearing its end of life, consider replacing it to prevent data loss. You may also need to format the hard drive periodically, which will erase all recorded data.
6.3 Cleaning
Clean the exterior of the NVR with a soft, dry cloth. Do not use liquid cleaners or aerosols. Ensure ventilation openings are free from dust and debris.
7. Troubleshooting
| Problem | Possible Cause | Solution |
|---|---|---|
| No video display on monitor | Loose cable connection, incorrect input source on monitor, NVR not powered on. | Check HDMI/VGA cable connections. Ensure monitor is set to correct input. Verify NVR power. |
| No camera image | Camera not powered, network issue, camera not added/activated. | Check PoE cable connection. Ensure camera is powered. Verify camera IP address and add it to the NVR. |
| Cannot record video | No hard drive, hard drive not formatted, hard drive full, recording schedule not set. | Install and format a hard drive. Check hard drive status. Configure recording schedule. |
| Remote access not working | NVR not connected to internet, incorrect network settings, Hik-Connect account issue. | Verify NVR network connection. Check network settings (IP, DNS). Ensure NVR is added to Hik-Connect. |
8. Specifications
| Feature | Specification |
|---|---|
| Model Number | DS-7604NI-K1/4P |
| Brand | Hikvision |
| Connectivity Technology | Ethernet |
| Compatible Devices | Camera |
| Product Dimensions (L x W x H) | 8.5 x 29.8 x 42.1 cm |
| Memory Storage Capacity | 6 TB |
| Hard Disk Size | 6 TB |
| Number of Channels | 4 |
| Item Weight | 2.2 pounds |
| Digital Video Media Format | Hard Disk |
| Audio Input | RCA |
| Total USB Ports | 2 |
| Video Input | VGA, HDMI |
| Unit Count | 1.0 Count |
| Manufacturer | Hikvision |
| Global Trade Identification Number | 06954273652883 |
| Part Number | KNVRDS7604NI-K1/4P |
9. Warranty and Support
For warranty information, technical support, and service inquiries, please refer to the official Hikvision website or contact your authorized Hikvision dealer. Keep your purchase receipt as proof of purchase for warranty claims.
Online Resources: Visit the official Hikvision support page for FAQs, downloads, and contact information.


