Introduction
Thank you for choosing the Wolf-Guard JD-W06 Wireless Solar Siren Alarm System. This manual provides detailed instructions for the proper installation, operation, and maintenance of your new alarm system. Please read this manual thoroughly before use to ensure optimal performance and safety.
The JD-W06 is a versatile and powerful outdoor siren designed to enhance your home security. It features a solar panel for power supply, a loud 110dB siren, and a strobe light to deter intruders. It can function as a standalone siren or integrate with other Wolf-Guard alarm systems.
Product Features
- Wireless Operation: Easy installation without complex wiring.
- Solar Powered: Equipped with a large solar panel (19.1 x 16 cm) and rechargeable batteries for continuous operation, even in cloudy conditions.
- High Decibel Siren: Produces a loud 110dB alarm sound to effectively deter intruders and alert neighbors.
- Strobe Light: Integrated flashing LED light for visual deterrence during an alarm event.
- Anti-Tamper Design: Triggers an alarm if the unit is tampered with.
- Expandable System: Can function as a standalone siren or integrate with up to 99 other wireless sensors and alarm panels.
- Durable Design: Suitable for outdoor use.
Package Contents
Please check the package for the following items:
- Wolf-Guard JD-W06 Wireless Solar Siren Unit
- Power Adapter
- Rechargeable Battery (pre-installed or separate)
- Mounting Screws and Wall Plugs
- User Manual (this document)
Product Overview

Figure 1: Front view of the JD-W06 solar siren, showing the solar panel at the top and the red siren/strobe light housing at the bottom. The Wolf-Guard logo is visible below the solar panel.
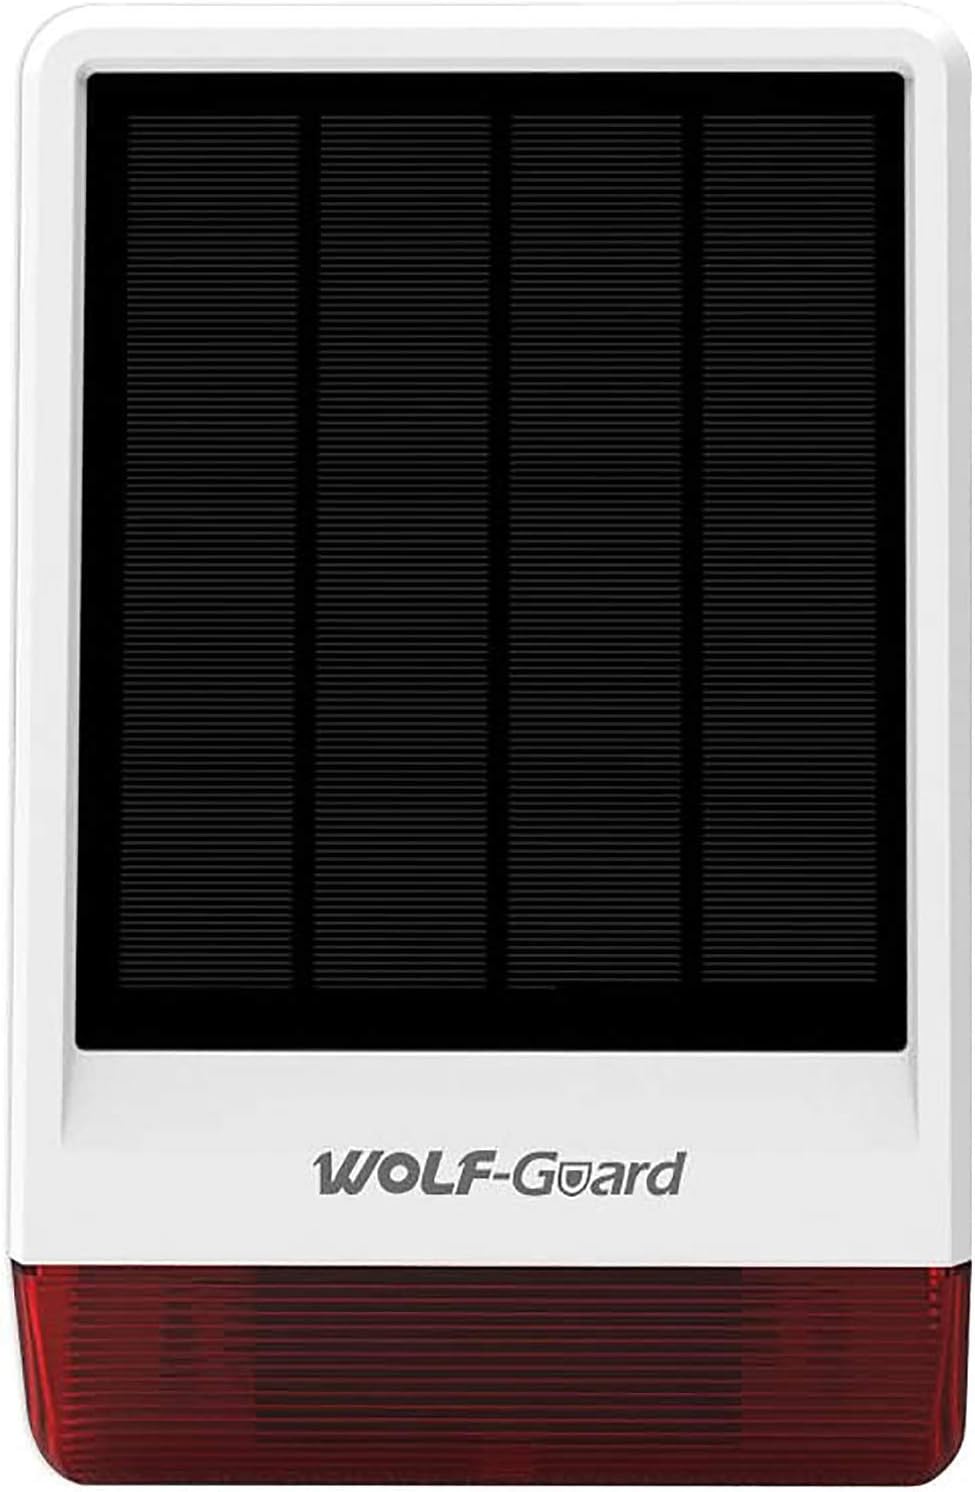
Figure 2: Rear view of the JD-W06 siren, showing the mounting points, the internal components, and the power adapter connected to the unit. A "QC PASSED" sticker with a date is visible.

Figure 3: Stereogram illustrating the main components: solar power panel, alarm strobe light, flash indicator, siren, rear cover, and installation points.

Figure 4: Product dimensions: 300mm height, 190mm width, and 68mm depth.
Setup and Installation
1. Choosing an Installation Location
Select a location that receives ample direct sunlight throughout the day to ensure optimal charging of the solar panel. The siren should also be placed where its sound can be heard effectively and its strobe light is visible. Consider a location that is difficult for intruders to access or tamper with.
- Ensure the location is within the wireless range of your alarm panel or other sensors (up to 80 meters).
- Mounting height should be sufficient to prevent easy access but allow for maintenance.
- The unit is designed for outdoor use and is waterproof.
2. Mounting the Siren
Follow these steps to securely mount the JD-W06 siren:
- Prepare the Mounting Surface: Mark the drilling points on the wall using the siren's mounting bracket as a template.
- Drill Holes: Drill holes at the marked points and insert wall plugs if necessary.
- Attach Bracket: Secure the mounting bracket to the wall using appropriate screws.
- Mount Siren: Carefully attach the siren unit to the mounted bracket, ensuring it clicks securely into place.

Figure 5: Exploded view diagram illustrating the assembly and disassembly process. Key steps include taking out the bracket, removing screws from the bottom cover, removing the outer shell, and identifying the solar power board, outer shell shade, and PCB board waterproof shade.
3. Initial Power-Up and Charging
The siren comes with a rechargeable lithium-ion battery. Before first use, it is recommended to fully charge the battery using the provided power adapter, especially if the unit has been stored for a long time or if solar charging conditions are poor.
- Connect the power adapter to the siren's charging port.
- Plug the adapter into a standard power outlet.
- Allow several hours for a full charge. The solar panel will continue to charge the battery during daylight hours.

Figure 6: Illustration of the solar panel and backup battery, emphasizing the long-lasting power supply. The image shows the siren connected to a battery icon, indicating its power source.
Operating Instructions
1. Pairing with an Alarm System (Optional)
The JD-W06 can be paired with a Wolf-Guard alarm panel or other compatible wireless sensors. Refer to your main alarm panel's manual for specific pairing instructions. Generally, the process involves putting the alarm panel into pairing mode and then activating the siren's pairing function (e.g., pressing a button or triggering a tamper switch).
- The siren can work with up to 99 wireless sensors.
- Ensure both devices are in close proximity during the pairing process.

Figure 7: The JD-W06 siren can function as a wireless siren or as part of an alarm panel system, working with other sensors. This image depicts the siren alongside a couple relaxing, suggesting seamless integration into a home environment.
2. Arming and Disarming
When integrated with an alarm system, the siren will activate based on the arming status of the main panel. When the system is armed and a sensor is triggered, the siren will sound and the strobe light will flash.
- Arm: Activates the alarm system. The siren will be ready to trigger upon detection of an intrusion.
- Disarm: Deactivates the alarm system. The siren will not trigger even if sensors are activated.
- Panic Button: If your remote control or alarm panel has a panic button, pressing it will immediately activate the siren and strobe light, regardless of the arming status.

Figure 8: An illustration showing the JD-W06 siren activating with red alarm waves, deterring a masked intruder. A hand holding a remote control is also visible, symbolizing user control over the alarm system.
Maintenance
1. Cleaning
Regularly clean the solar panel surface to ensure maximum charging efficiency. Dust, dirt, and debris can reduce the panel's ability to convert sunlight into electricity.
- Use a soft, damp cloth to wipe the solar panel.
- Avoid abrasive cleaners or harsh chemicals.
2. Battery Care
The built-in rechargeable lithium-ion battery is designed for long-term use. While the solar panel provides continuous charging, ensure the unit receives adequate sunlight, especially during prolonged periods of cloudy weather.
- If the siren is stored for an extended period, fully charge it before storage and recharge it every few months to maintain battery health.
- If the battery performance significantly degrades over time, it may need replacement. Contact customer support for assistance.
3. Tamper Switch
The siren is equipped with a tamper switch that triggers an alarm if the unit is forcibly removed from its mounting location. Ensure the siren is securely mounted to prevent false alarms from tampering.
Troubleshooting
| Problem | Possible Cause | Solution |
|---|---|---|
| Siren not sounding/strobe not flashing. | Low battery; Not paired correctly; System disarmed; Faulty unit. | Charge the battery fully. Re-pair the siren with the alarm panel. Ensure the system is armed. Contact customer support if the issue persists. |
| False alarms. | Tamper switch triggered; Interference; Faulty sensor (if paired). | Ensure the siren is securely mounted. Check for strong electromagnetic interference. Test paired sensors individually. |
| Solar panel not charging effectively. | Panel is dirty; Insufficient sunlight; Obstructed panel. | Clean the solar panel surface. Relocate the siren to a sunnier spot. Remove any obstructions. |
| Limited wireless range. | Obstructions (walls, metal); Distance too great; Interference. | Relocate the siren or alarm panel closer. Minimize obstructions between devices. |
Specifications
| Feature | Detail |
|---|---|
| Model Number | JD-W06 (FBA-JD-W06-2) |
| Brand | Wolf Guard |
| Power Source | Solar Powered, Rechargeable Lithium-Ion Battery |
| Battery Type | 1 Lithium-Metal Battery (included) |
| Voltage | 5 Volts |
| Sound Level | 110 dB |
| Mounting Type | Wall Mount |
| Maximum Range | 80 Meters |
| Product Dimensions | 30.5L x 16W x 16H cm (approx. 30 x 6.5 x 20 cm; 1.14 Kilograms) |
| Weight | 1.14 Kilograms |
| Color | Red |
| Compatible Devices | Home Security System |
Warranty and Support
Wolf-Guard products come with a standard manufacturer's warranty. For specific warranty terms and conditions, please refer to the warranty card included with your product or visit the official Wolf-Guard website. Keep your purchase receipt as proof of purchase.
For technical support, troubleshooting assistance, or warranty claims, please contact Wolf-Guard customer service. You can often find contact information on the product packaging, the brand's official website, or through your retailer.
Online Resources:
- Wolf Guard Store on Amazon: Visit Store